Popcorn Ceiling Removal, Skim Coating & Painting
Removing Popcorn Ceiling Texture
& Painting
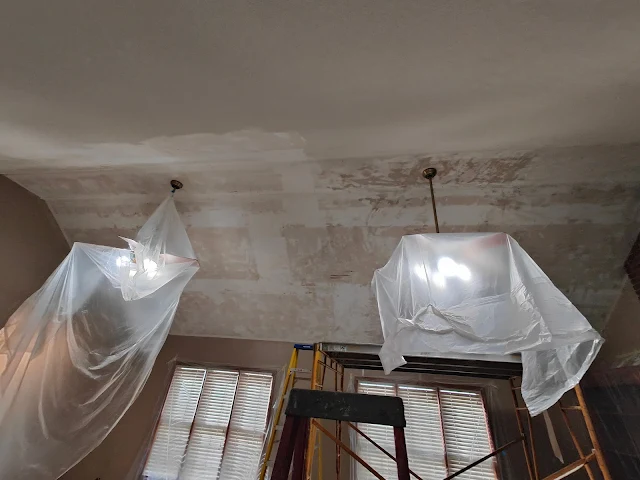
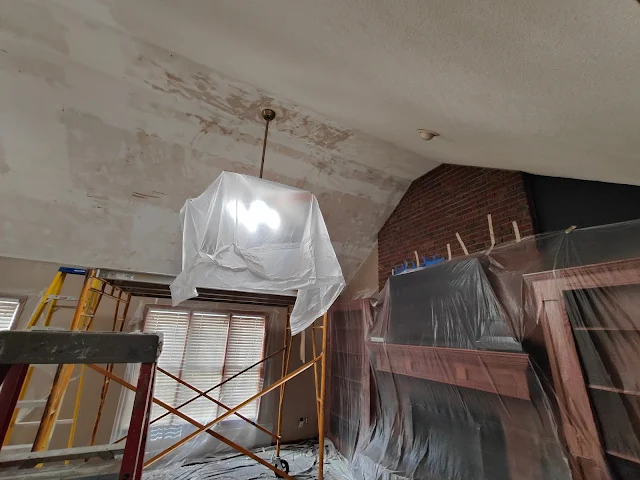
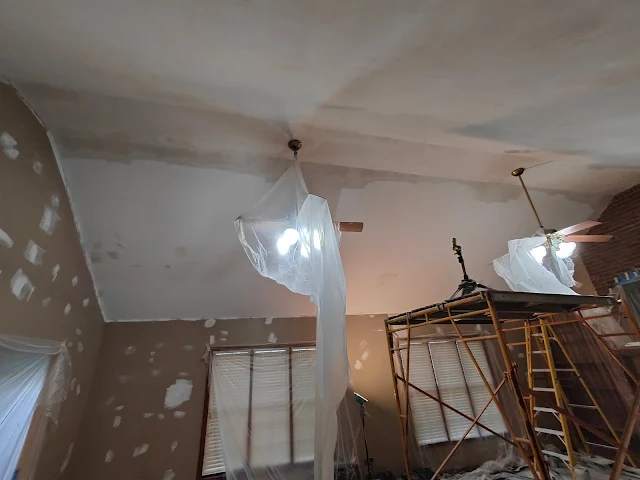
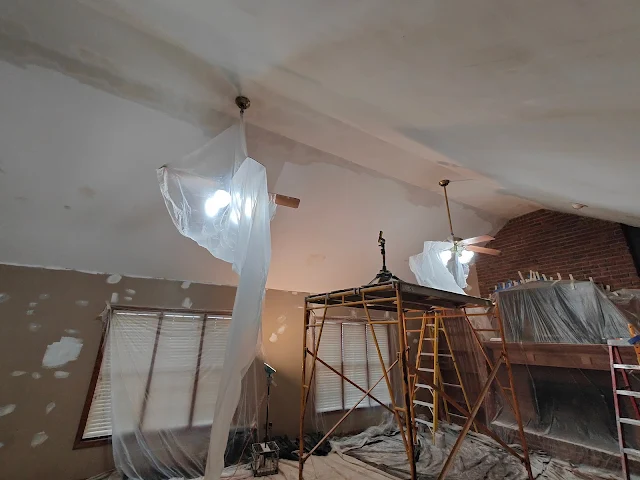
We are doing more and more of these! Thankfully, this ceiling has never been painted so the popcorn texture came off with relative ease with some water. However toward the end, our sprayer broke which prevented us from removing all of the texture in one go.
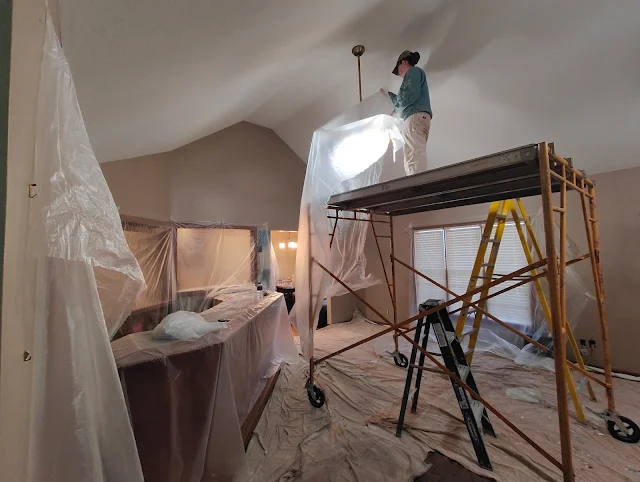
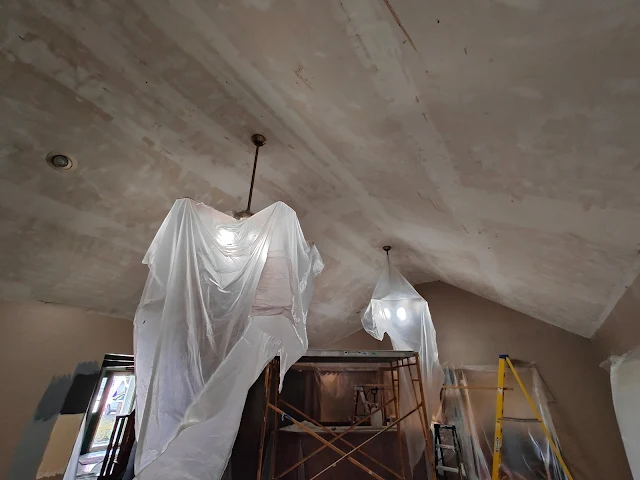
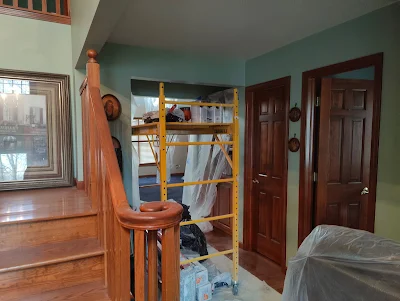
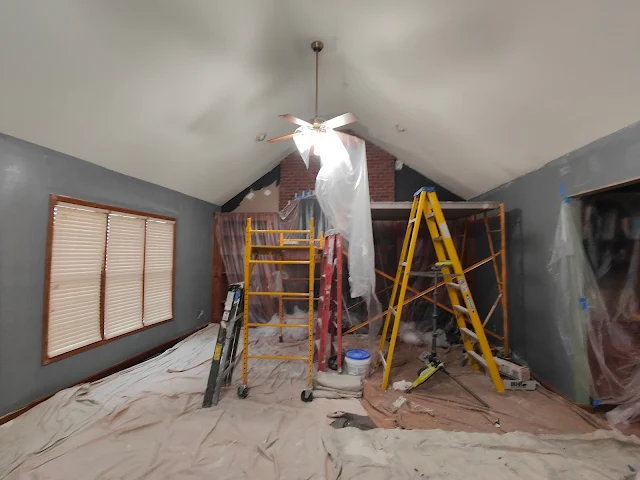
During removal, and the repairs afterward, homeowners typically will lose use of that room until the job is completed. As you can see in the photos, setup for this type of project can be a lot.
During removal, and the repairs afterward, homeowners typically will lose use of that room until the job is completed. As you can see in the photos, setup for this type of project can be a lot.
When it comes to dealing with popcorn ceiling texture, whether its installing it, or removing it, everything must be covered. Clean up during the process is essential in avoiding a gigantic disaster of a mess later.
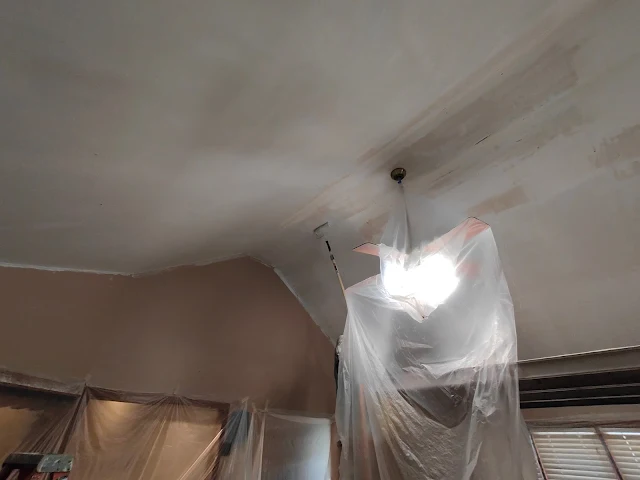
To avoid damage to ceiling fans, we encase them in plastic
To avoid damage to ceiling fans, we encase them in plastic
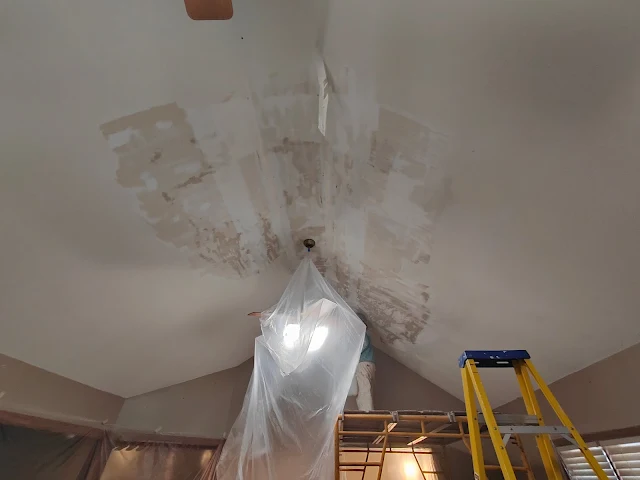
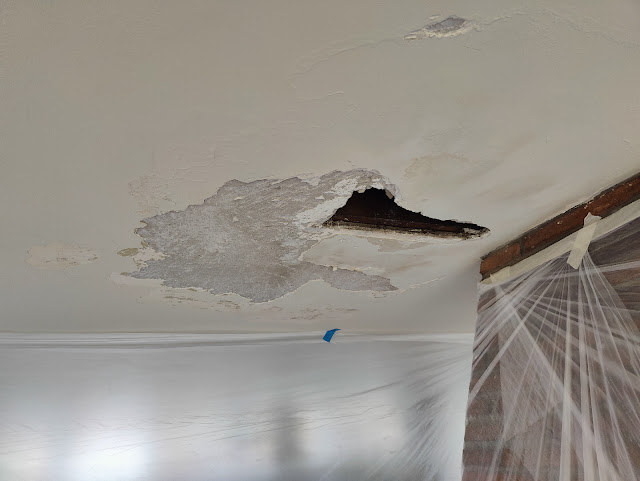
They never bothered to prime the drywall prior to installing the popcorn. They also didn't fully finish the ceiling which is why the tape at the peak failed and will need to be repaired prior to painting the ceiling.
Tomorrow we will finish removing the rest of the texture, and then prime the ceiling. We will prime the ceiling with PVA which is a drywall primer. It is specifically formulated to prime new drywall.
However even though this drywall isn't new, we need something on the ceiling that will show us the damage that needs repairing, but more importantly, it will allow us to spot prime the water stains with oil primer. You can not apply oil based primer directly to bare drywall. It will lift all the hairs in the drywall paper creating a texture that is very difficult to get rid of. We avoid that by applying a latex primer first.
Update: 3-14-24
Priming and Patching
Before Priming:
After Priming:
Once the popcorn texture was removed, we primed the ceiling.
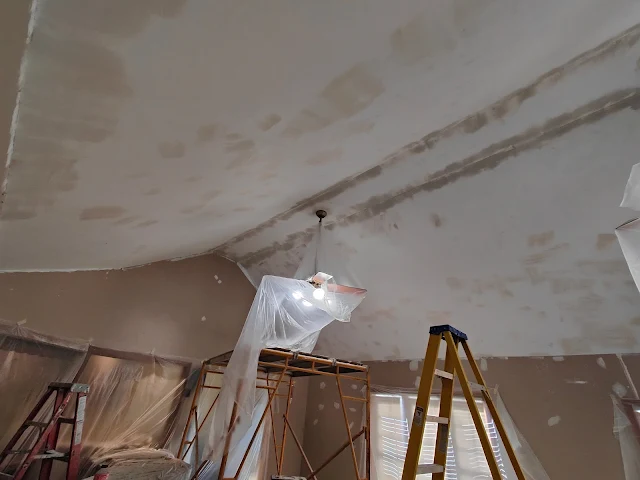
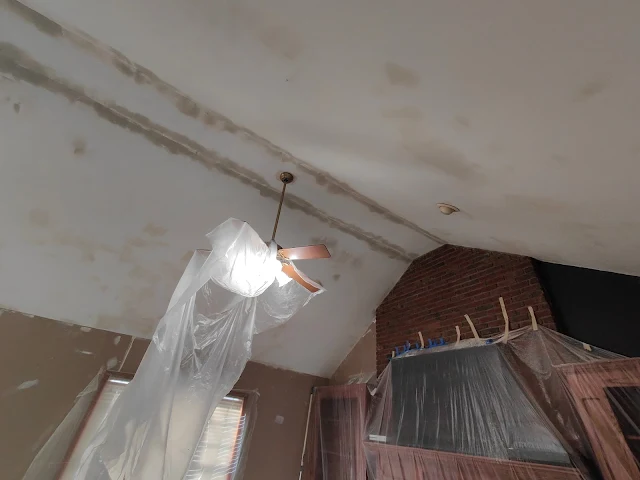
Once the primer was dry we began patching. However it soon become apparent that spot patching was going to lead to other issues later, so we decided to just skim coat the entire ceiling instead. When you have lots of little patches on such a large ceiling, you sometimes run into a situation later where those patches flash through the finished paint job. Plus, there was a lot..
Ceiling patching
As is often the case with popcorn ceilings, the ceiling was never properly finished for paint (why would it, it was being sprayed). As a result of that, the tape at the peak failed and we removed it and replaced it with new tape.
Once the ceiling was skim coated, we primed the ceiling again. We further touched up our work.
The peak required a substantial amount of work to get it where it needs to be. But to move this along, we decided to prime the one half today, the other half wasn't dry so we will sand that, and prime the rest tomorrow.
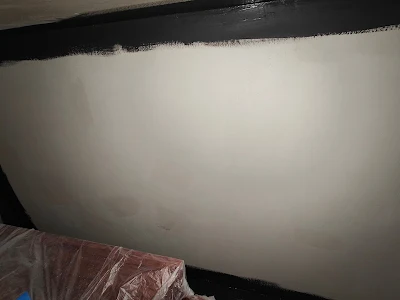
We did get one wall painted with a coat of paint though, so the homeowner can see how her color choice for the ceiling will look with her chosen wall colors.
We did get one wall painted with a coat of paint though, so the homeowner can see how her color choice for the ceiling will look with her chosen wall colors.
Update: 3-15-2024 (Friday)
Today we sanded half the ceiling and then primed and painted it. There were some minor imperfections that we repaired, and then did a full cleanup of the room. Even though we have been cleaning every day, the dust and popcorn debris was incredible. So we pulled all our drops, plastic, and then vacuumed the floor, shook out our drops and then re-set up the room.We also painted the rest of the walls one coat. On Monday, we will finish the ceiling (hopefully) and finish painting the walls.
Update: 3-19-2024 (Tuesday)
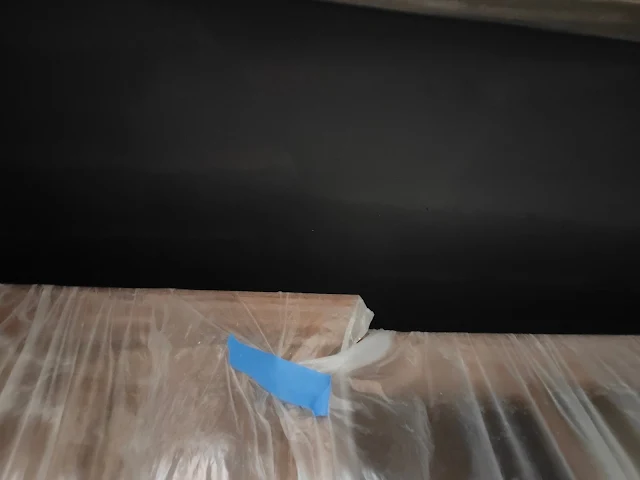
On Monday we began painting the black on the areas that required it. Black can be difficult to paint as its mostly dye and dye doesn't cover well. This I felt would be a real test of the Behr Dynasty to see how well it covers, over white.
This is the above ceiling - rolled once. WoW!
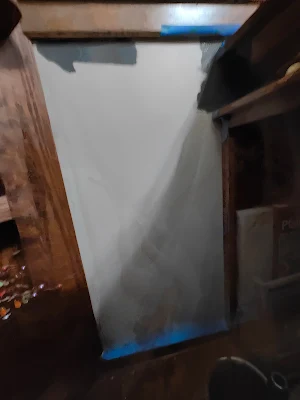
Here is a small wall behind the bar, that was also going to be painted black
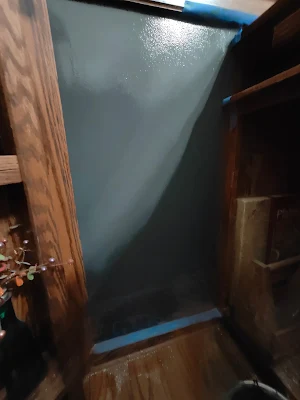
This is one coat of Behr Dynasty paint. We are continually impressed at what an amazing product this is
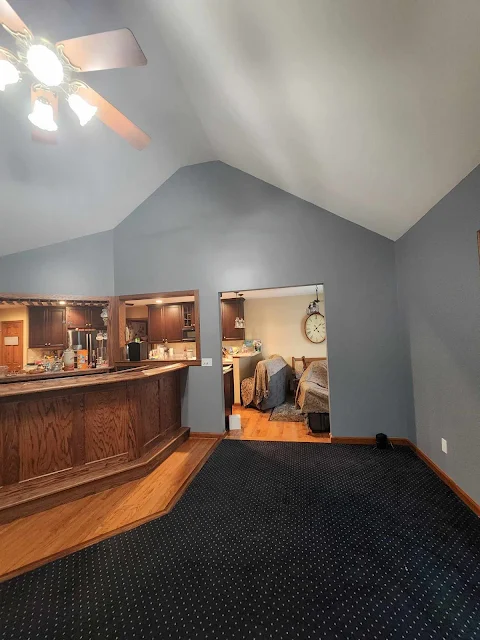
This is the bar area finished. The black has 2 coats of paint.
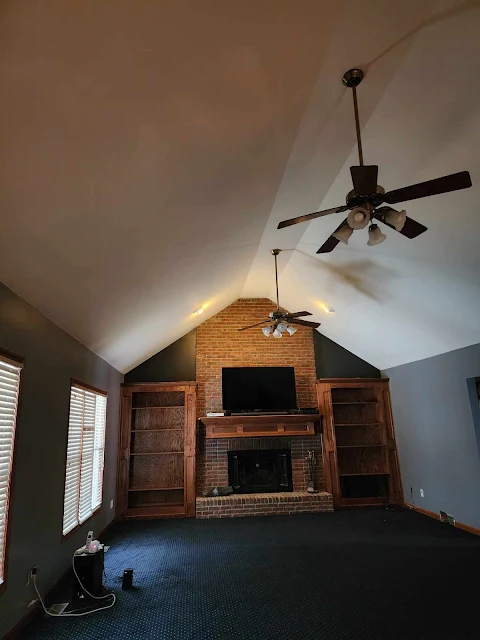
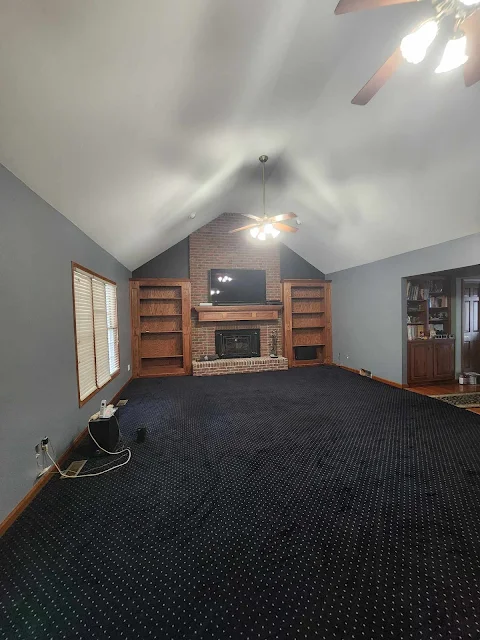
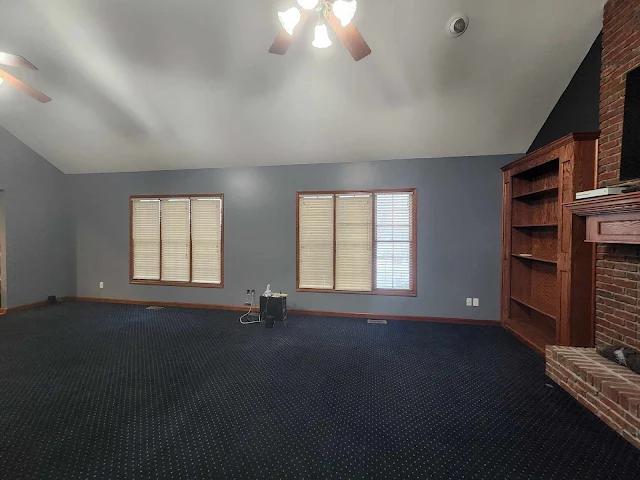
Finished:
The gray has 3 coats of paint due to some picture framing issues, and the ceiling - which isn't white, its a creamy color, has 2 coats of paint.
The walls are Magnetic Gray by Behr
The ceiling is White Veil by Behr
The black accents is Cracked Pepper by Behr
Popcorn Ceiling Services by Carrigan Painting




Comments
Post a Comment