For Best Results Repair Plaster with Plaster instead of Drywall
Why You Should Repair Plaster with Plaster
The differences between plaster and drywall involve more than just the materials used. While most painters advertise Plaster and Drywall Repair, almost everyone is using drywall compound for both types of repairs. I will explain why this isn't always ideal.
Estimated Read Time: 6 minutes
All of our images were created by us.
Common questions answered in this post:
Why is my plaster ceiling wavy?
Can you use drywall repair on plaster?
What can I use to repair plaster walls?
What is the best material to patch plaster walls?
Almost anyone can learn to repair drywall. Almost anyone can make repairs to walls and ceilings using pre-mixed drywall compound or setting-type drywall compound which comes in a bag. You mix it to the consistency of brownie mix. Drywall mud is inherently very sticky. This makes application to vertical and overhead surfaces easier.
Drywall Shrinks
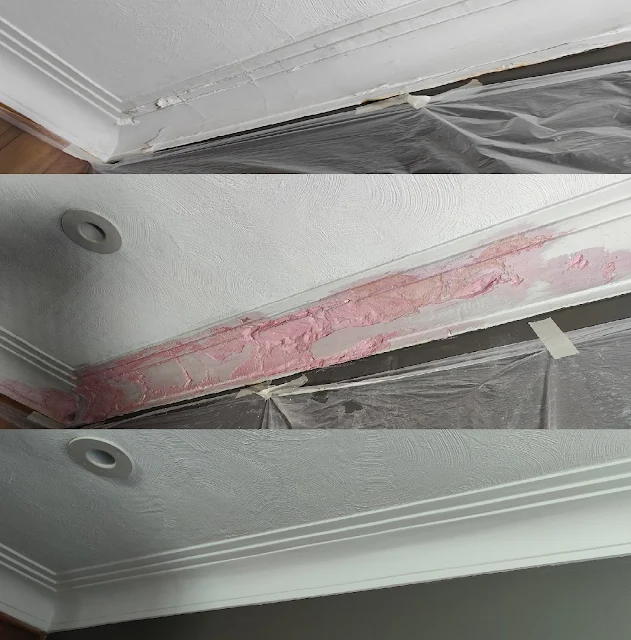
The biggest problem with drywall compound involves shrinkage and dust, which isn't a problem in new construction, but in repair work, which most often involves occupied homes, it requires multiple coats, and if you apply it too thick, it cracks.Durabond (A drywall product) comes in a brown bag and goes harder than easy sand (the white bag). Durabond is used as a 'base coat', and then top coated with easy sand, and then we finish with a product called 'Dust Control'. Dust Control is pretty remarkable stuff. When you sand it, the dust falls to the floor and doesn't linger in the air like traditional drywall dust.
Plaster Can Take Longer
Plaster on the other hand typically doesn't have these issues but presents other challenges such as requiring longer cure times and the lack of skill in the labor pool. It takes years to learn how to properly finish plaster. It is a dying trade in the United States which sadly isn't being passed on to the younger generations. We will teach anyone who wants to learn.
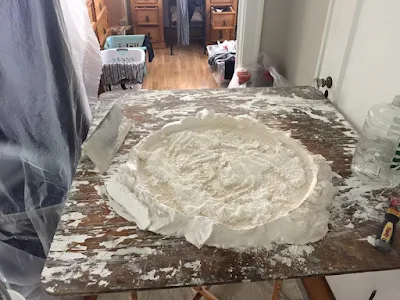
Plaster is mixed on-site. The process is that you mix lime, (we mix up pails of lime at our shop) and Plaster of Paris - a powder, that must be applied within 40 minutes or it goes hard, rock hard.
The outer ring in the above photo is lime. We fill the center with potable water and then sift Plaster of Paris powder into the water. Let that sit for a minute or so, and then mix it up by hand using a hawk and trowel until the consistency is the same throughout the material.Trade Secrets
A trick my dad taught me is called 'splitting the gauge'. That is where you take your trowel, and move half of it off to the side, and only mix up half at a time. This works great for repair work, as it allows us to apply the scratch coat, and finish coat in one go, without having to clean our tools and mix up another batch.We prefer to use real plaster to fix plaster damage. It makes for a better finish and is often completed in one day. The downside however is depending upon the repair, you must wait 7 days to paint. The use of an oil base primer is required. Oil primers are better than latex and shellac primers anyway.
Oil Primer is Guaranteed to Work
When everything else fails, everyone goes back to oil primer. Every time we have tried using shellac primers to prime plaster patches, it either peels off within hours or blisters requiring patching with drywall compound. So we stick with the oil primer. The issue has to do with the pH level in the lime.We often use a product called DiamondCoat which has the lime and Plaster of Paris powder, properly proportioned all in one bag. We mix it up in a bucket.
Drywall compound comes in two forms. In a bucket, (premix) or in a bag. Drywall compound can be applied to plaster or drywall, whereas plaster is limited to plaster(with a bonding agent). The main difference between the two is that with drywall compound you typically do not need an oil primer. Drywall 'mud' often takes multiple coats, which depending on the job can span multiple days. You have to sand drywall compound, whereas with plaster there is no sanding, and no more dust.
Real Plaster isn't Sticky
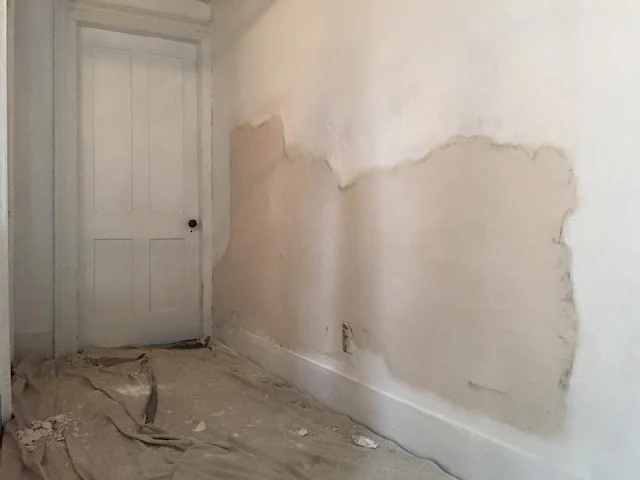
A big downside to plaster is that it doesn't like to stick to anything. Both during application and after the repairs are made. It takes finesse to get plaster to stick to wall and ceiling surfaces. And when you drop a glob or two, the splatter distance is quite impressive when compared to mud. It is also caustic and can cause chemical burns to the skin, can cause blindness if it gets in your eyes. Caution is required.However, I find plaster, easier to work with than drywall compound. The fact that it's not sticky, makes it easier to push it with a trowel. It also doesn't clump like drywall compound will if you overwork the material. And instead of sanding it, you polish it with a special finishing trowel. A real plaster patch should be as smooth as glass, which can present problems later when it comes time to paint it. With a properly finished plaster patch, the joint between the existing surface, and the patch should be seamless.
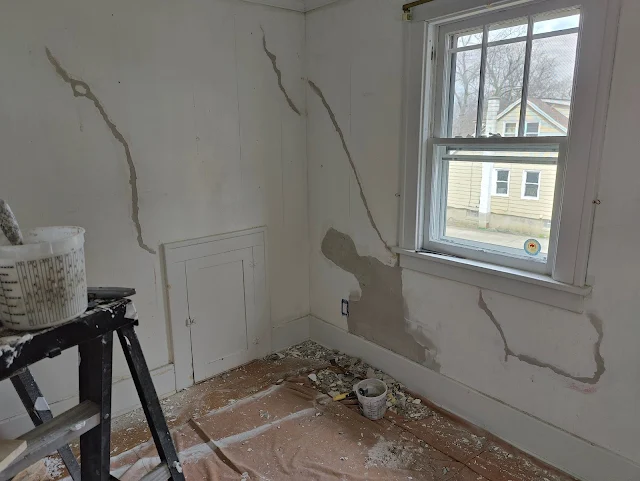
Plaster also goes much harder than drywall compound. This is especially important when it comes to fixing plaster cracks.
Oil Primer and Drywall
Is it Plaster or is it Drywall?
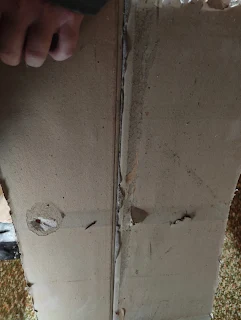
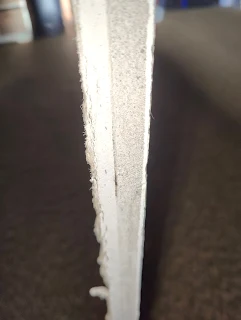
If your home was built before 1950, your home has wood lath. If it was built between 1950-1960 your home has rock lath. From 1960-1970 it is a toss-up between Rocklath and drywall. After 1970, most homes are drywall. Due to this, acquiring Rocklath in the Buffalo area is no longer feasible. But we still have options. We often use Blueboard which is similar to drywall, but it has a special paper face that promotes adhesion of plaster. This special paper has a coating that promotes both a mechanical and chemical bond.
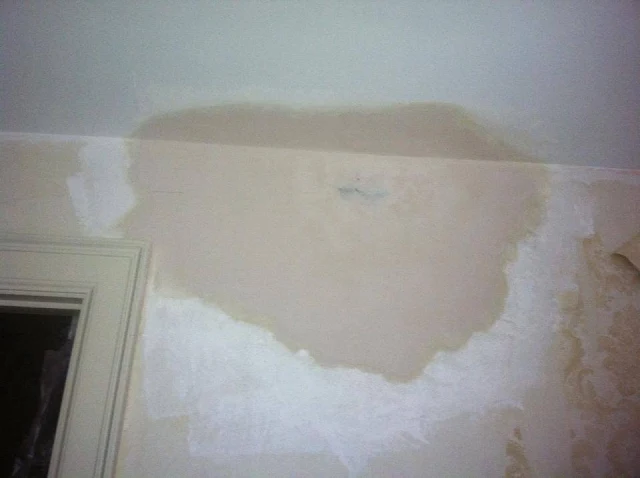
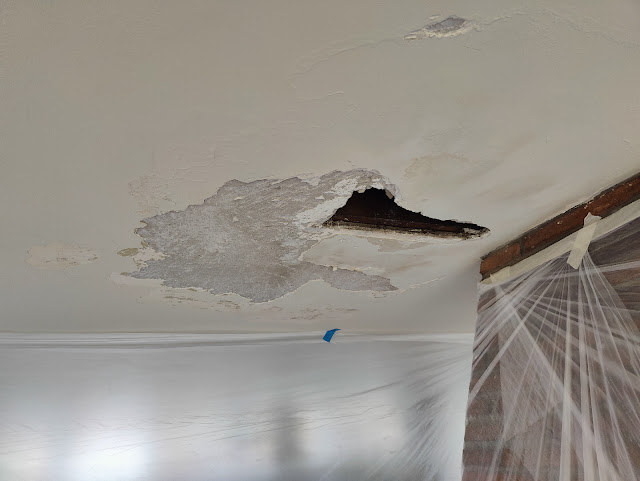
A common problem with rocklath homes is the pillow effect on ceilings. That is when ceilings are unusually wavy. This problem dates back to when the house was built. When it came to finishing the plaster ceilings, the plaster basecoat wasn't ready to be finished. But they finished it anyways, which warped the rocklath, creating the waviness. The only way to fix it, that I am aware of, is to hang a new ceiling.
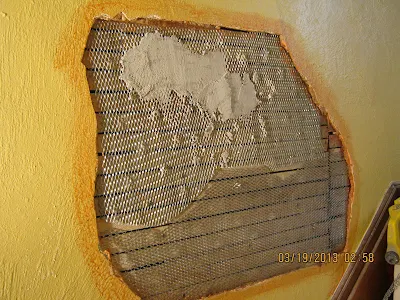
Wood lath is 1" wide strips of rough cut wood, that is nailed to the framing, and then plaster basecoat is applied over the wood lath and pushed between the gaps in the lath creating what are called 'keys'. These keys, along with the rough-cut nature of wood lath creates a strong mechanical bond to the wall. A lot of people will cut out the wood lath, to make room for a piece of drywall. This can create more problems and a bad patch.
First the removal of the wood lath often creates vibrations through the pieces of wood lath, which can break the keys off the plaster surrounding the original damage. The other issue is that oftentimes, whoever is doing the repair, will treat the plaster wall like drywall, and will ensure that the piece of drywall is as level as possible with the existing plaster surface. The reason this is bad is because your plaster walls and ceilings were finished by hand. And while the finishers used darbies to ensure flatness doesn't change the fact that it is still finished by hand.
Now put a piece of dead flat board in the middle of it. It stands out like a sore thumb. This problem can be mitigated by keeping the drywall a bit below the surrounding surface, and then floating it out.
Our method avoids all that. We leave the wood lath in place and go over it with metal lath. We use tin snips to cut it (Think giant industrial scissors). We screw the metal lath to the existing wood lath, and apply plaster base coat to the metal lath, keeping it about 1/8" - 1/4" below the existing surface. We use darbies to keep our patches flat. Darbies are perfectly straight pieces of aluminum in varying lengths used to finish plaster. They are also referred to as a 'Straight Edge'
Some people will use plaster basecoat, then finish the patch with drywall compound. A method which provides acceptable results.





Comments
Post a Comment