This week we are back to do some ceiling repairs and painting, while on site we are also doing some warranty work on a bedroom ceiling we worked on a year ago (2025). We are also painting the bedroom, refinishing a bathroom ceiling, and repairing a crack in the living room ceiling.
First is the bedroom. In 2025 we repaired the ceiling due to a plumbing leak. Then painted the ceiling. About a week or two after that was completed, the homeowner noticed blistering of the ceiling paint after taking a shower and leaving the bathroom door open. So while we were there for other things, we repaired the ceiling, again.


We have already primed this entire ceiling with oil primer, and two coats of paint, the previous time we were here. Clearly that didn’t work. So we tried something else- gluing the ceiling, and then patching the ceiling, then spot prime, then paint. We have had good luck with this method on other projects (knock on wood)


After the glue dries, we go back and to our patching.


Then we spot prime the patches with oil base primer. We always use dedicated primers for our patching. This helps prevent ghosting and other issues when we paint the entire ceiling.
We also repaired other damage to the room, like the water damage under the window.


Once all the patching was completed, and primed, we went back and applied two coats of paint to the walls and ceiling in the bedroom. We always do two coats of paint as it provides for better coverage, better sheen consistency and overall better job.


Bathroom
Next is the bathroom. They had a lot of work done to this bathroom, but the ceiling… the ceiling was ugly. I know a lot of people discount the skill required to properly restore ceilings, but this ceiling needed a lot of work. We first primed the ceiling with oil base primer, and then skim coated the entire ceiling while repairing the corners where the ceiling meets the wall.


After
Pictures make this look short. We spent 2 days working on this bathroom, to properly restore the ceiling so it looks like a normal ceiling, and fix the top corners.


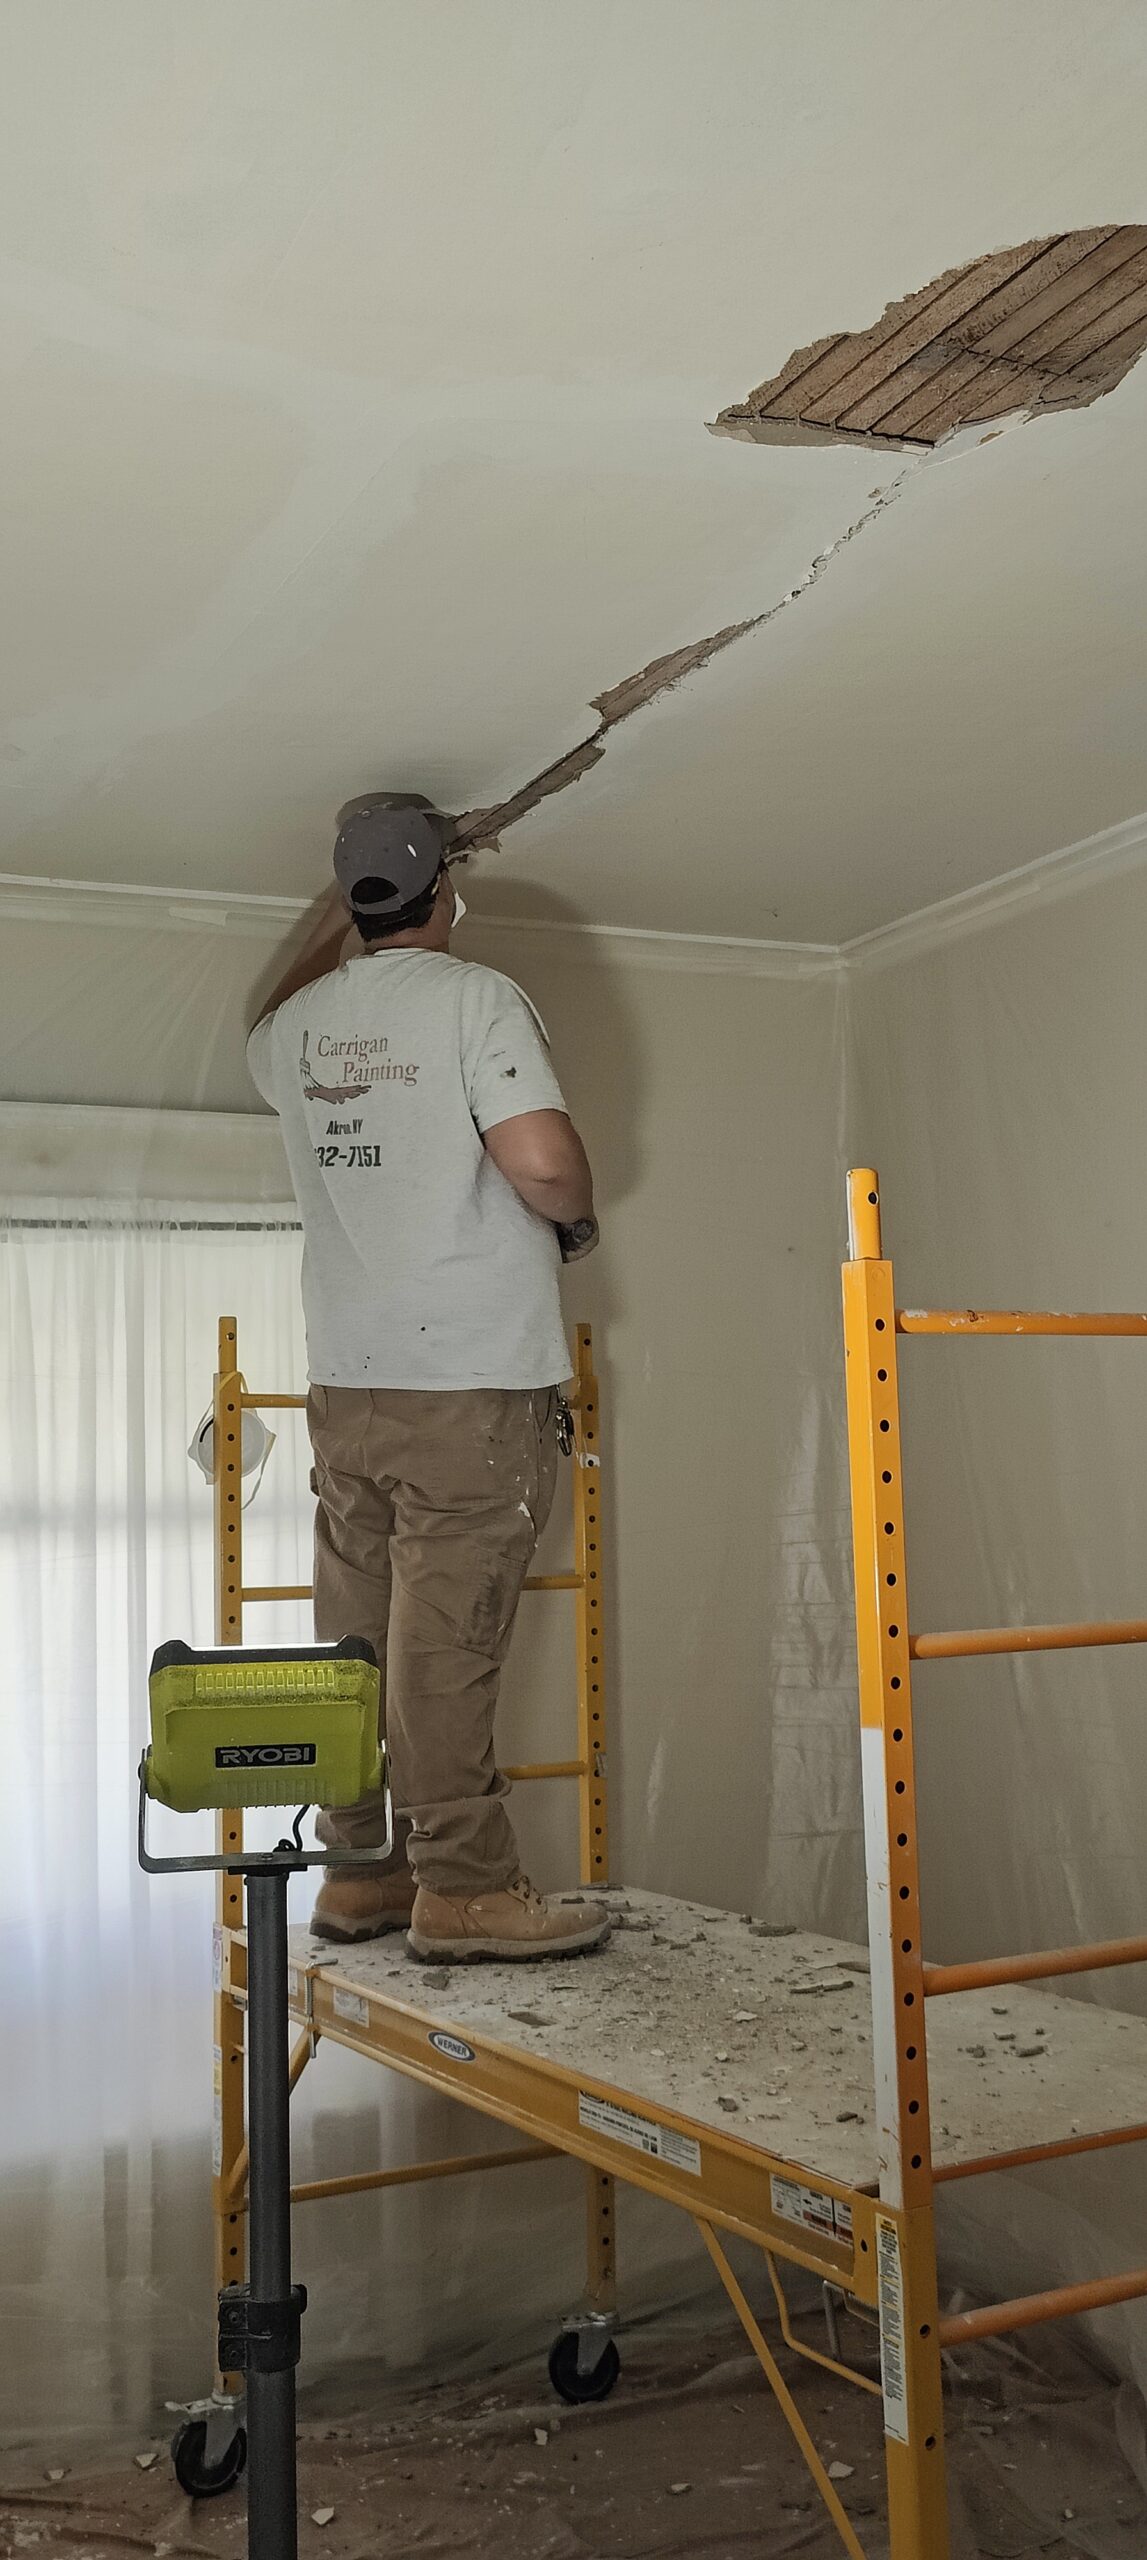
Living Room Ceiling
The living room ceiling had a crack going down the middle, about 4 years ago, this crack was “repaired” by another painter who does “drywall repair”, their repair didn’t hold. Upon chiseling out the crack, I discovered why their repair didn’t hold- they didn’t fix it properly. Originally we weren’t supposed to fix the crack- just scrape off the crustiness and then caulk it, and paint the ceiling, as the homeowner felt it wasn’t fixable as the previous repair had failed, so I took it upon myself to attempt a proper repair and hopefully the crack won’t return. This didn’t cost the client more money, I did this as free upgrade.
The crack was ugly. Caulking is a band-aid, and not really the way we do things, not sure why I originally agreed to caulking it… Oh well, we fixed it the right way:


Cracks in plaster and drywall must be opened up in this fashion to allow the new material something to grab onto. This also provides room for the mesh tape. Mudding over a crack with out opening the crack is a waste of time and money. But many in the painting industry lack this understanding and just mud over everything because they think it will magically fix everything. Hey it looks nice until they leave and then a month later when the crack re-appears because there was zero effort put into the repair, oh well. That is not how we operate at Carrigan Painting.


This crack has been repaired at least once before, creating a small bump around this crack, So we opted to repair the crack with durabond drywall compound which allows us to feather out the repair over the existing ceiling and flatten out the bump in the ceiling while at the same time reinforcing the crack with fiberglass mesh tape. We cut the mesh in half so it fits in the chiseled area and doesn’t contribute to the bump in the ceiling. Yes, the thickness of the mesh tape actually does matter in many cases.
After the area was dry, and sanded, we primed the repair, and then made minor touchups to the repair, then spot primed those areas, then painted the ceiling twice.


And now the crack is gone, hopefully forever.


Warranty Work
While we don’t have any information on the site about a warranty on our work, we do stand behind our work. Our patches, should remain intact forever. The bedroom ceiling on this project is a prime example. We repaired a different area of this ceiling than what pealed, however we were the to touch the ceiling so that makes us liable. I wish the homeowner had reached out sooner but life happens. They were having other work done by us so they waited to have it all done at once. So the ceiling restoration in their bedroom, we did not charge them for. If the ceiling peals after this, the only solution left is to hang drywall over the existing and start over.