This Snyder home suffered multiple water leaks caused by ice dams during the winter of 2025-2026. Following remediation, five large openings were cut into the original plaster walls and ceilings throughout the home. The new homeowner wanted to preserve the home’s original plaster rather than replace it with drywall, making this a unique multi-room plaster restoration project.
Master Bedroom
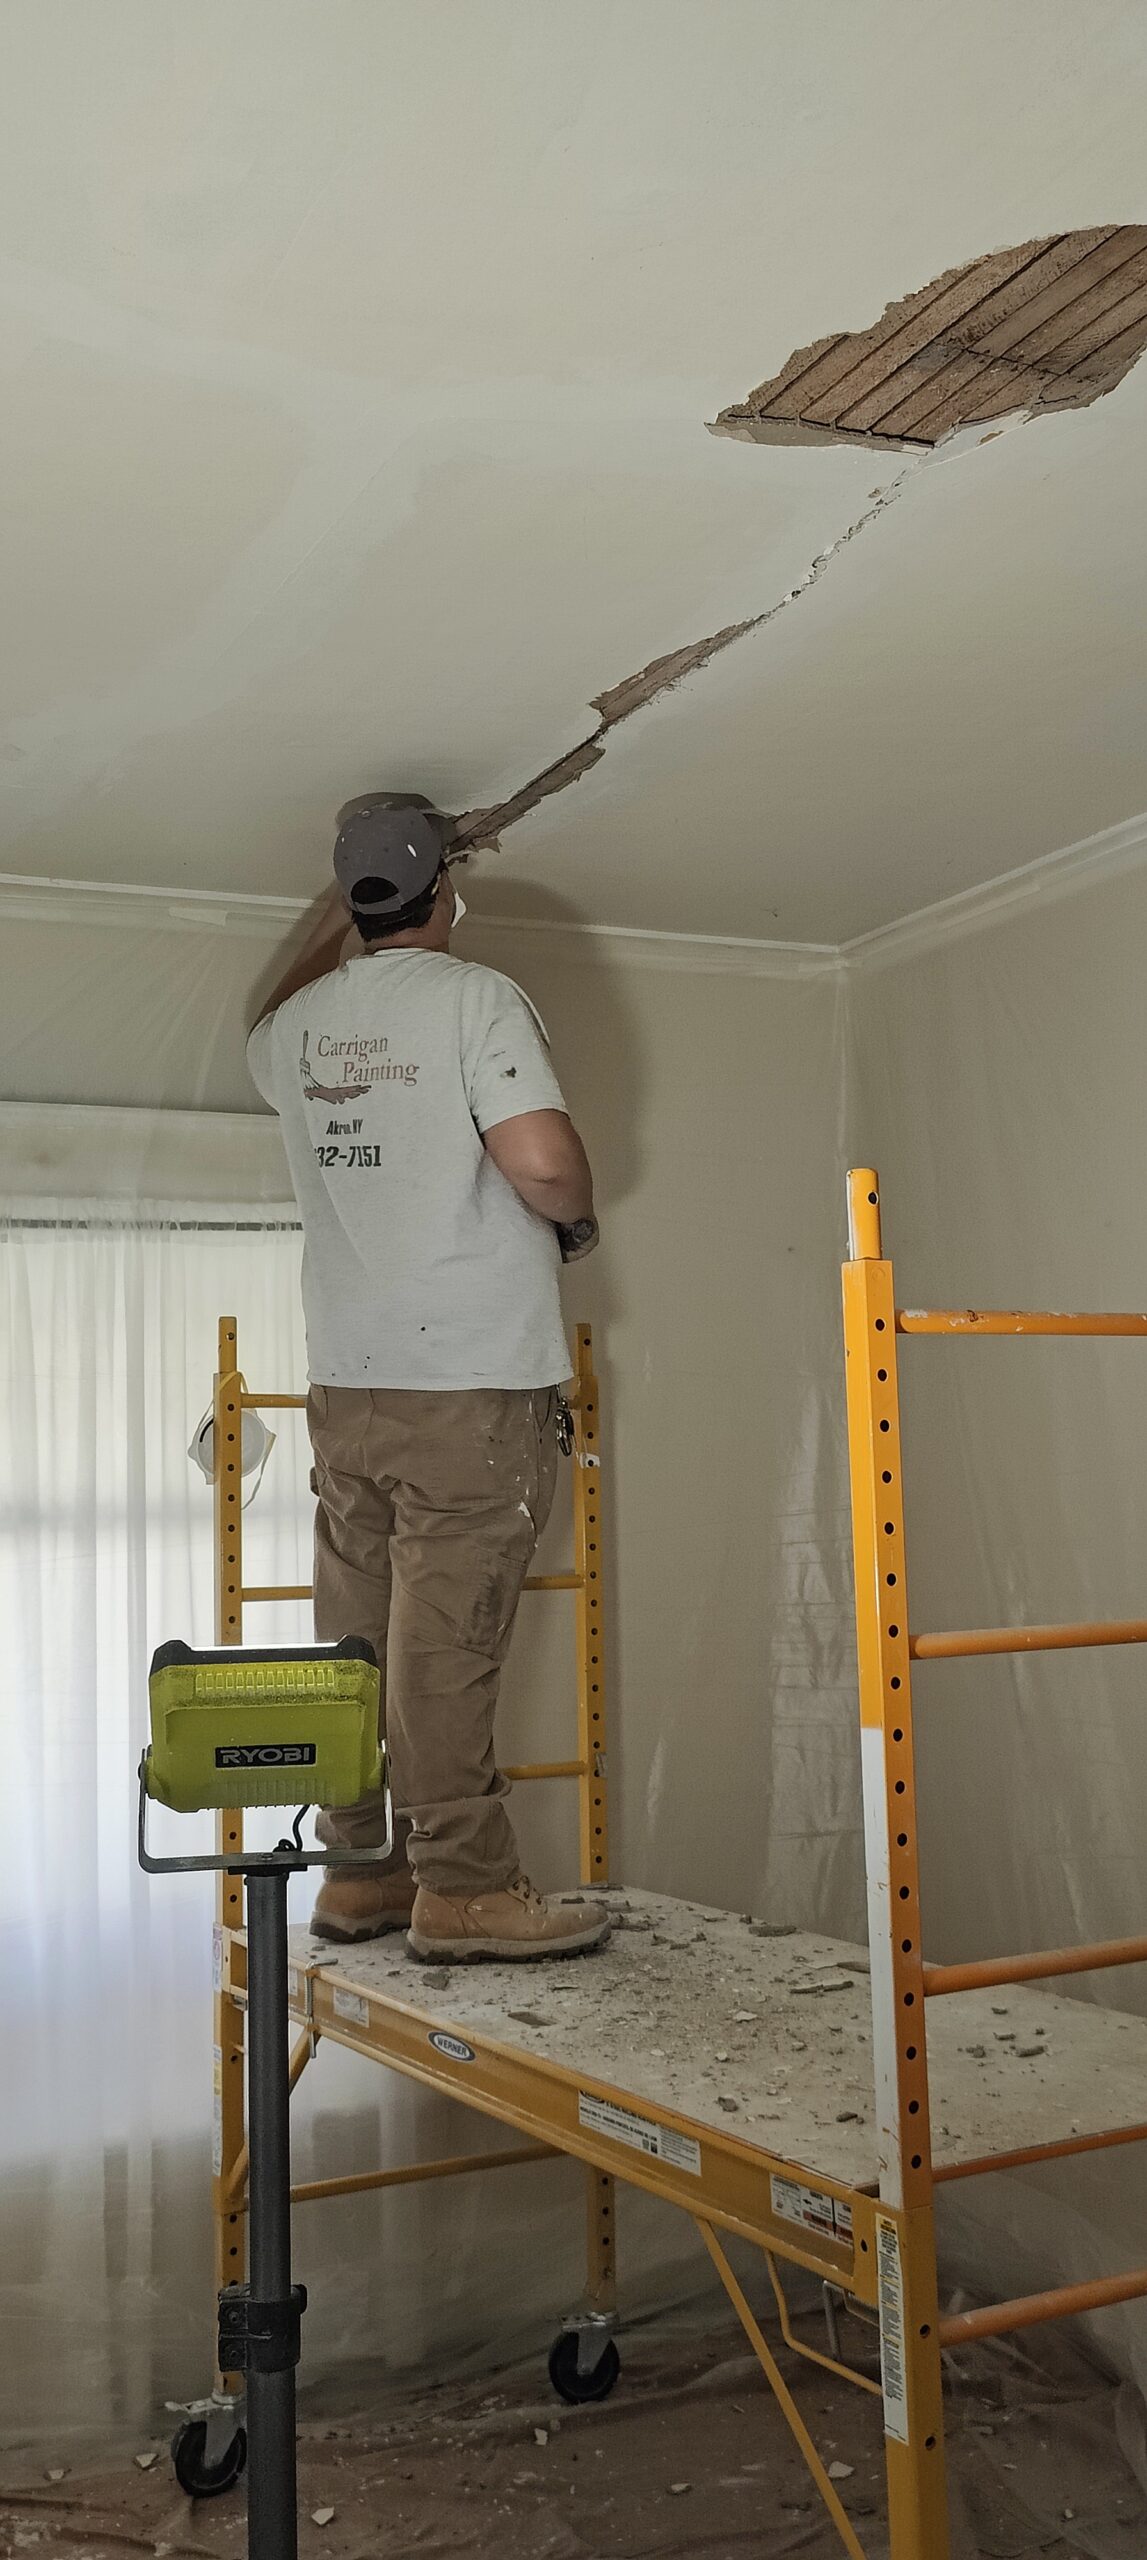
The master bedroom, pictured below, suffered water damage above the window, as well as on the back side of the dormer. Since we are repairing the water damage, we went ahead and are repairing the ugly ceiling crack too.


Upon digging into the crack, we discovered evidence of a previous repair attempt. Rather than chipping it out, or at least scoring the crack, they applied drywall compound directly over it, then put the mesh tape into the wet mud, and finished it.
How do you expect a repair to hold if the crack itself, goes un-addressed?
The second picture is a close up of the first picture.


All we did in the last photo, was pull the mesh tape off. When mesh tape comes off this clean and easy, it was installed incorrectly.
Below is our method for repairing a plaster crack. Using a sharp hatchet, we remove material down into the plaster basecoat, exposing solid material and creating a stronger foundation for the repair. This allows the new plaster to properly key into the existing plaster rather than simply sitting on the surface.
Our goal is not just to remove loose material. We intentionally open the crack so reinforcement can be incorporated into the repair. This creates a much stronger repair than simply applying tape and joint compound over the crack.
The 3 photos below illustrate this. The last photo being how we left the room at the end of the first day.


After chiseling out the crack, and doing some other prep on the water damage on the right side of the dormer, we applied our bonding agent. All of this will be repaired using a lime based plaster finish, the same type of plaster these homes in Snyder are finished with.
The next set of images is of the water damage to the right side of the dormer. Water damaged plaster is unpredictable, some times large areas of finish coat plaster will peel off like this, as well as in the guest room below. We will fix it all.


We will remove that little “land-bridge” in the two photos above.
Guest Room
Both guest bedrooms, suffered the same fate as the rest of the house. We replaced the missing insulation, prior to closing up the holes in the ceilings. The last photo is plaster basecoat. Next step is to apply the finish coat. Notice how we prepare plaster cracks to be repaired?


Green Room
Another room, another hole in a plaster ceiling. The lines in the plaster basecoat is to give the finish plaster a stronger mechanical bond with the basecoat.


Living Room Ceiling

Bathroom
More to come!