This week we started a popcorn ceiling removal project in Lockport NY. The height of the ceiling- 20′. When you remove popcorn texture, you have to get hands on every inch of the ceiling. So that means scaffolding. First order of business is to get everything covered, walls, wall-speakers, windows and trim and the floor. We prefer to run our scaffold on RamBoard, but due to the carpeting it can not be used. The set of wheels we use are dedicated interior wheels.
What Can Popcorn Ceiling Texture Hide?
We are removing the popcorn ceiling texture from the great room, foyer, and 2 small hallways. Then priming and painting the ceilings, and repainting the walls, repairing any damage we find along the way. This post will detail that process.


Popcorn Ceiling Removal
Begins
Once the drop-cloths were laid out, we brought in the scaffolding and set it up.


Popcorn Ceiling Removal
Continues
Day 2 – Popcorn Ceiling Removal – Great Room & Hallways
Popcorn removal is slow but steady. Our 2 gallon sprayer from last year broke so we had to buy another one for Day 2. So we were stuck using our little pump-sprayer I use for finishing plaster.


We are removing the popcorn ceiling texture from the great room, foyer, and both hallways. Below is the progression of texture removal from one of those hallways, including the cleanup for the evening.


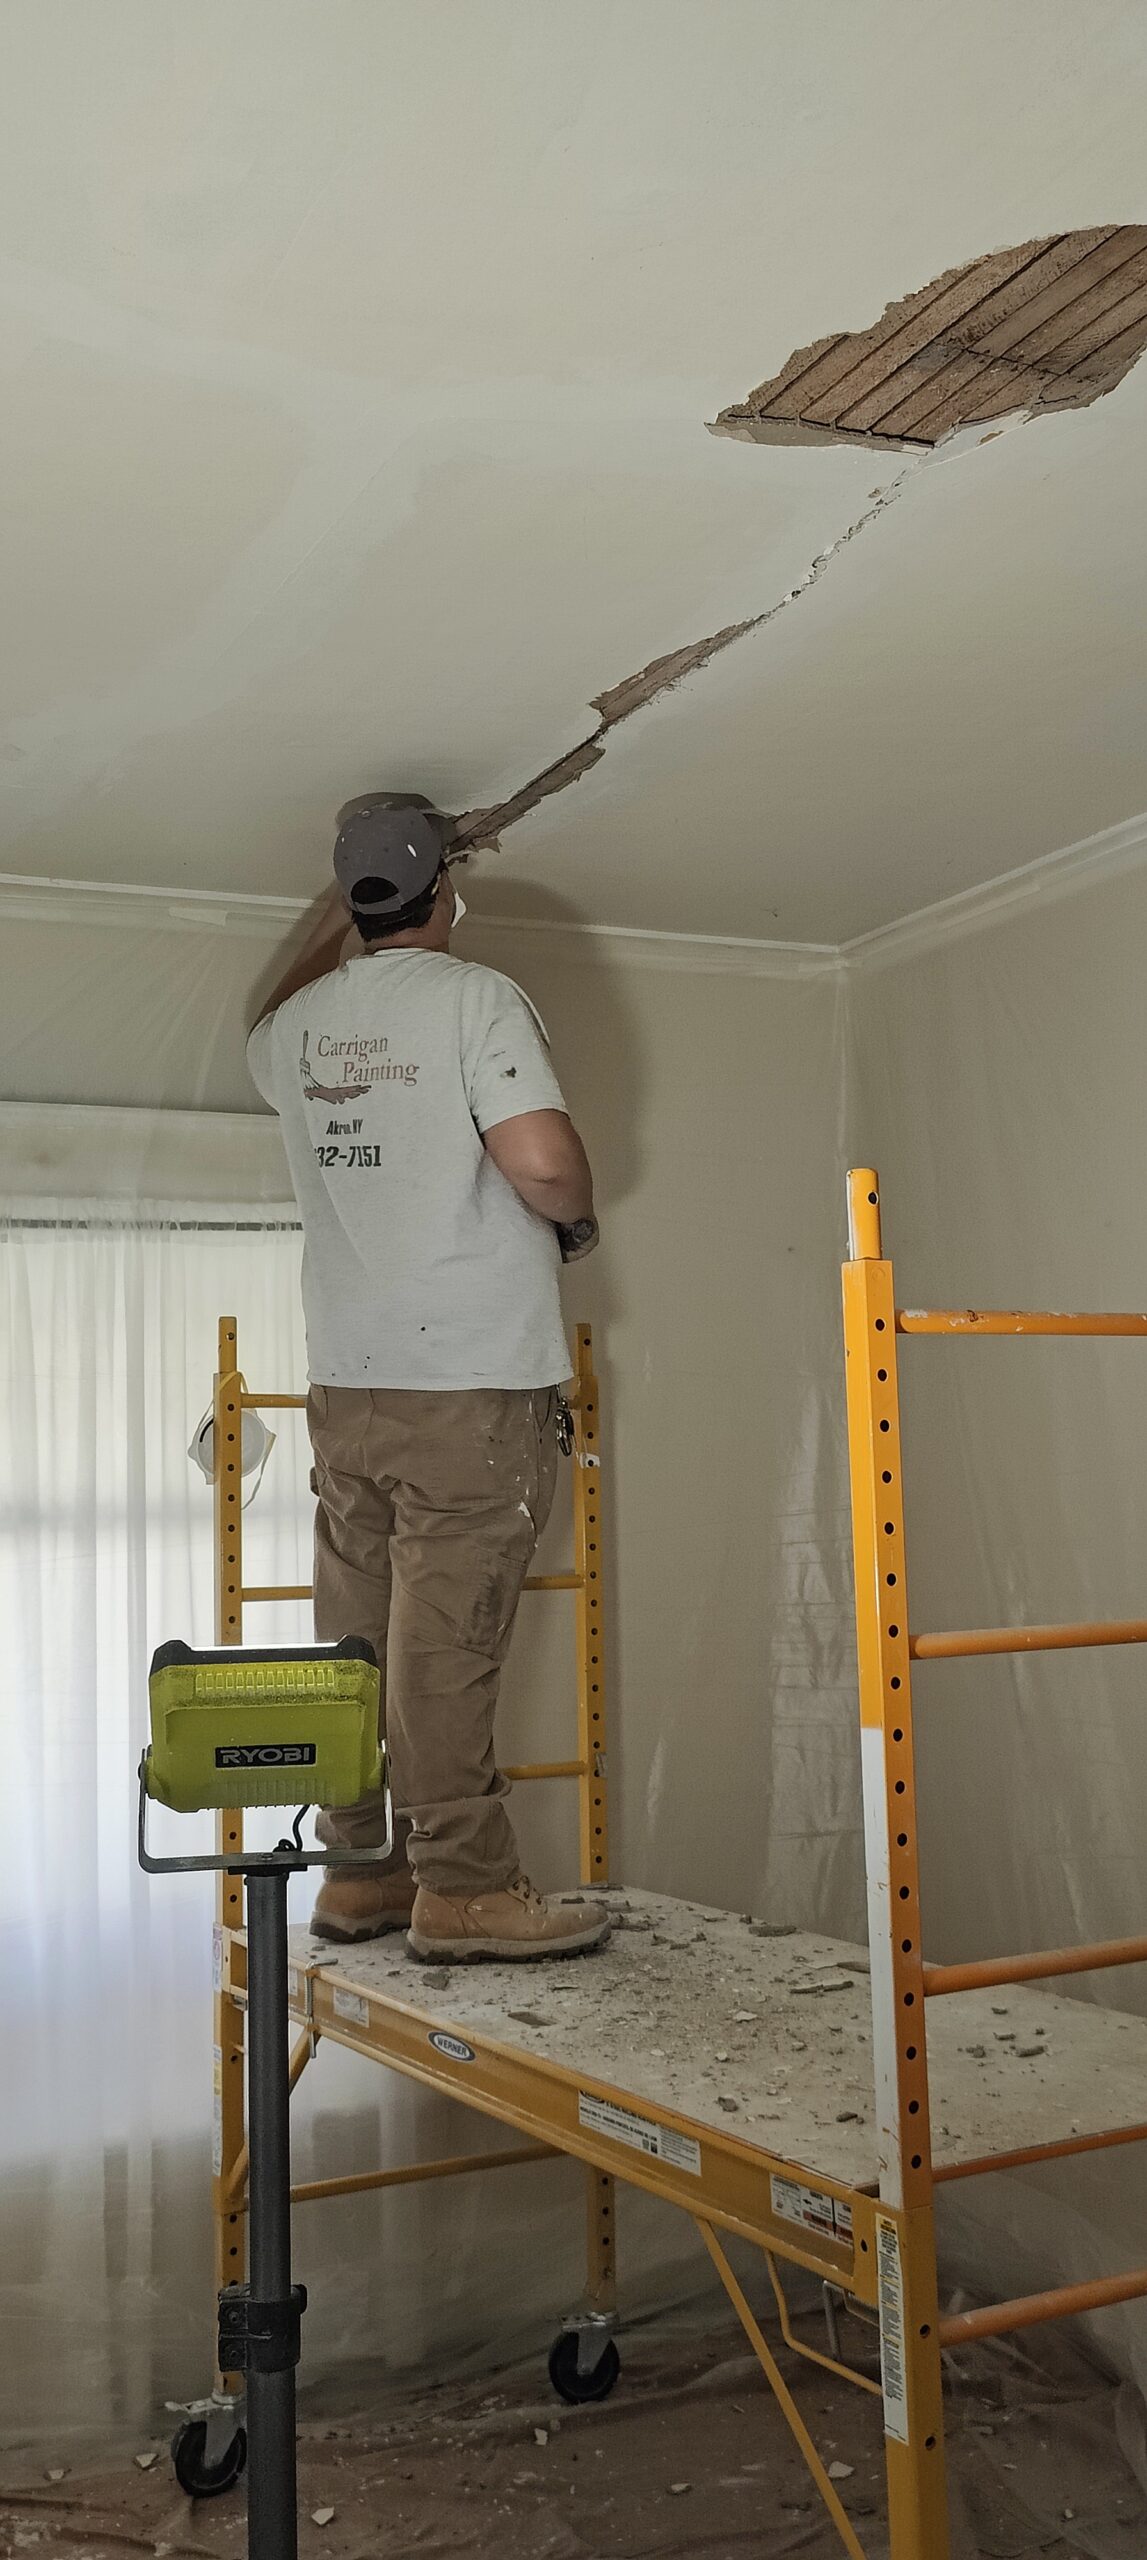
It is kind of hard to see in the pictures, but there are 3 distinct horizontal cracks in the great room ceiling. Two of them were becoming more visible through the texture, but the 3rd crack was completely hidden from view by the popcorn. We will repair these cracks to the best of our abilities, however given that it is a very large open ceiling, the chances of these cracks coming back is fairly high. After all it cracked once.

Some more pictures….


Popcorn Removal
Never Ends…
Day 3 – Popcorn Ceiling Removal – Foyer
This morning we started in the foyer, after covering the floor with Ramboard, and covering the light fixtures, we setup the baker scaffold to reach the ceiling. We originally were going to setup something different but after further inspection determined that wouldn’t work safely in this space. As is often the case in many homes of this style, getting to the ceiling in the foyer, can be more difficult than it may appear. Don’t forget, when the house was under construction, there were no permanent railings to contend with!


Making progress on the popcorn removal..


Day 4 – 5
So progress has been methodical, but not very visual. So the great room has been sanded, and primed.
After removing the popcorn, and the ceiling has had adequate time to dry, we pole sanded the entire ceiling. This removes any left over crumbs, and helps smooth out any rough areas.


After the ceiling was sanded, we primed the ceiling with Behr 436 – our go to general purpose acrylic primer.
After the ceiling was primed, it looked a bit blotchy from the balcony. This can happen. But on such a massive ceiling, we want to make sure this isn’t a problem, so we jumped ahead a few steps, and rolled ceiling paint on the bottom 2/3rds of the ceiling to make sure it would go away – which it did.
Popcorn Ceiling Removal
Problems
We discovered that the popcorn ceilings, are not original to the house, but were installed after-the-fact due to multiple cracks in the ceilings, and the inability to make lasting repairs. I say that, because there are two layers of popcorn on both ceilings. The foyer ceiling texture was unusually thick in areas and upon further inspection of the ceiling we determined there are in fact 2 layers of popcorn on the ceilings.


The two photos above show the layers of popcorn.
The first layer was scraped down, skim coated, primed and then the second layer of texture was applied. This was done to hide the unfixable cracks in the ceilings. A common trait with these large open spaces in these style homes. Sometimes, cracks can not be fixed, and the best you can do is hide them, and the best way to hide unfixable ceiling cracks is to apply popcorn ceiling texture.
Breaking this bad news to the homeowner wasn’t easy. But, if it was our house, we would want to know.
The homeowner isn’t too happy about it, but these things do happen on occasion. But because we also like to think outside the box, and open to new ideas, and are willing to try new things (with in reason) we are trying a different kind of fiberglass mesh, that hopefully, will provide a lasting repair,. Fingers crossed.


There are some areas in the great room ceiling, where the first layer of popcorn texture did come off, and other rough areas. So we took care of those areas today.
End of last week, we applied a heavy coat of primer to one corner of the great room ceiling, and let it dry over the week end. We did this because we want to see how “sound” the second layer of popcorn is. Will it accept primer and paint? Will it blister? Thankfully it didn’t blister. So we primed the big ceiling and let it dry, again no blisters. And with the blotchiness we saw after priming, and the coat of paint we added – no blistering. So far so good. That means who ever did the popcorn, knew what they were doing. Yay!
Something no one ever thinks about, but going forward, the ceiling paint will rely on the adhesion of the existing texture (That we can’t get off with out destroying the ceilings). This usually manifests years later, looks like water damage, but isn’t.
Painting Begins?
Day 6:
So today we were able to finish removing the pocporn ceiling texture in the foyer, sanded the ceiling, and then primed the ceiling. We also painted two hallways and a hallway ceiling. We were hoping to do the 2nd hallway ceiling, but some patches were taking their good ol’time drying, so we couldn’t get the ceiling painted.


Luckily the master bedroom is on the first floor 😄
More Patching
Day 7: We checked previous patches, and did 2nd/3rd coats of patches we did yesterday. We also prepared the two areas in the foyer ceiling, where we removed both layers of popcorn. We repaired the 4 horizontal cracks in the foyer ceiling prior to skim coating the ceiling. We are making progress, big progress even though it may not seem like it. Tomorrow we will sand everything, get things primed and possibly get into some painting.


Tight quarters in the foyer, with equipment, seems we bumped into the wall and caused some minor damage. Better than taking out the wall sconce next to it!

Day 8: We sanded the foyer ceiling, and primed it. We also sanded and primed the patches in the great room ceiling as well. After priming the patches, we applied a coat of paint to the area of the great room ceiling that wasn’t painted before.


We also painted the ceilings of the two hallways, and painted the walls as well, so those should be done… we will double check Monday to see how they look. Monday is a near full clean out as we need to get rid of the dust and debris..


After doing a general clean up we started with the painting of everything. Anyways, on to the photos… The colors all stayed the same. So, there really wasn’t a drastic change in the appearance of the areas, We took photos, but it doesn’t look like we did anything in those photos. Anyways, painting of all the areas took 3 days.
Finished
We spent an entire day just cleaning, we always clean up after ourselves.


Gallery