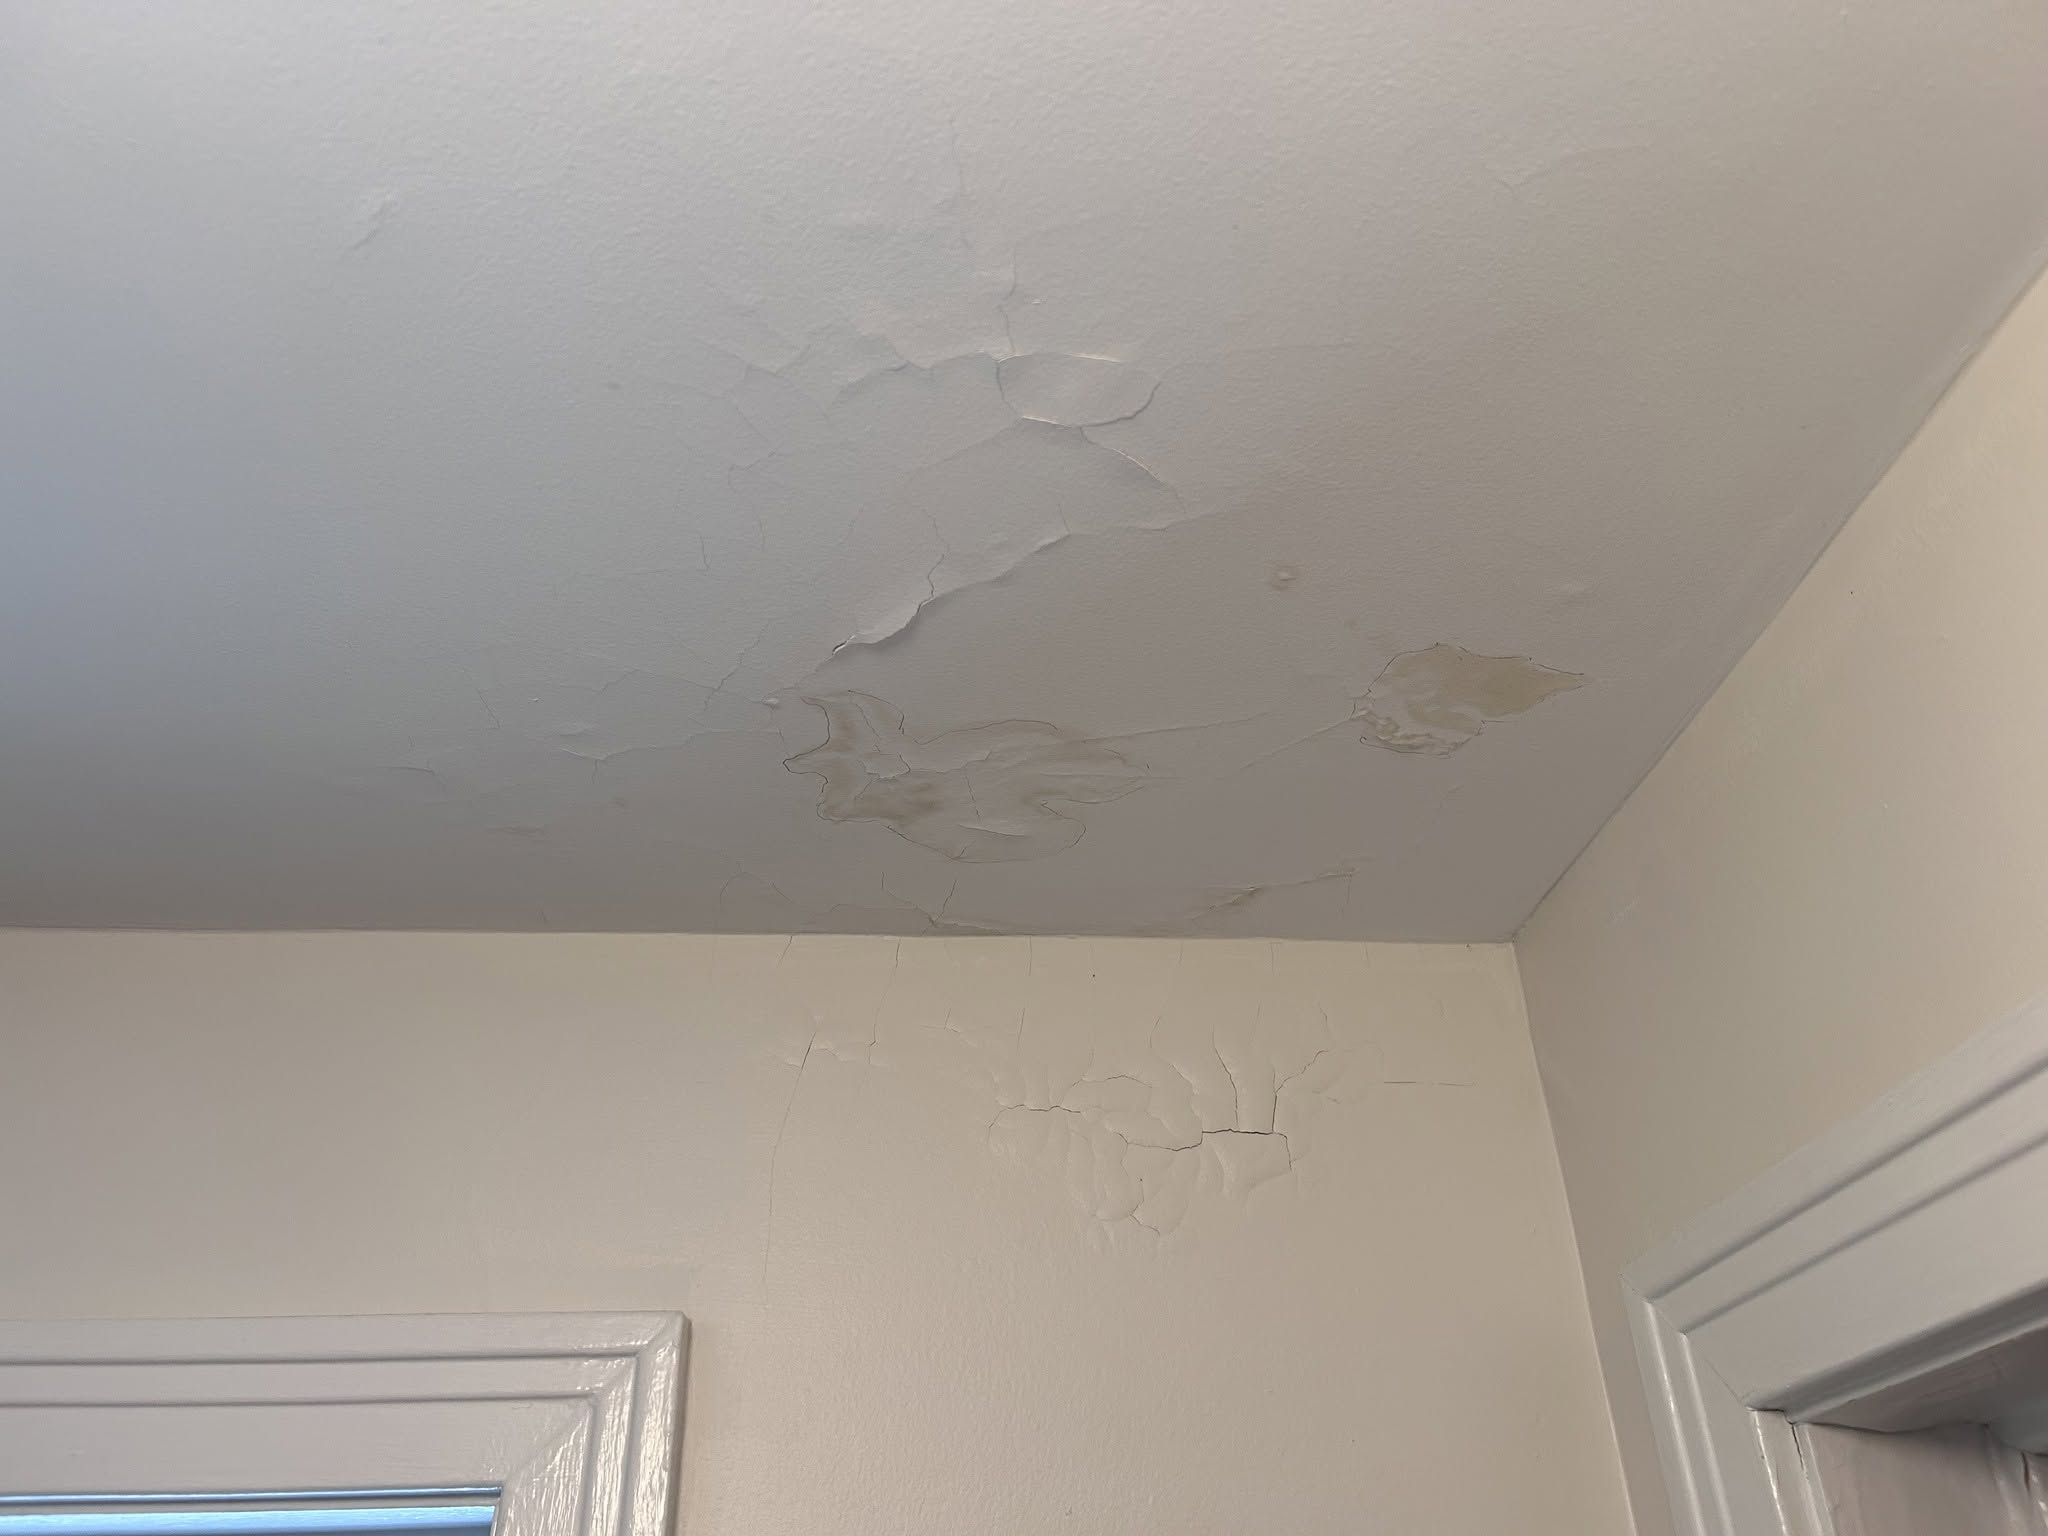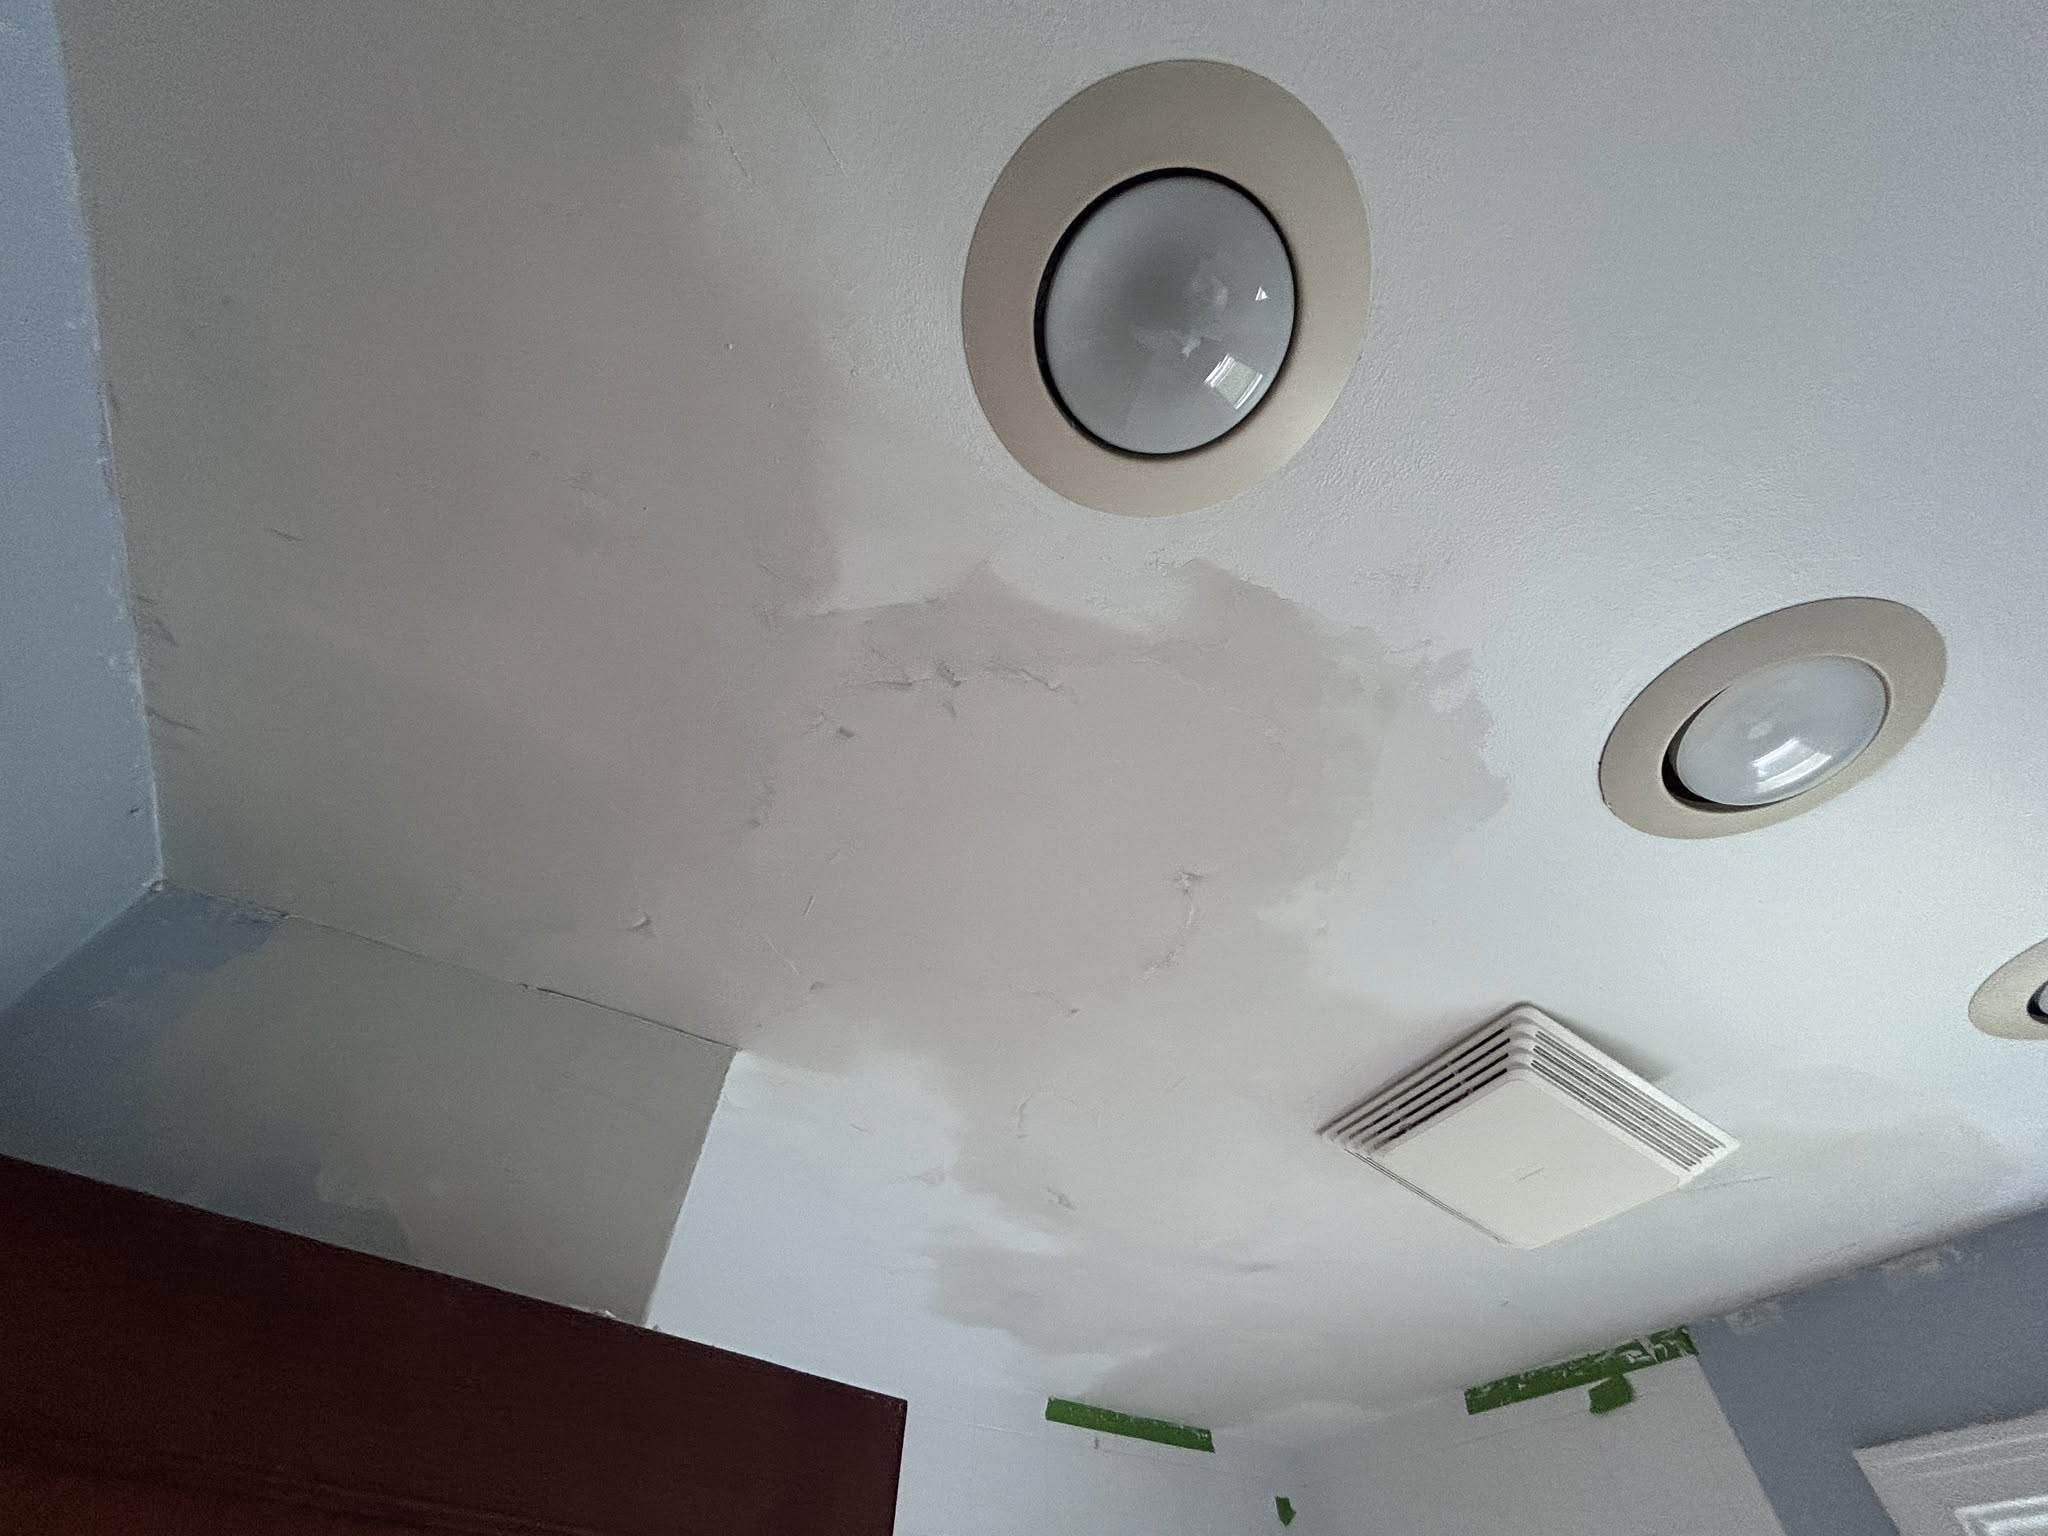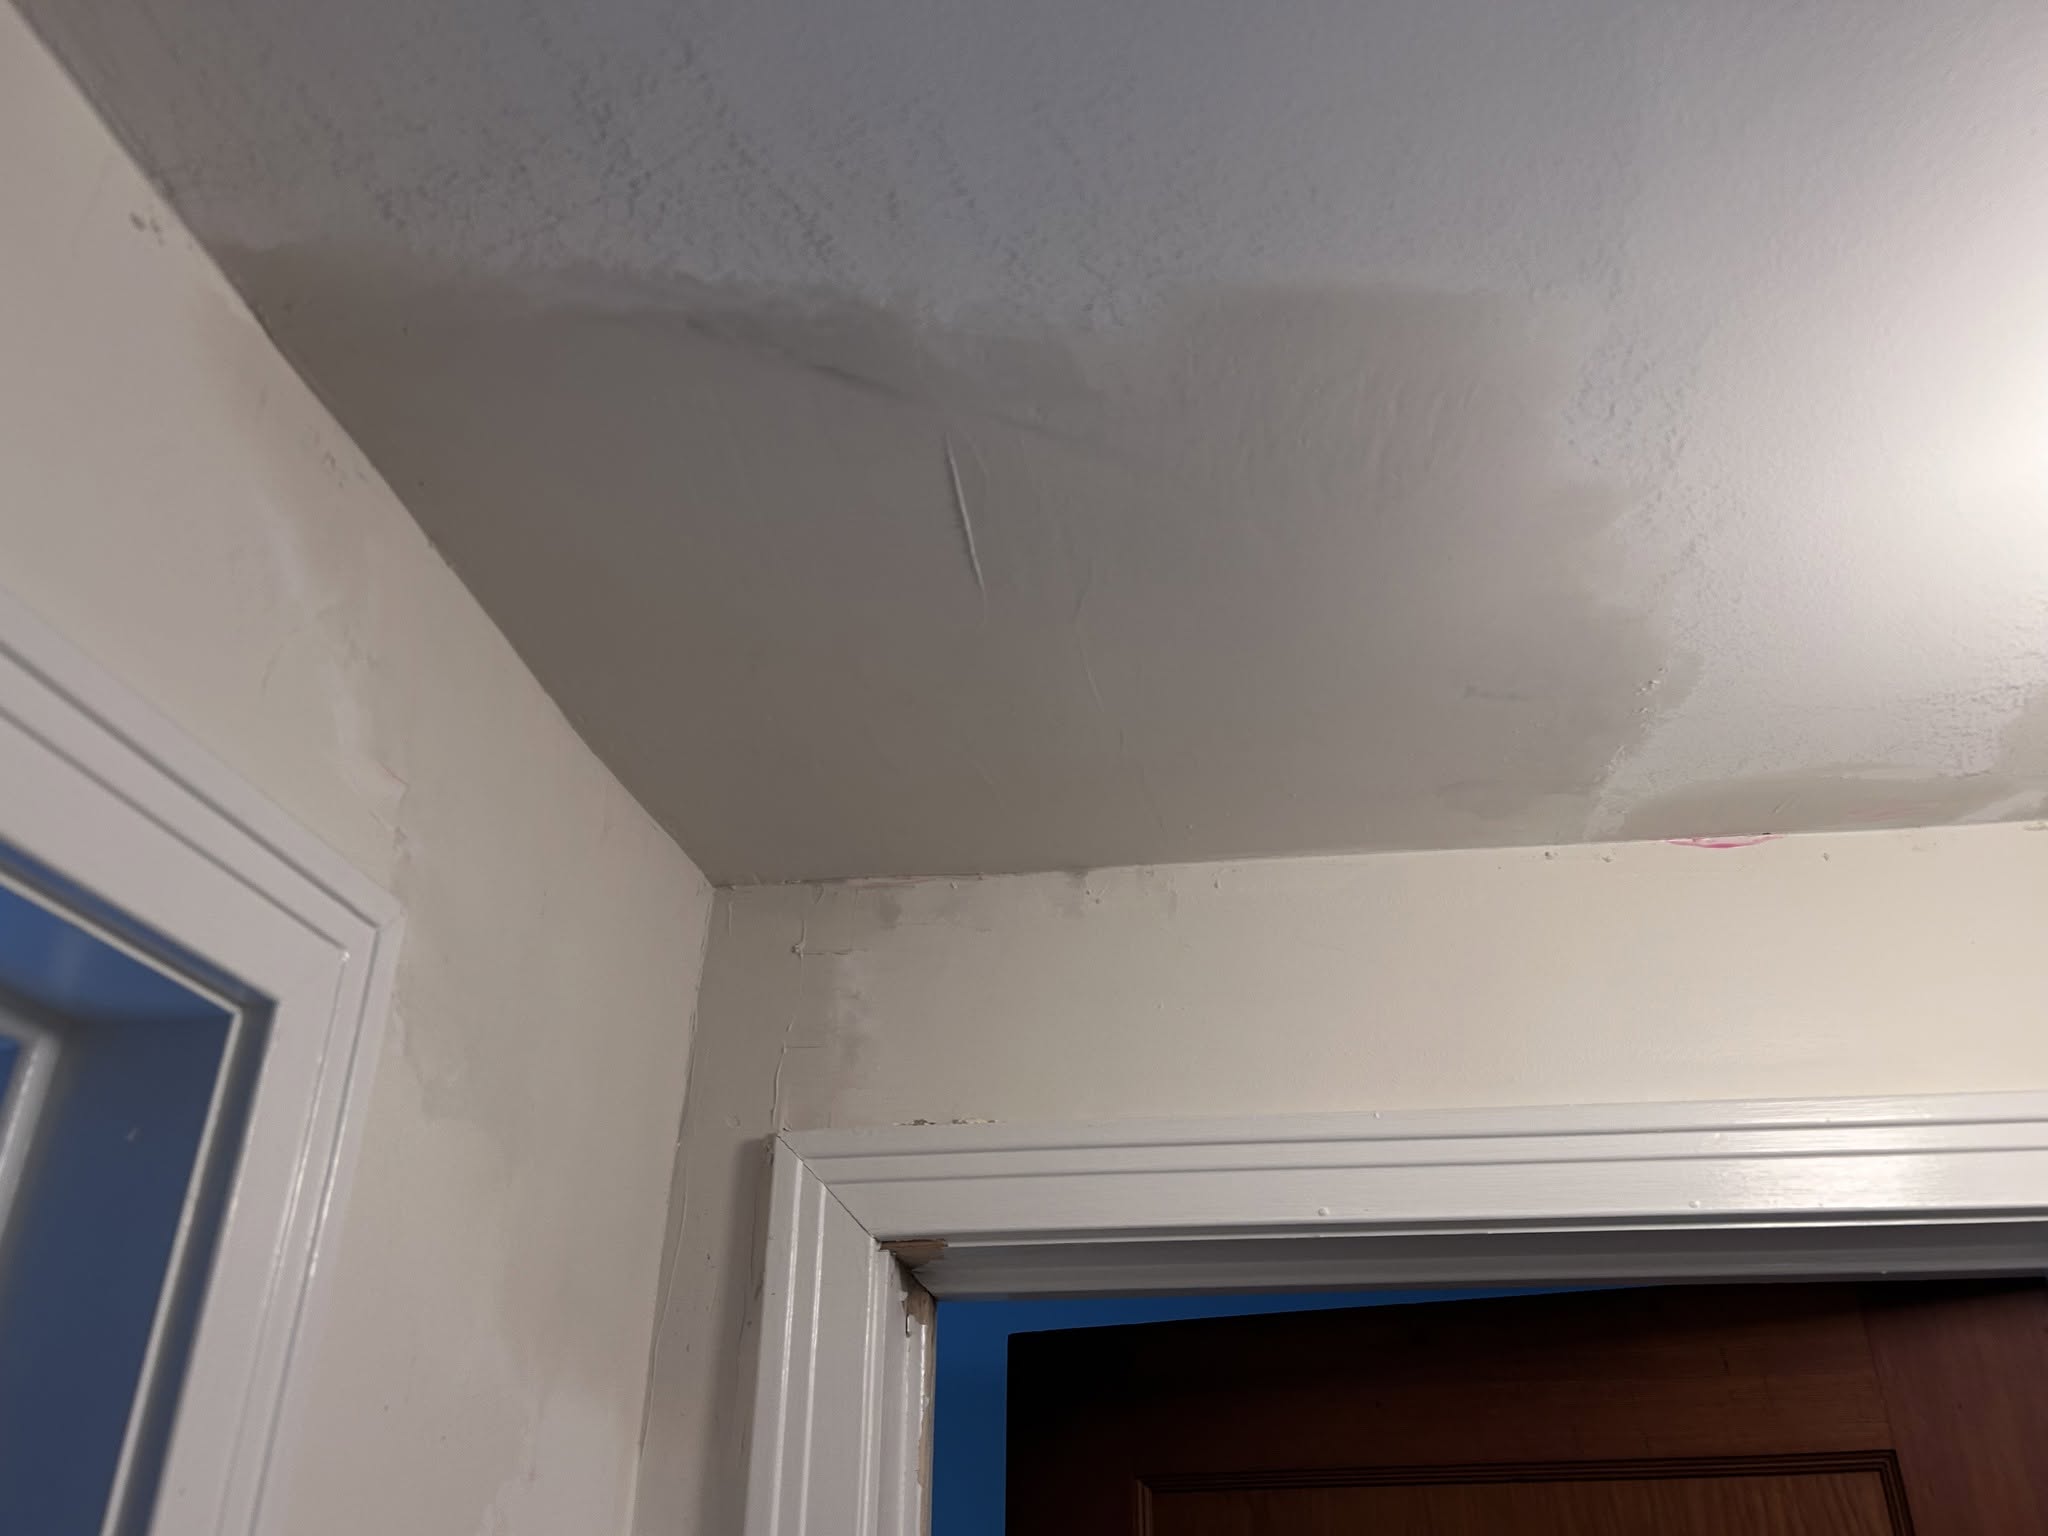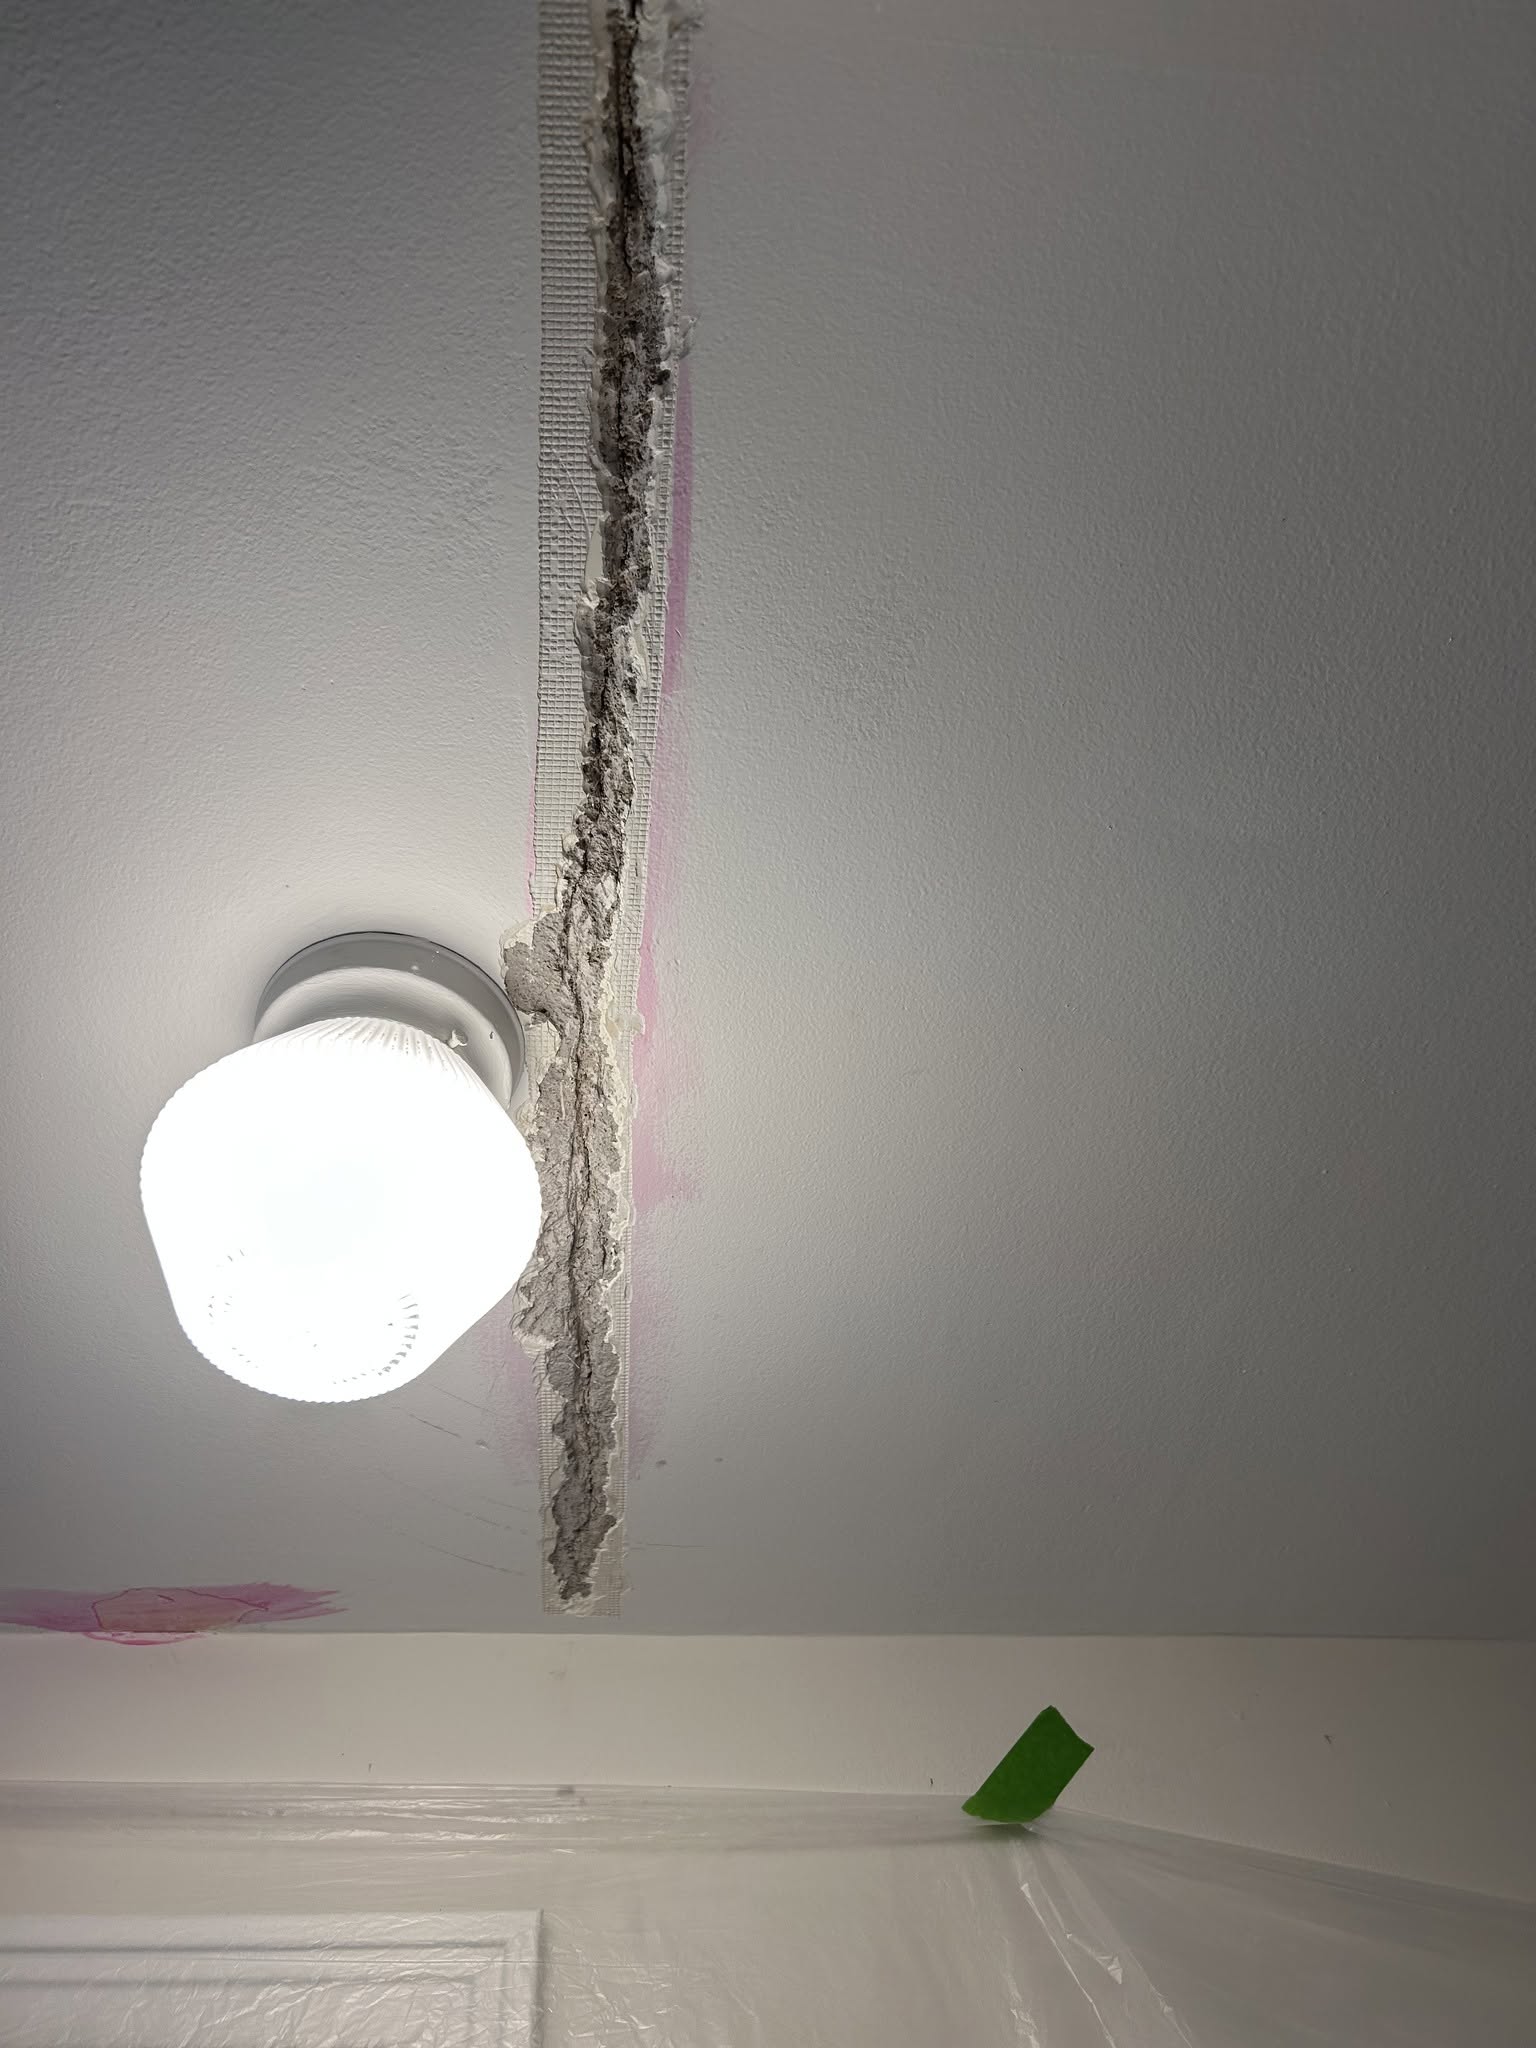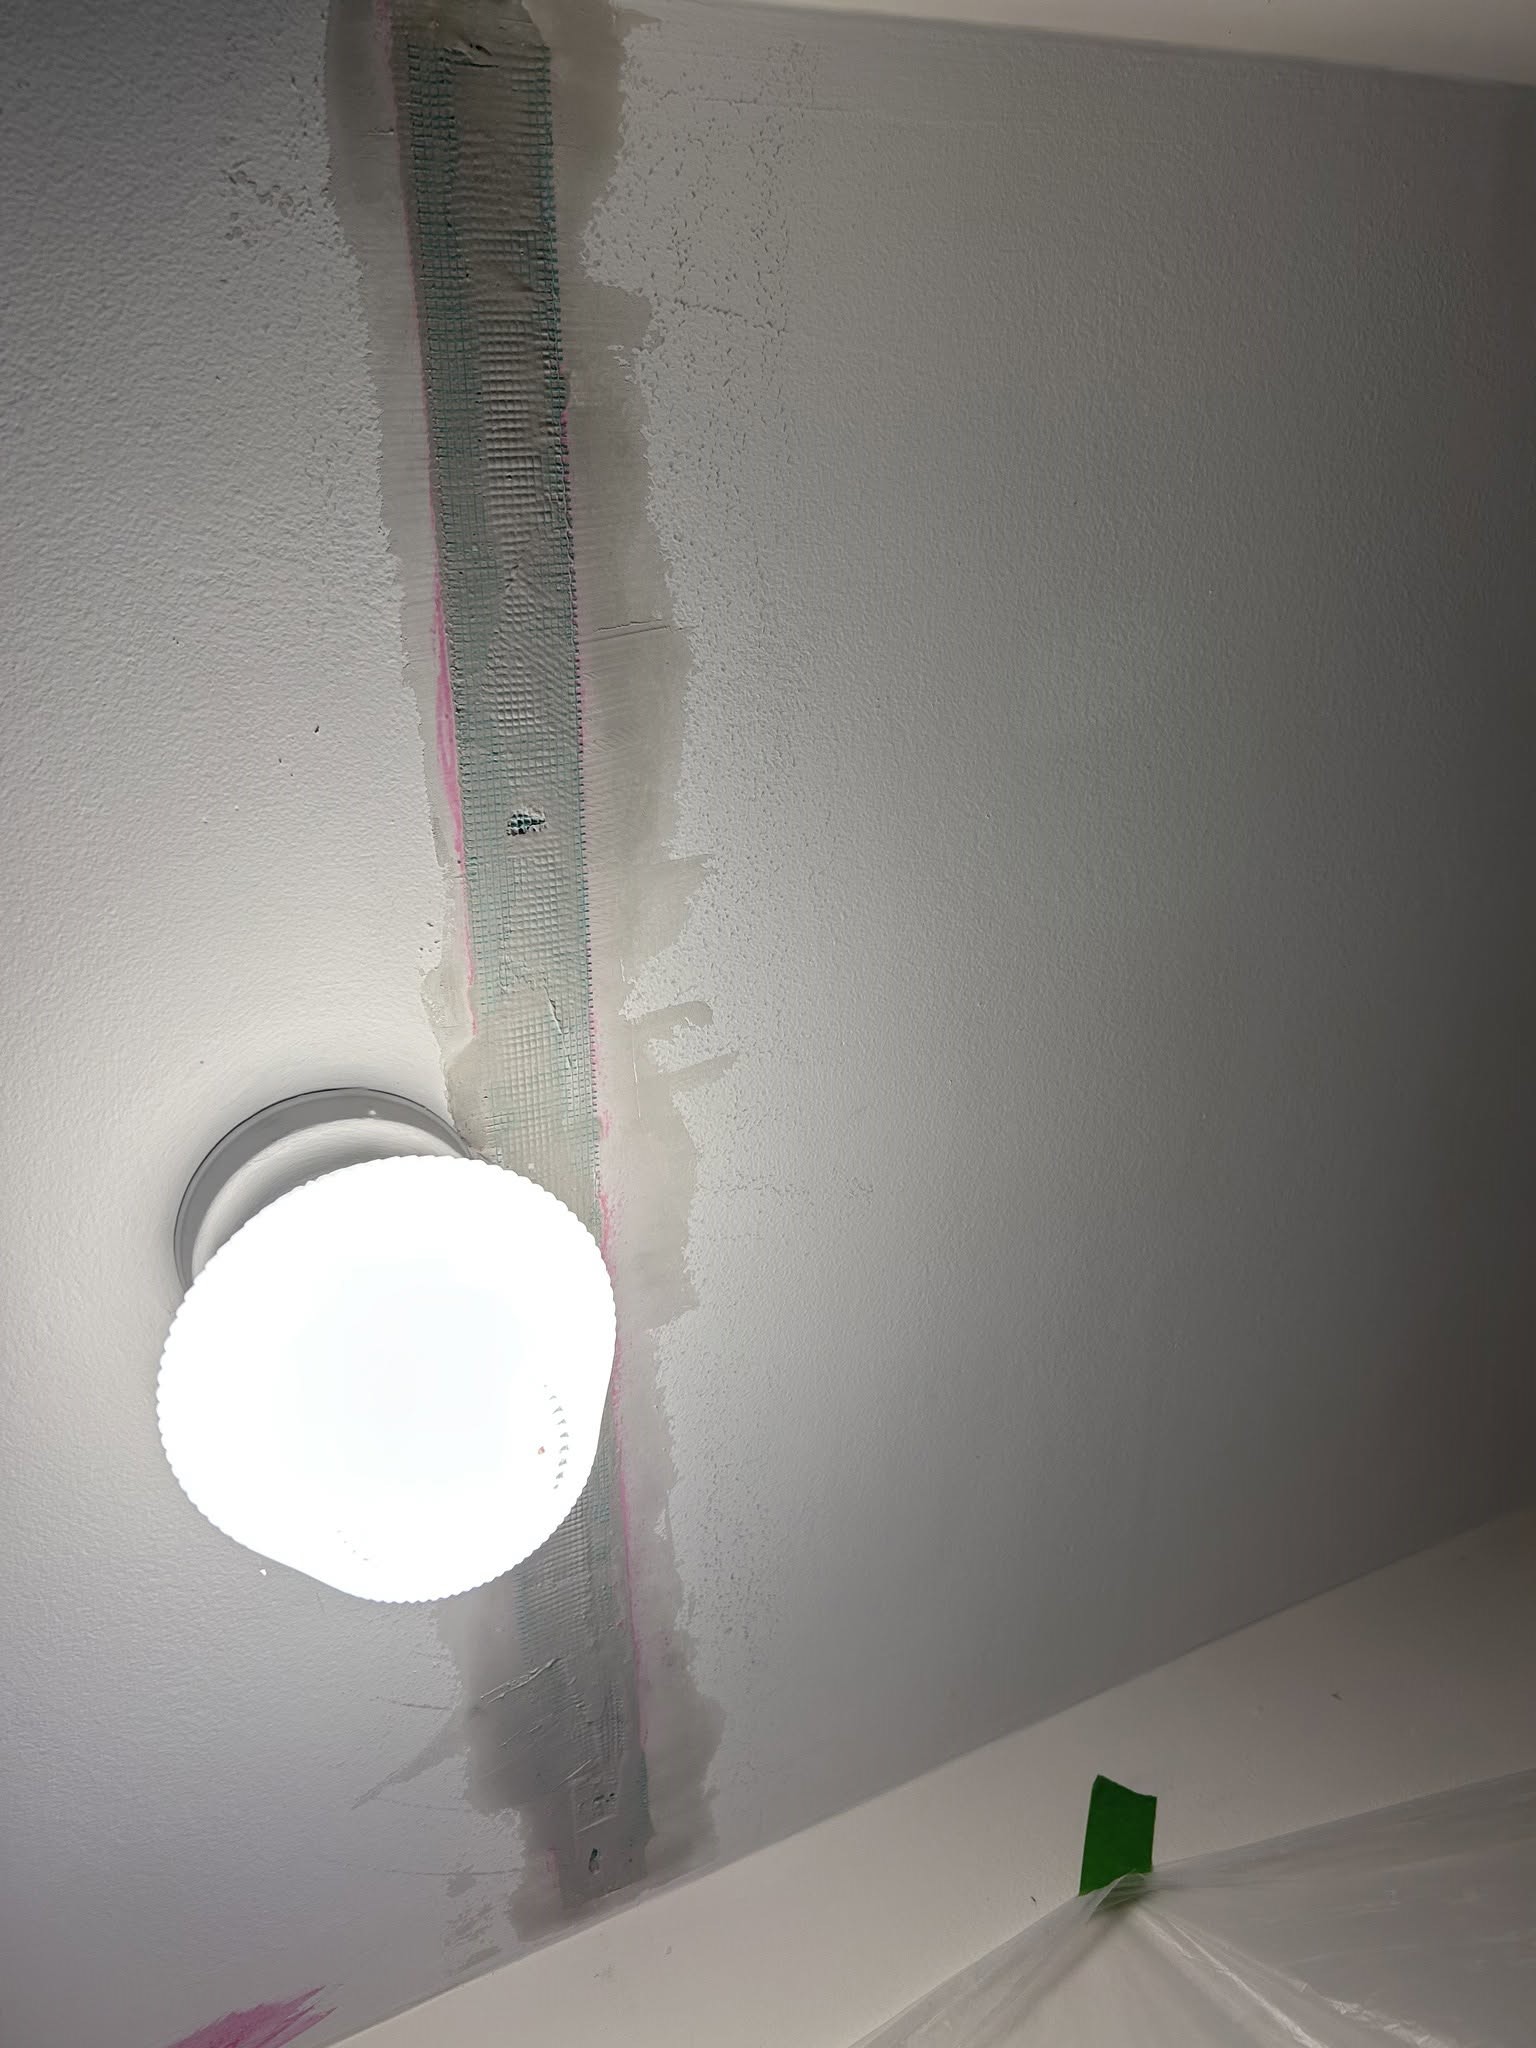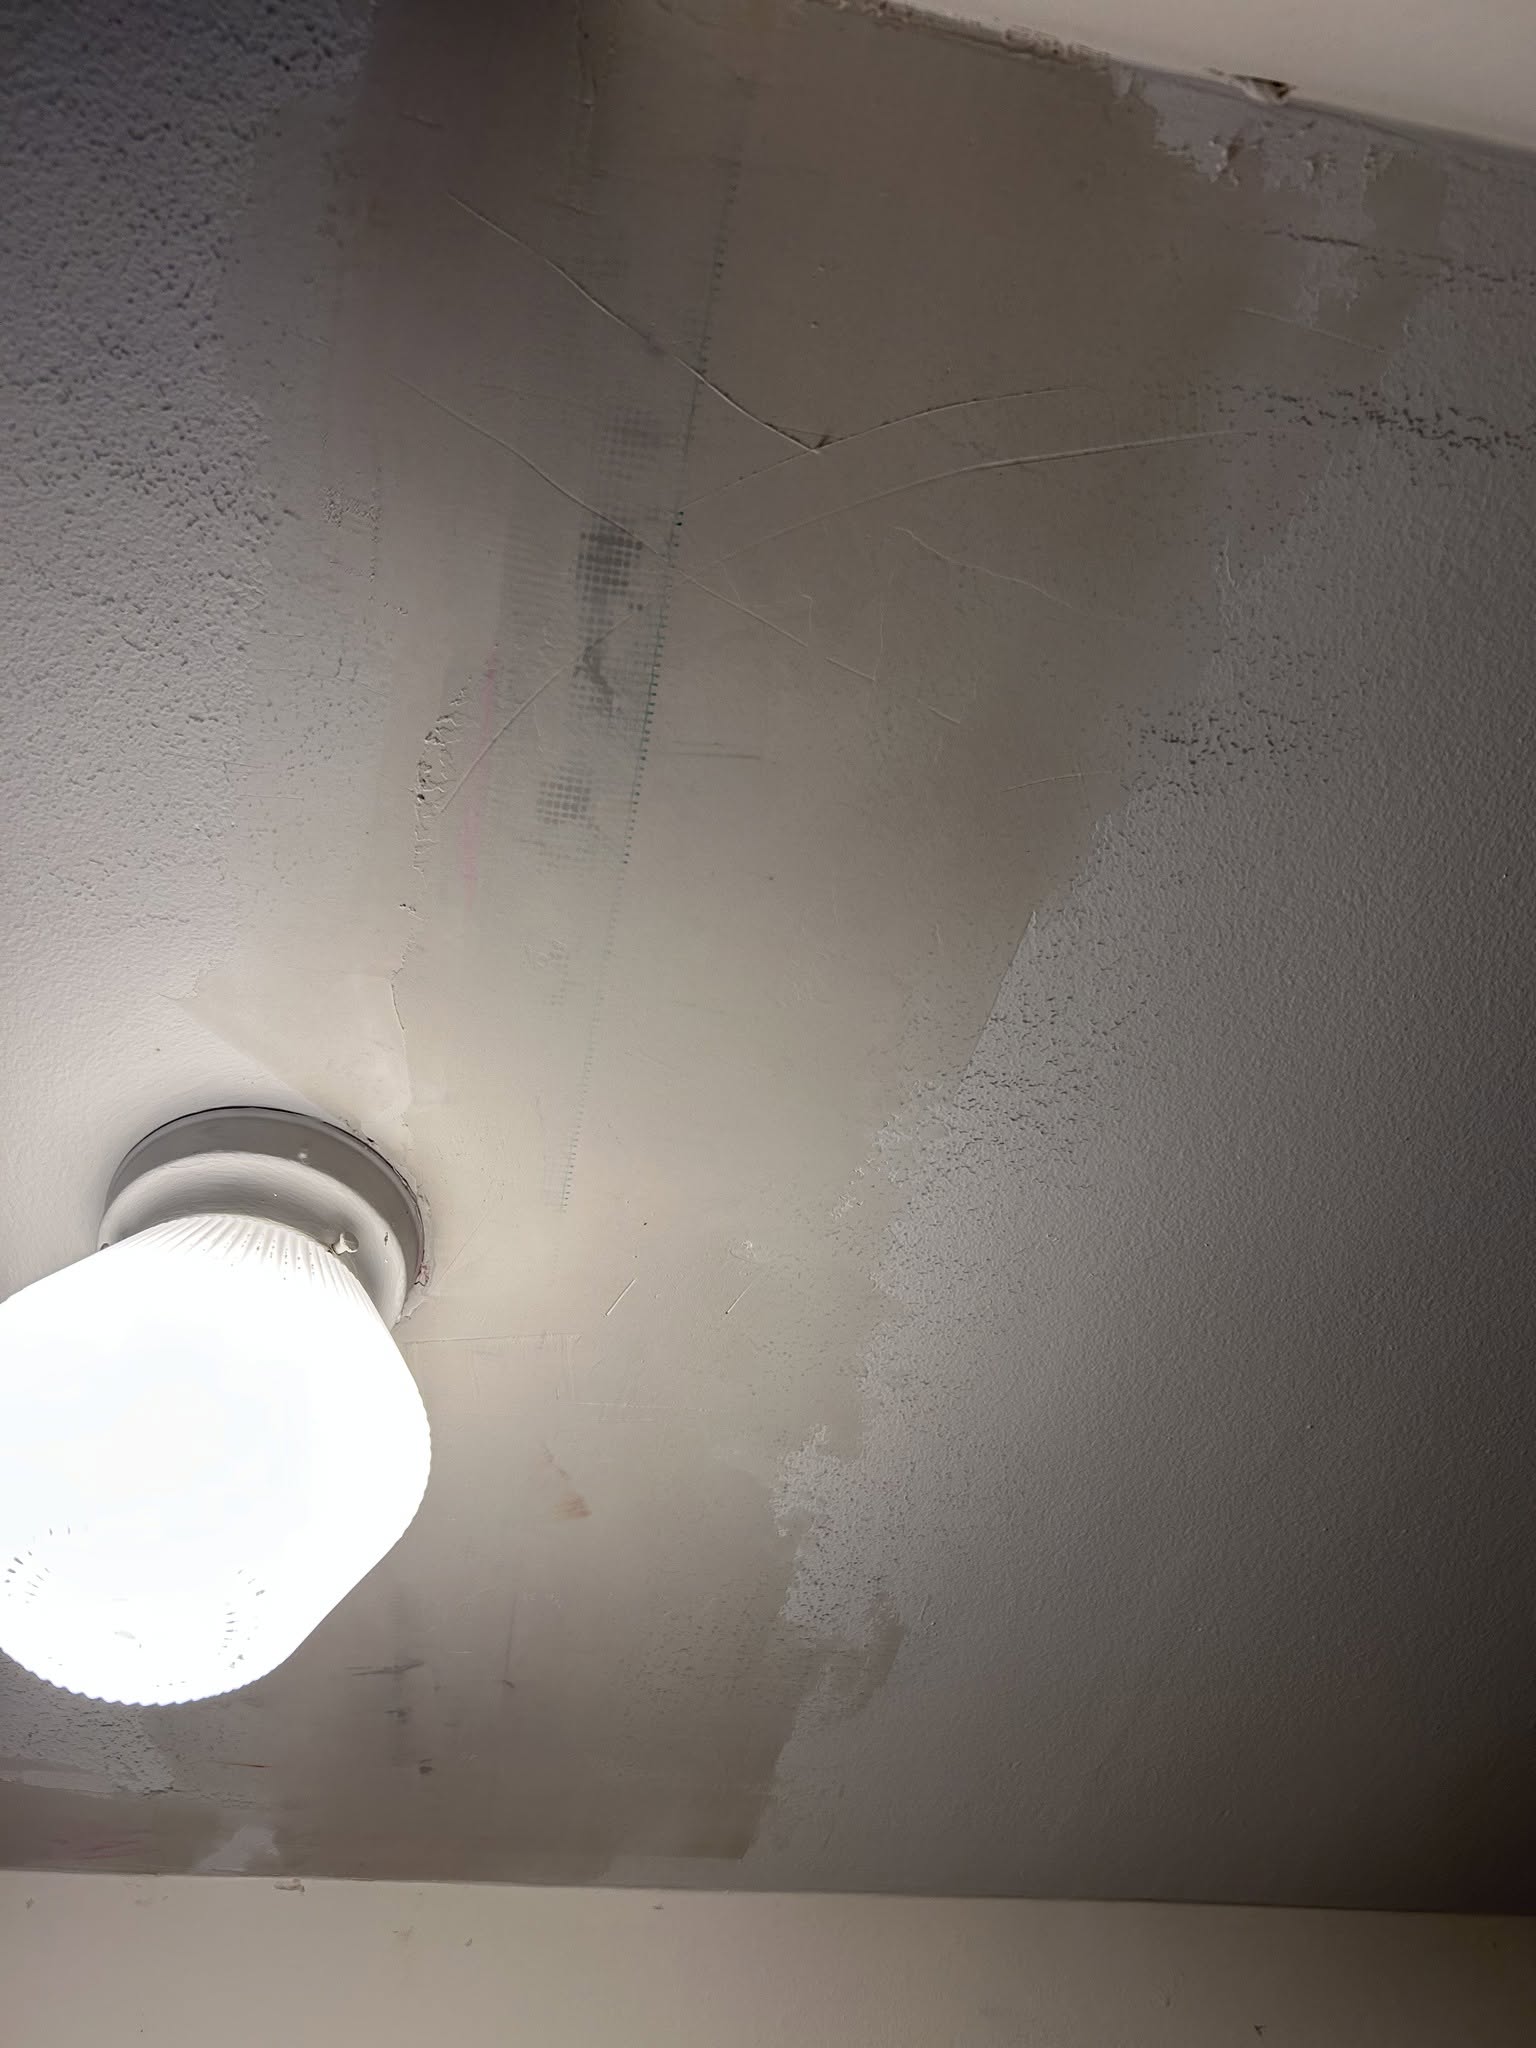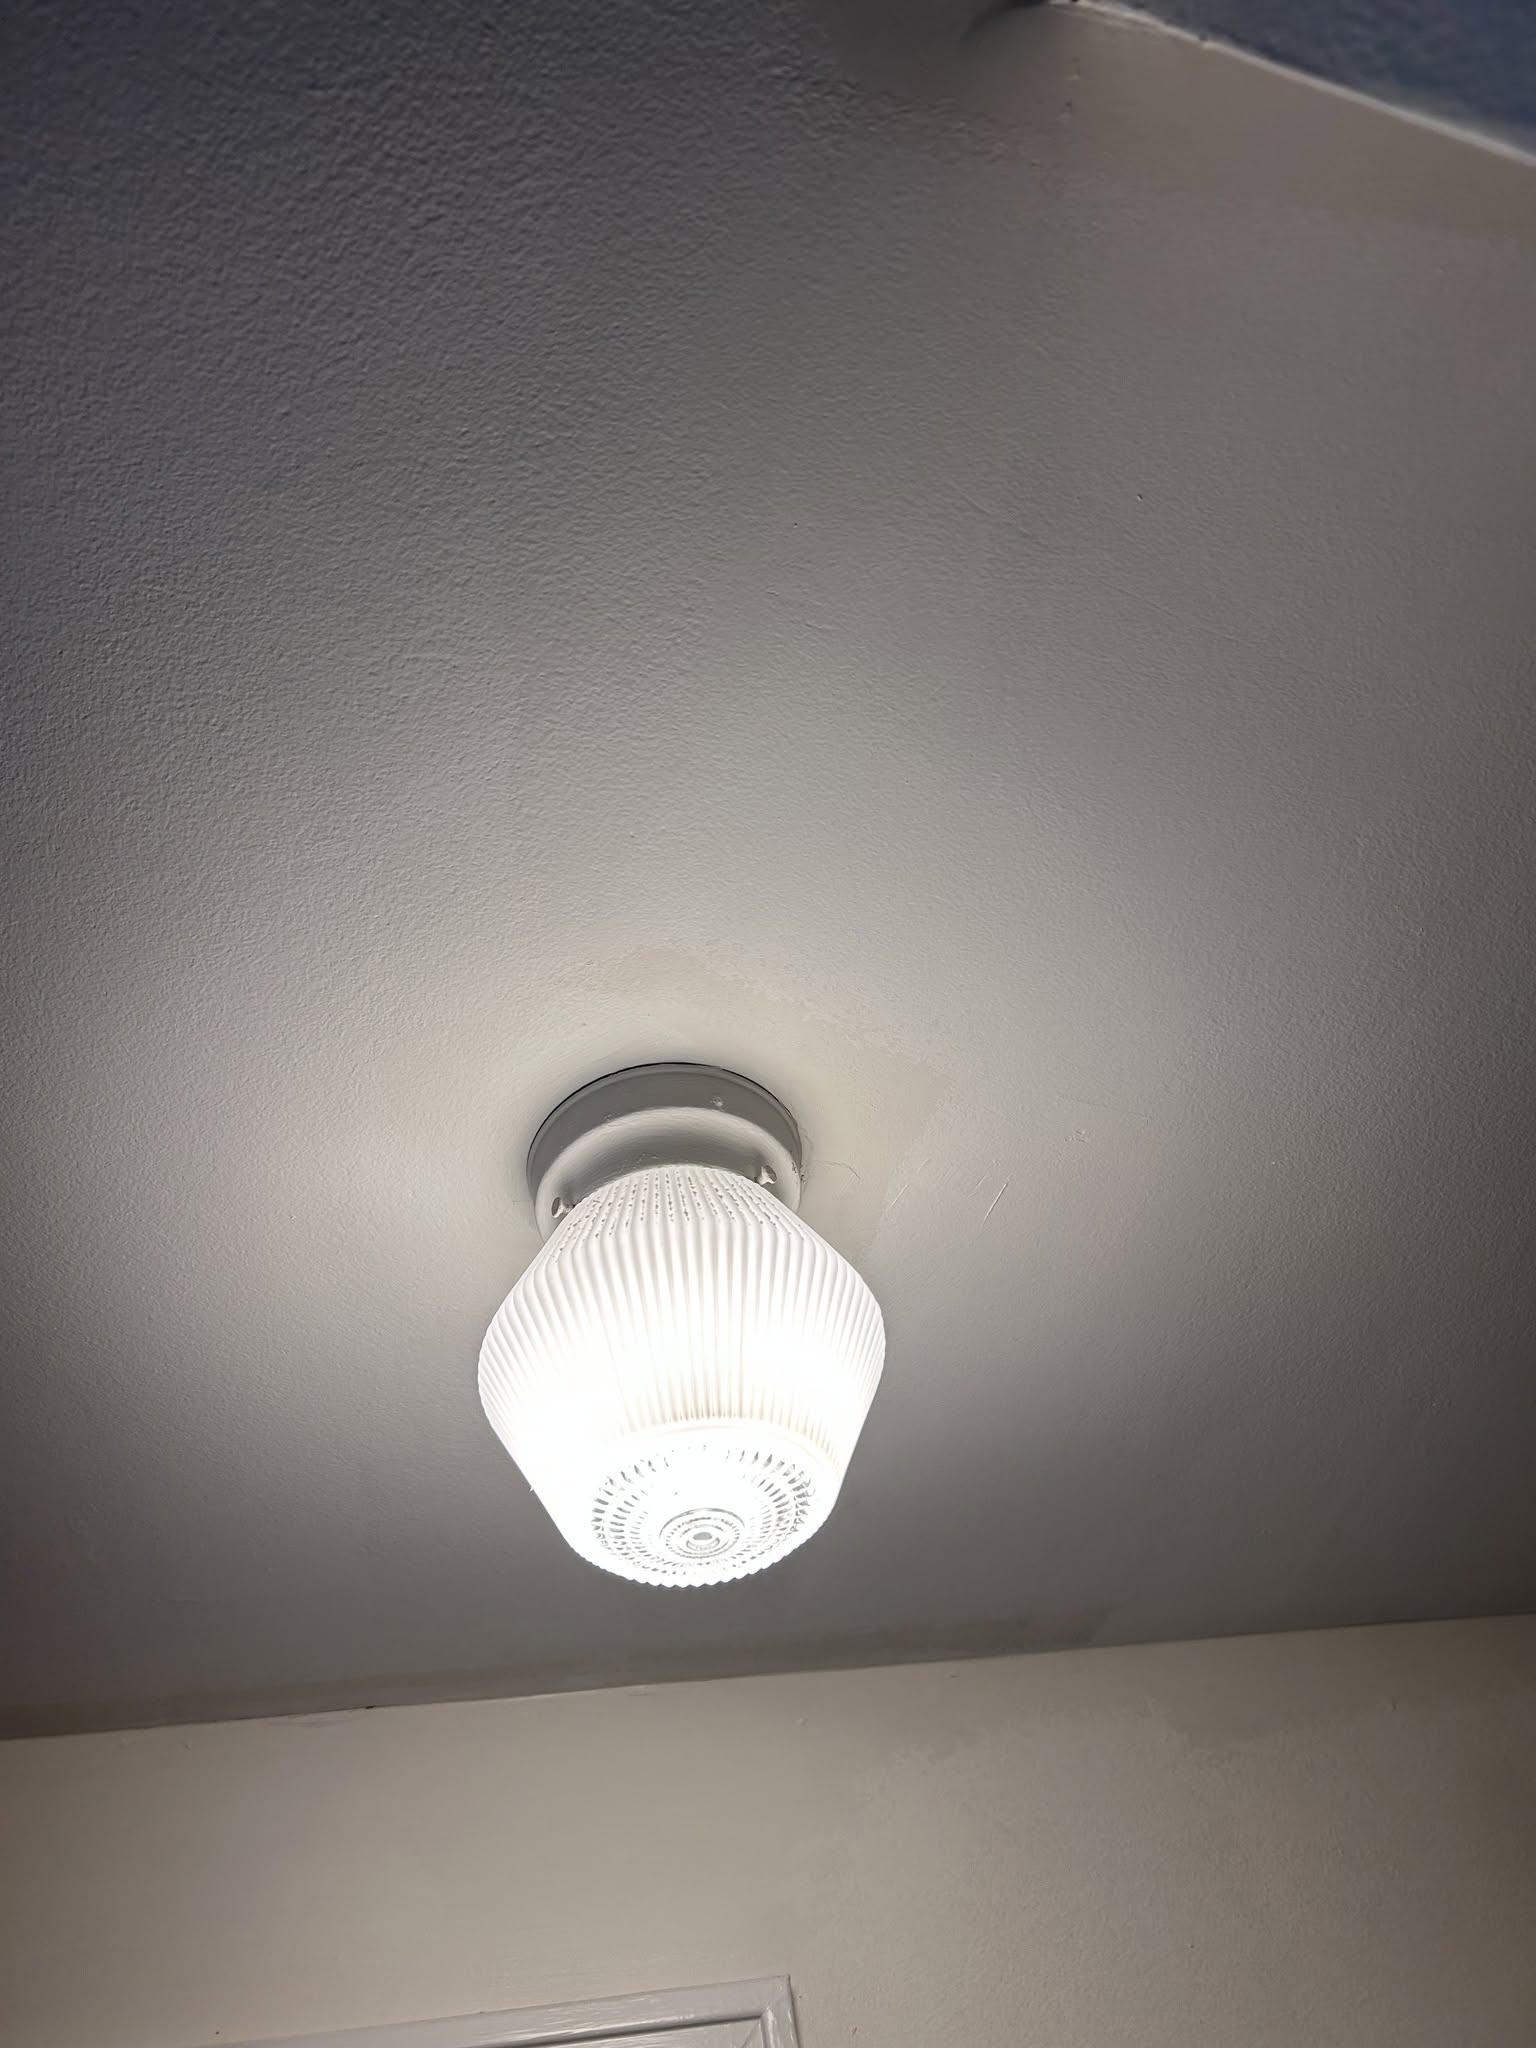
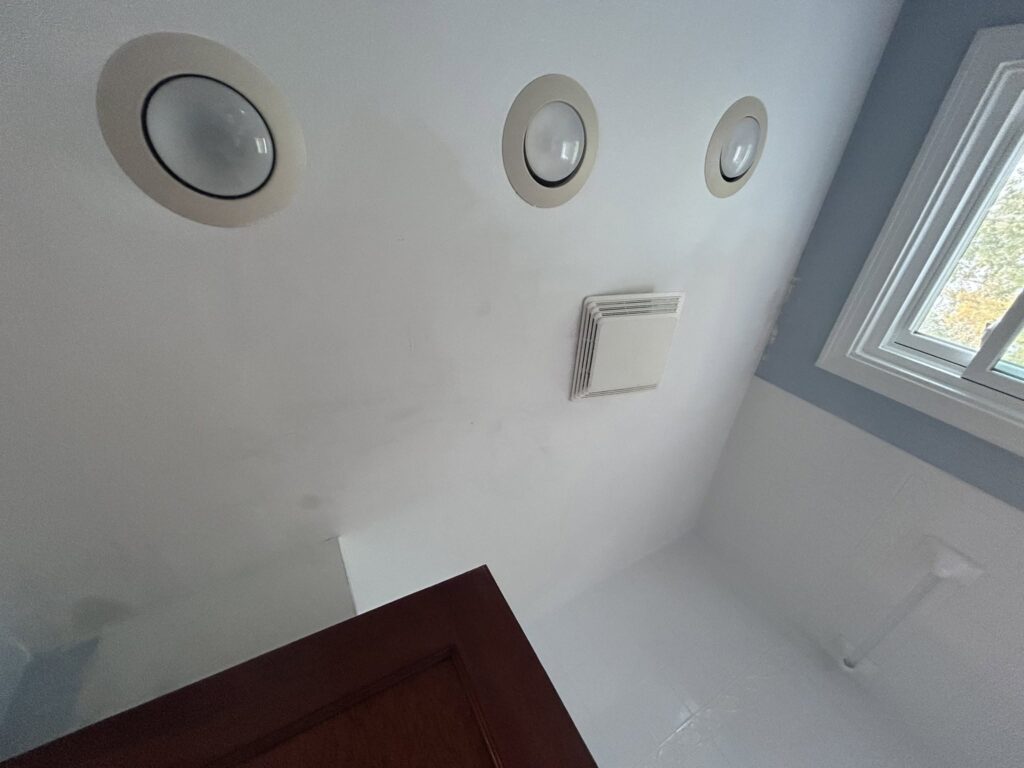
Another day another bathroom ceiling. The last one dealt with drywall, this one is plaster, that was previously repaired with drywall. This is a 1950’s home, in Snyder NY, that suffered a mysterious roof leak which took a little bit to get rectified as roofers were very very busy this year after last winter. We will not repair damage, if the leak is still active. It is a waste of our time and your money. Anyways on to the fun stuff..
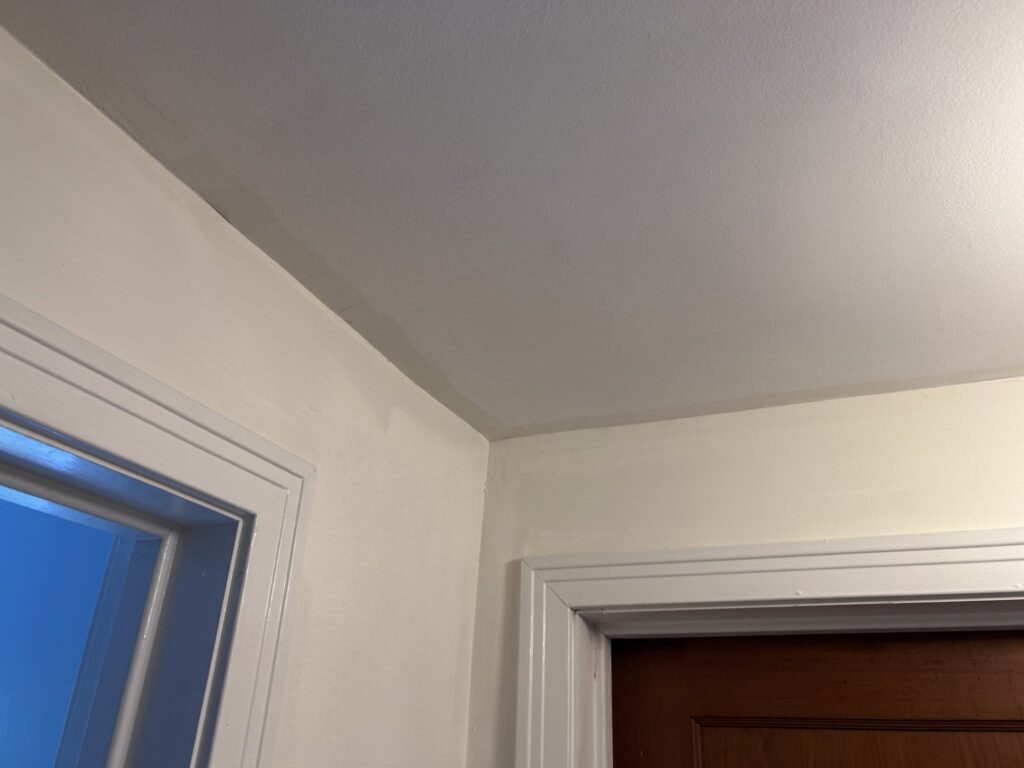
The water damage extended into the hallway ceiling as well.
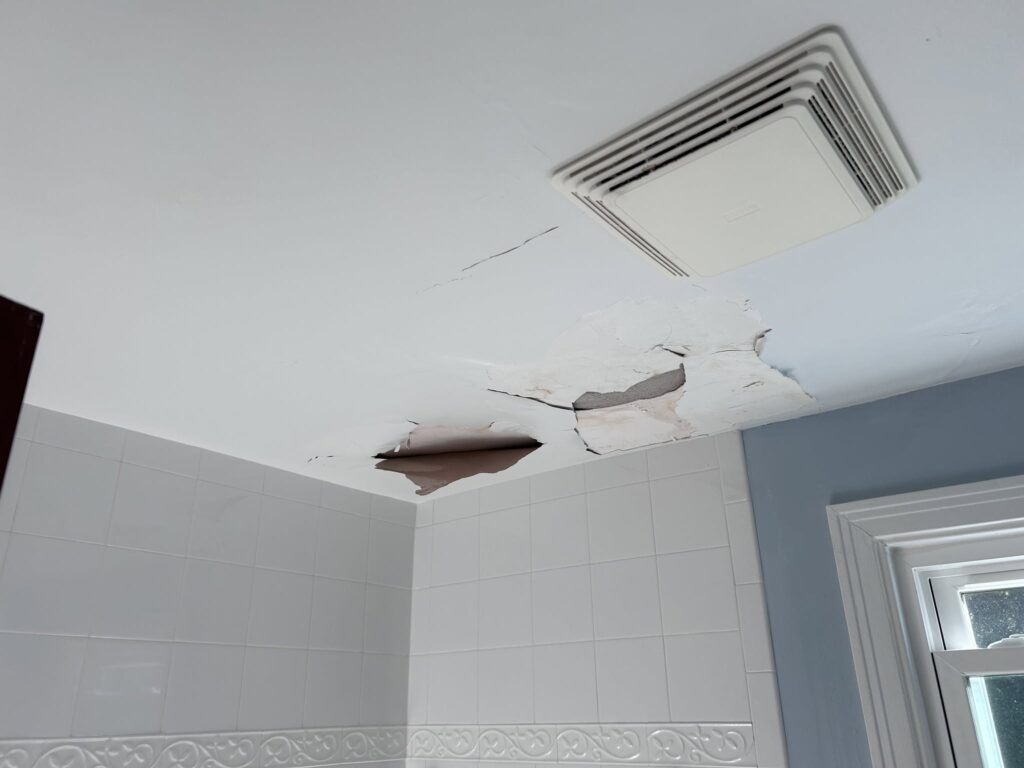
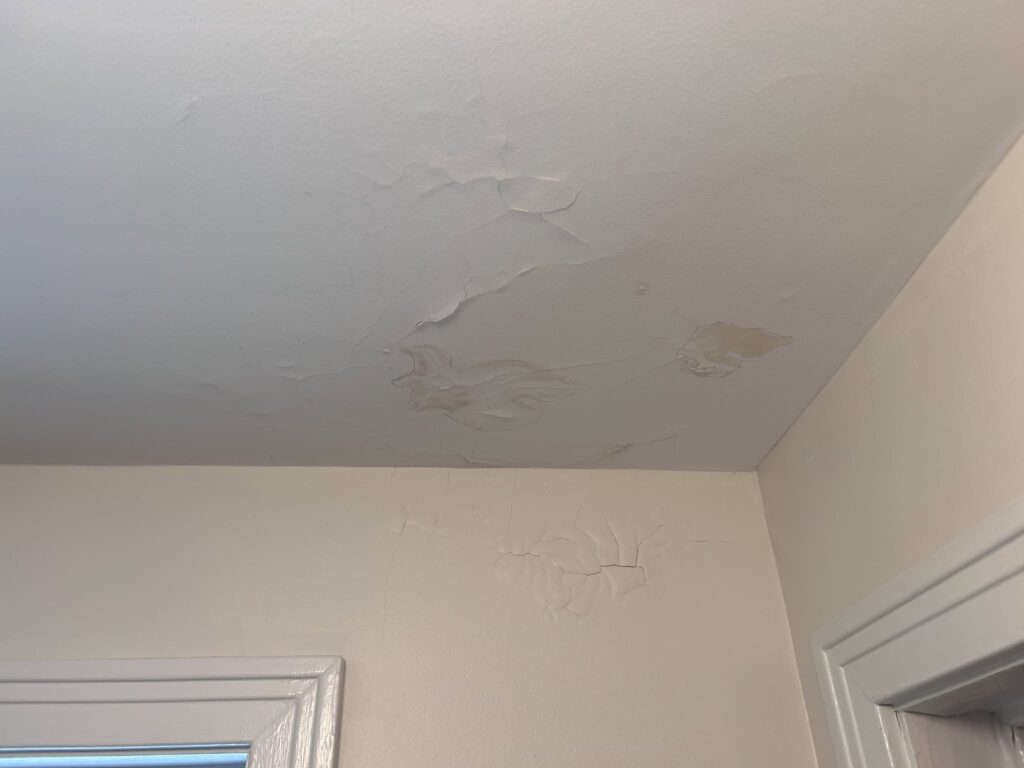
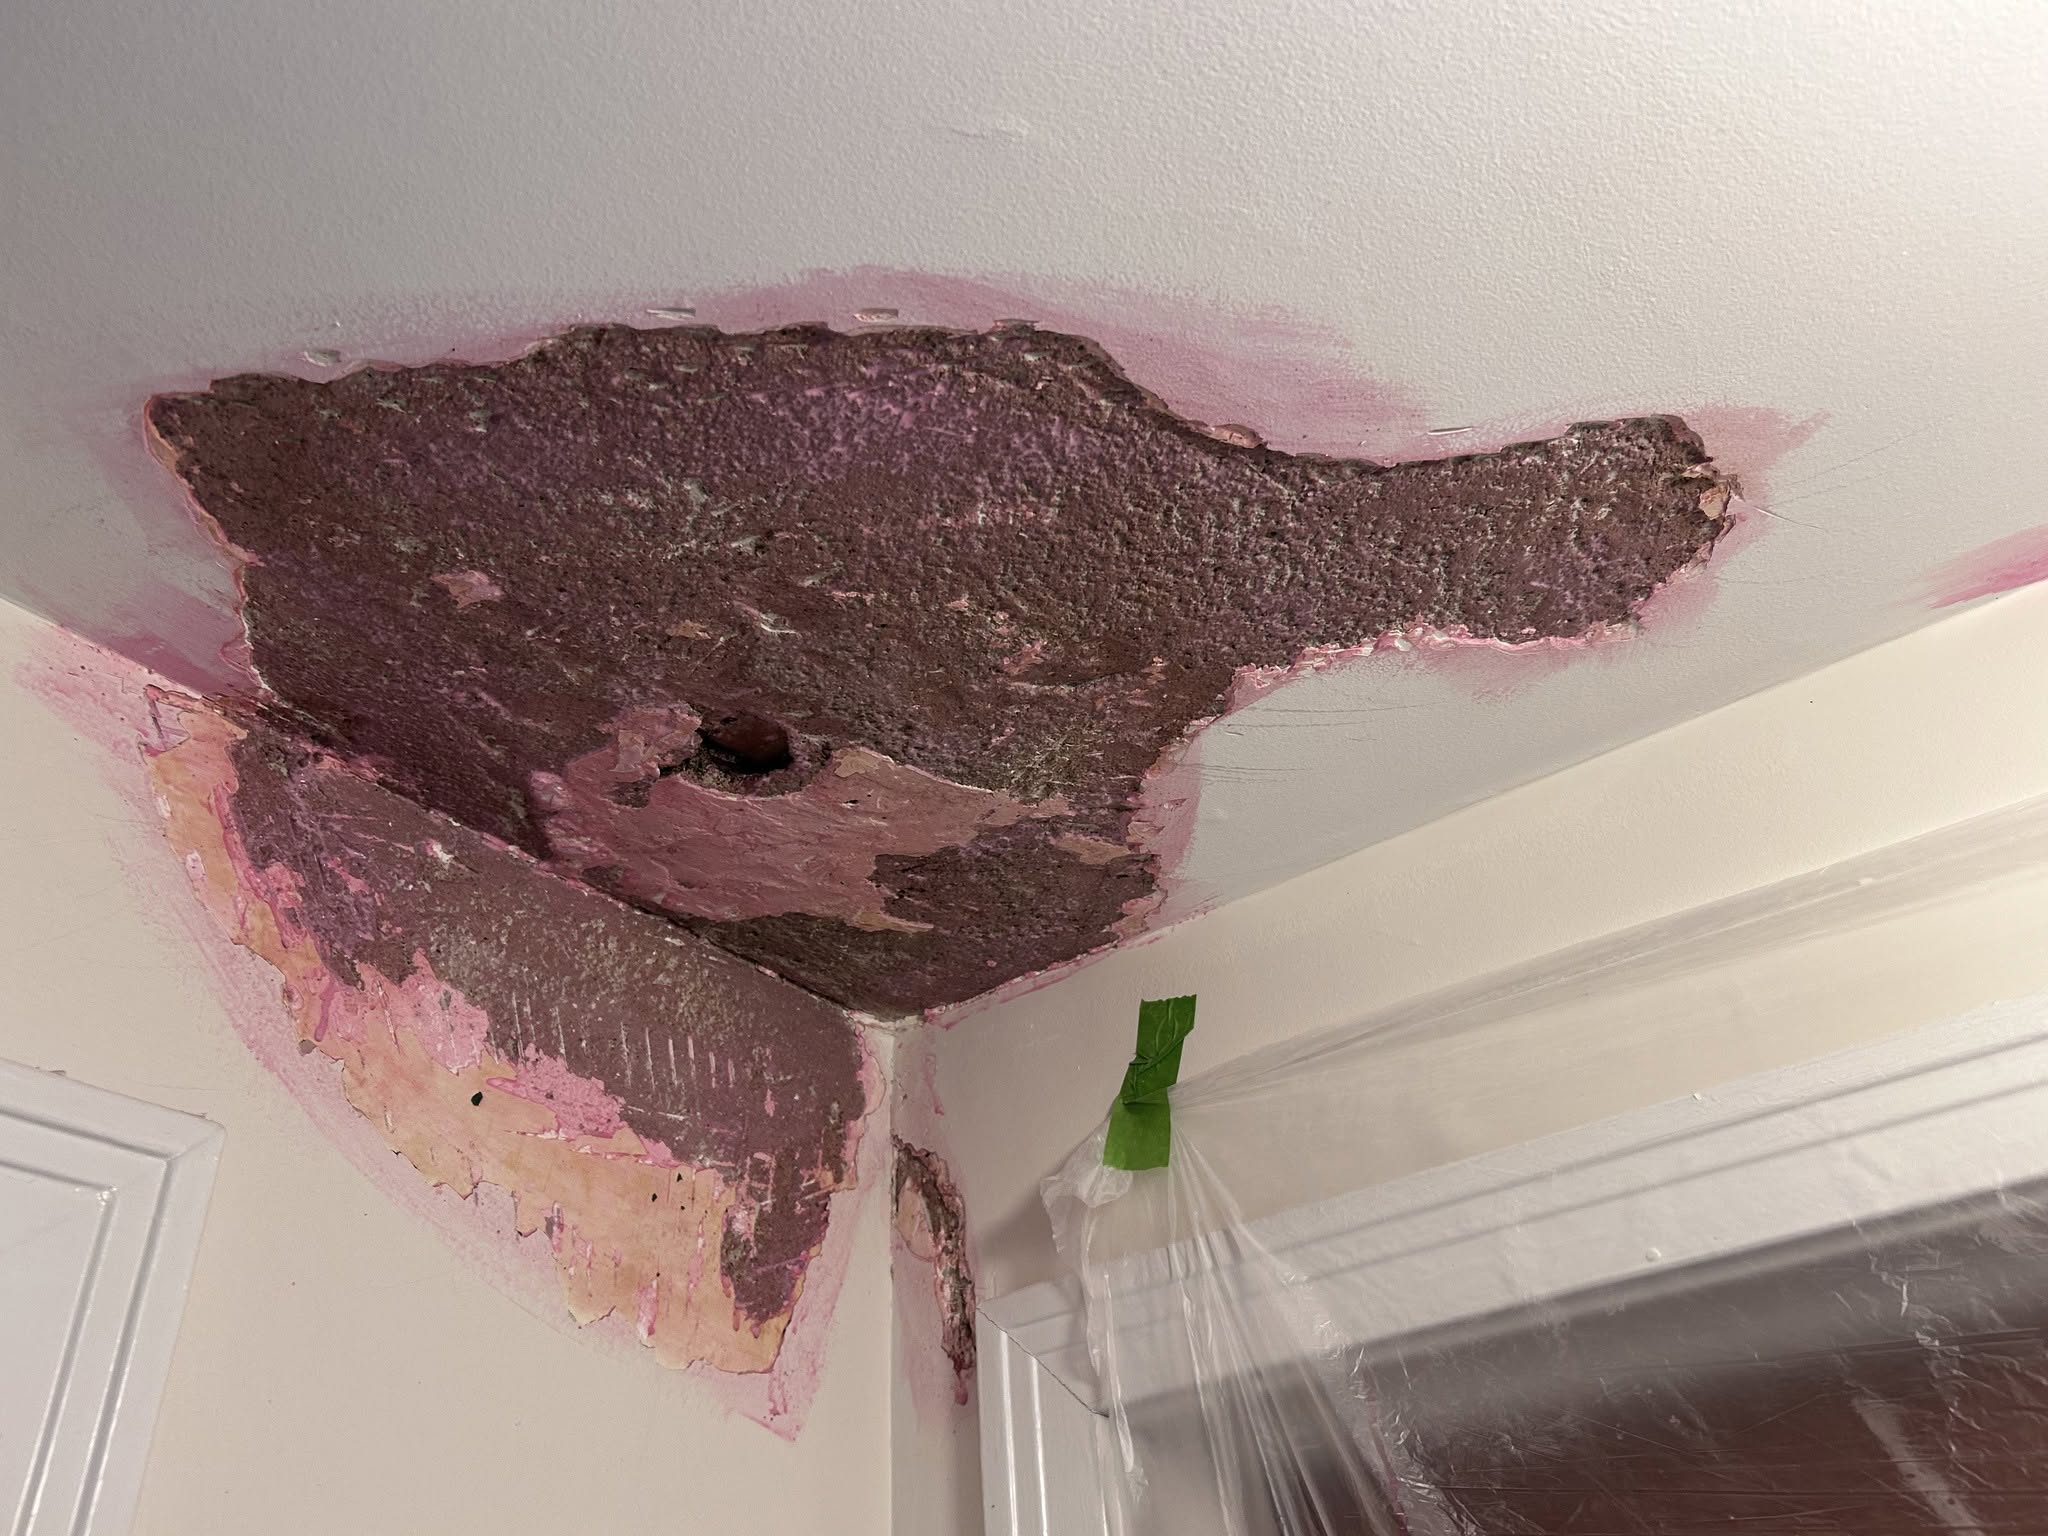
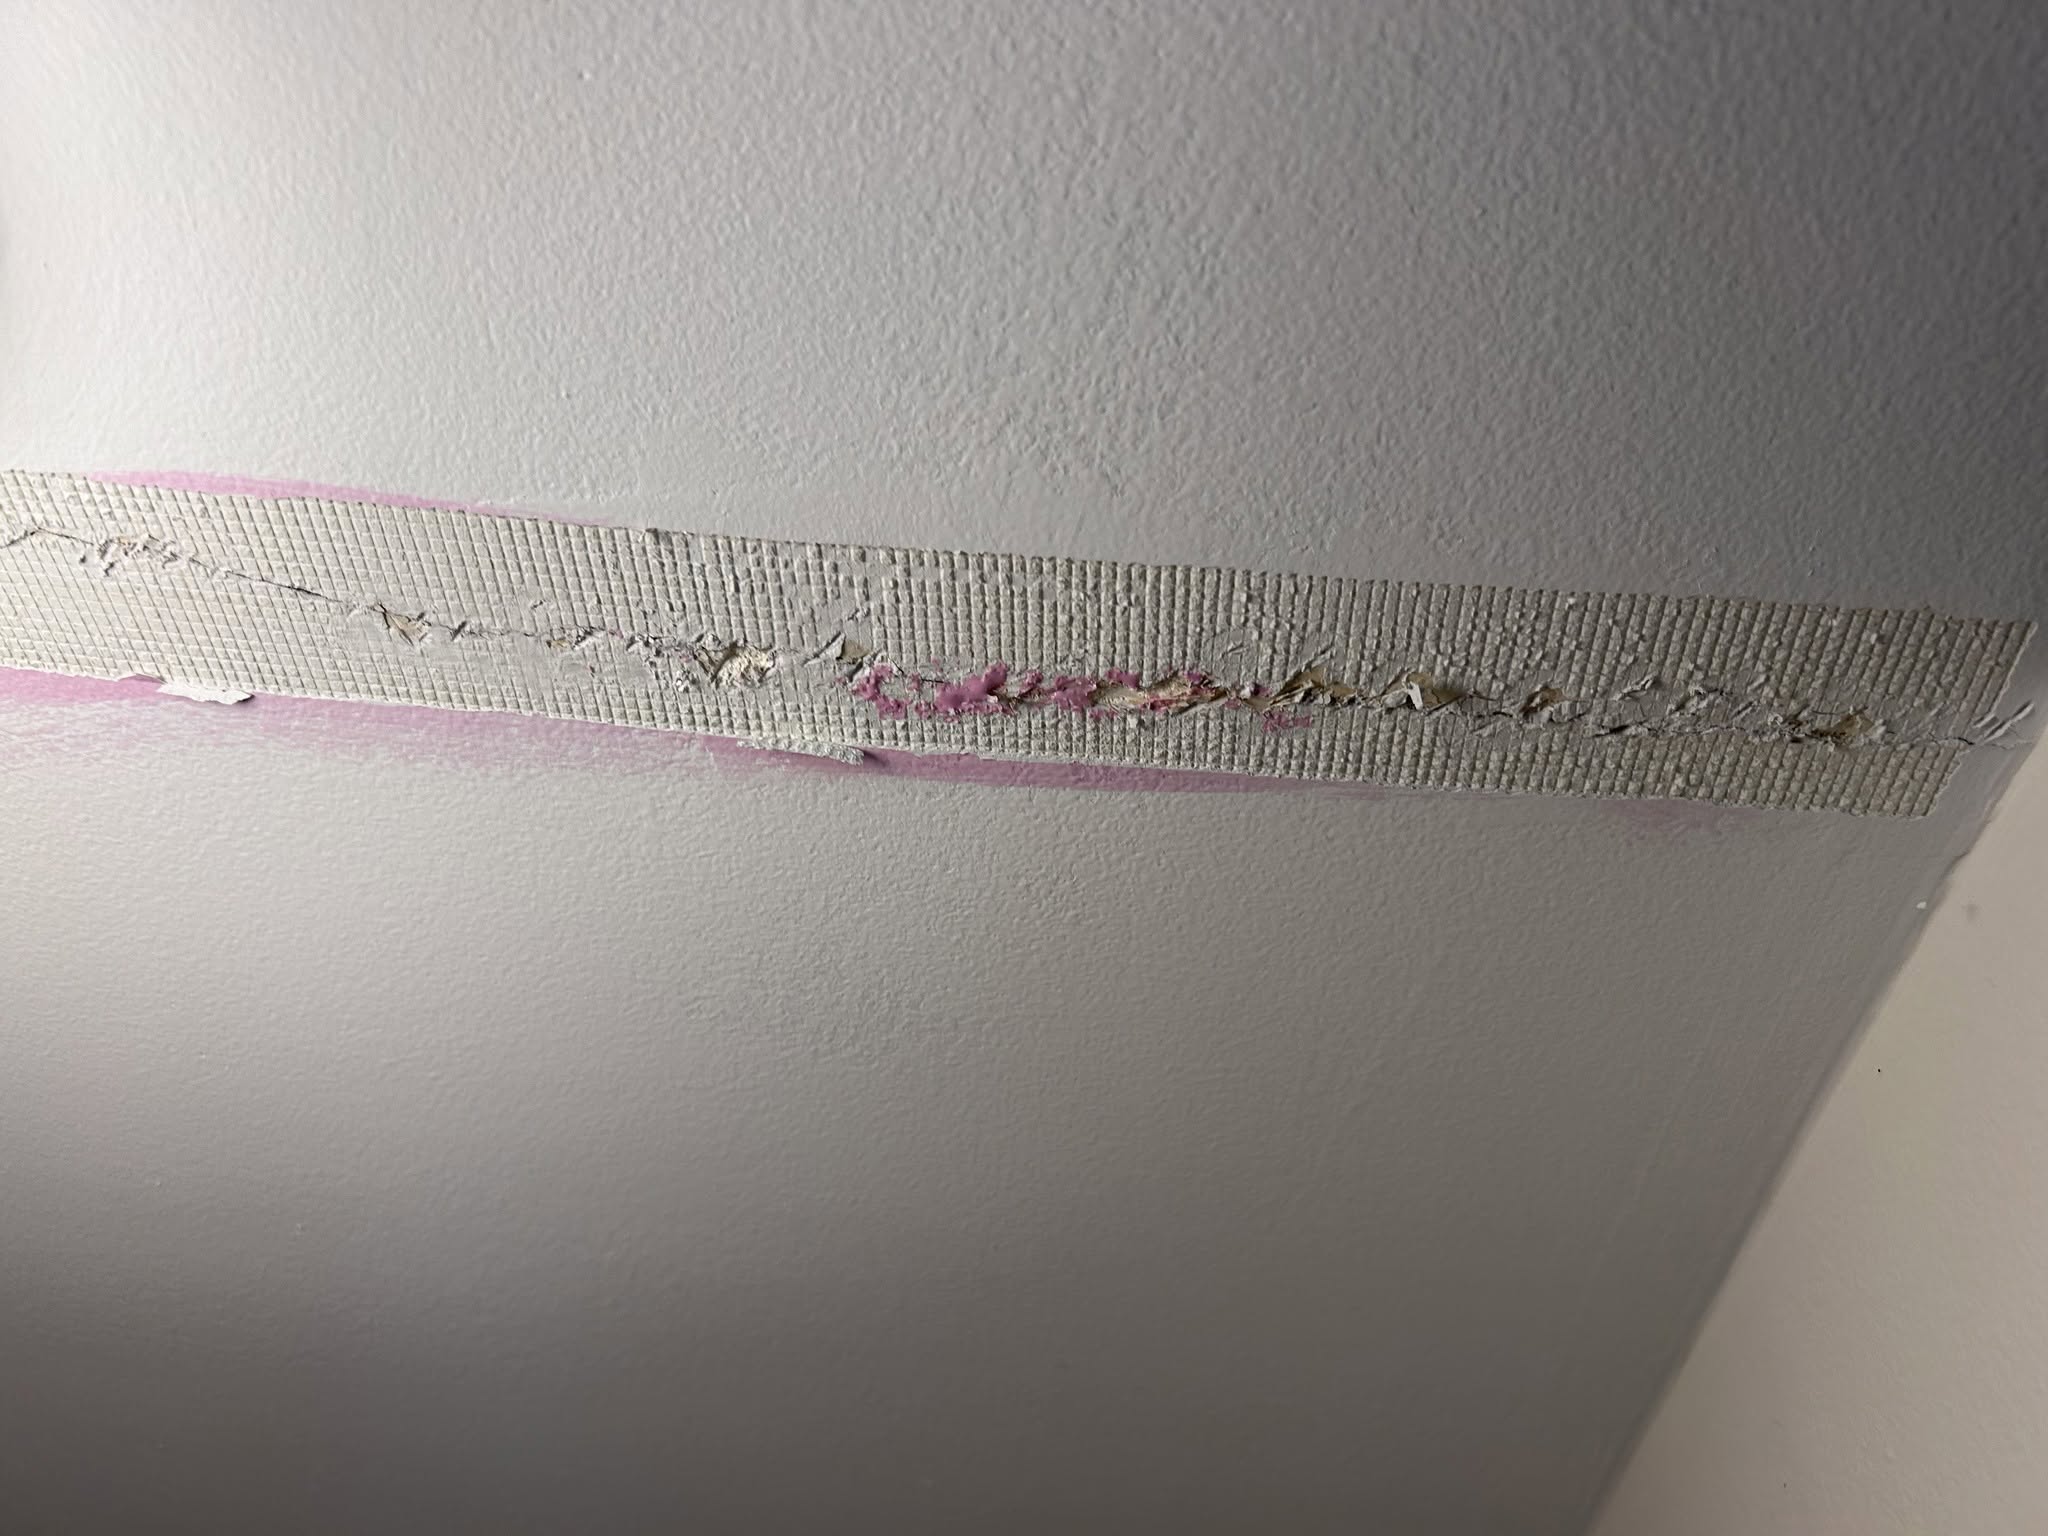
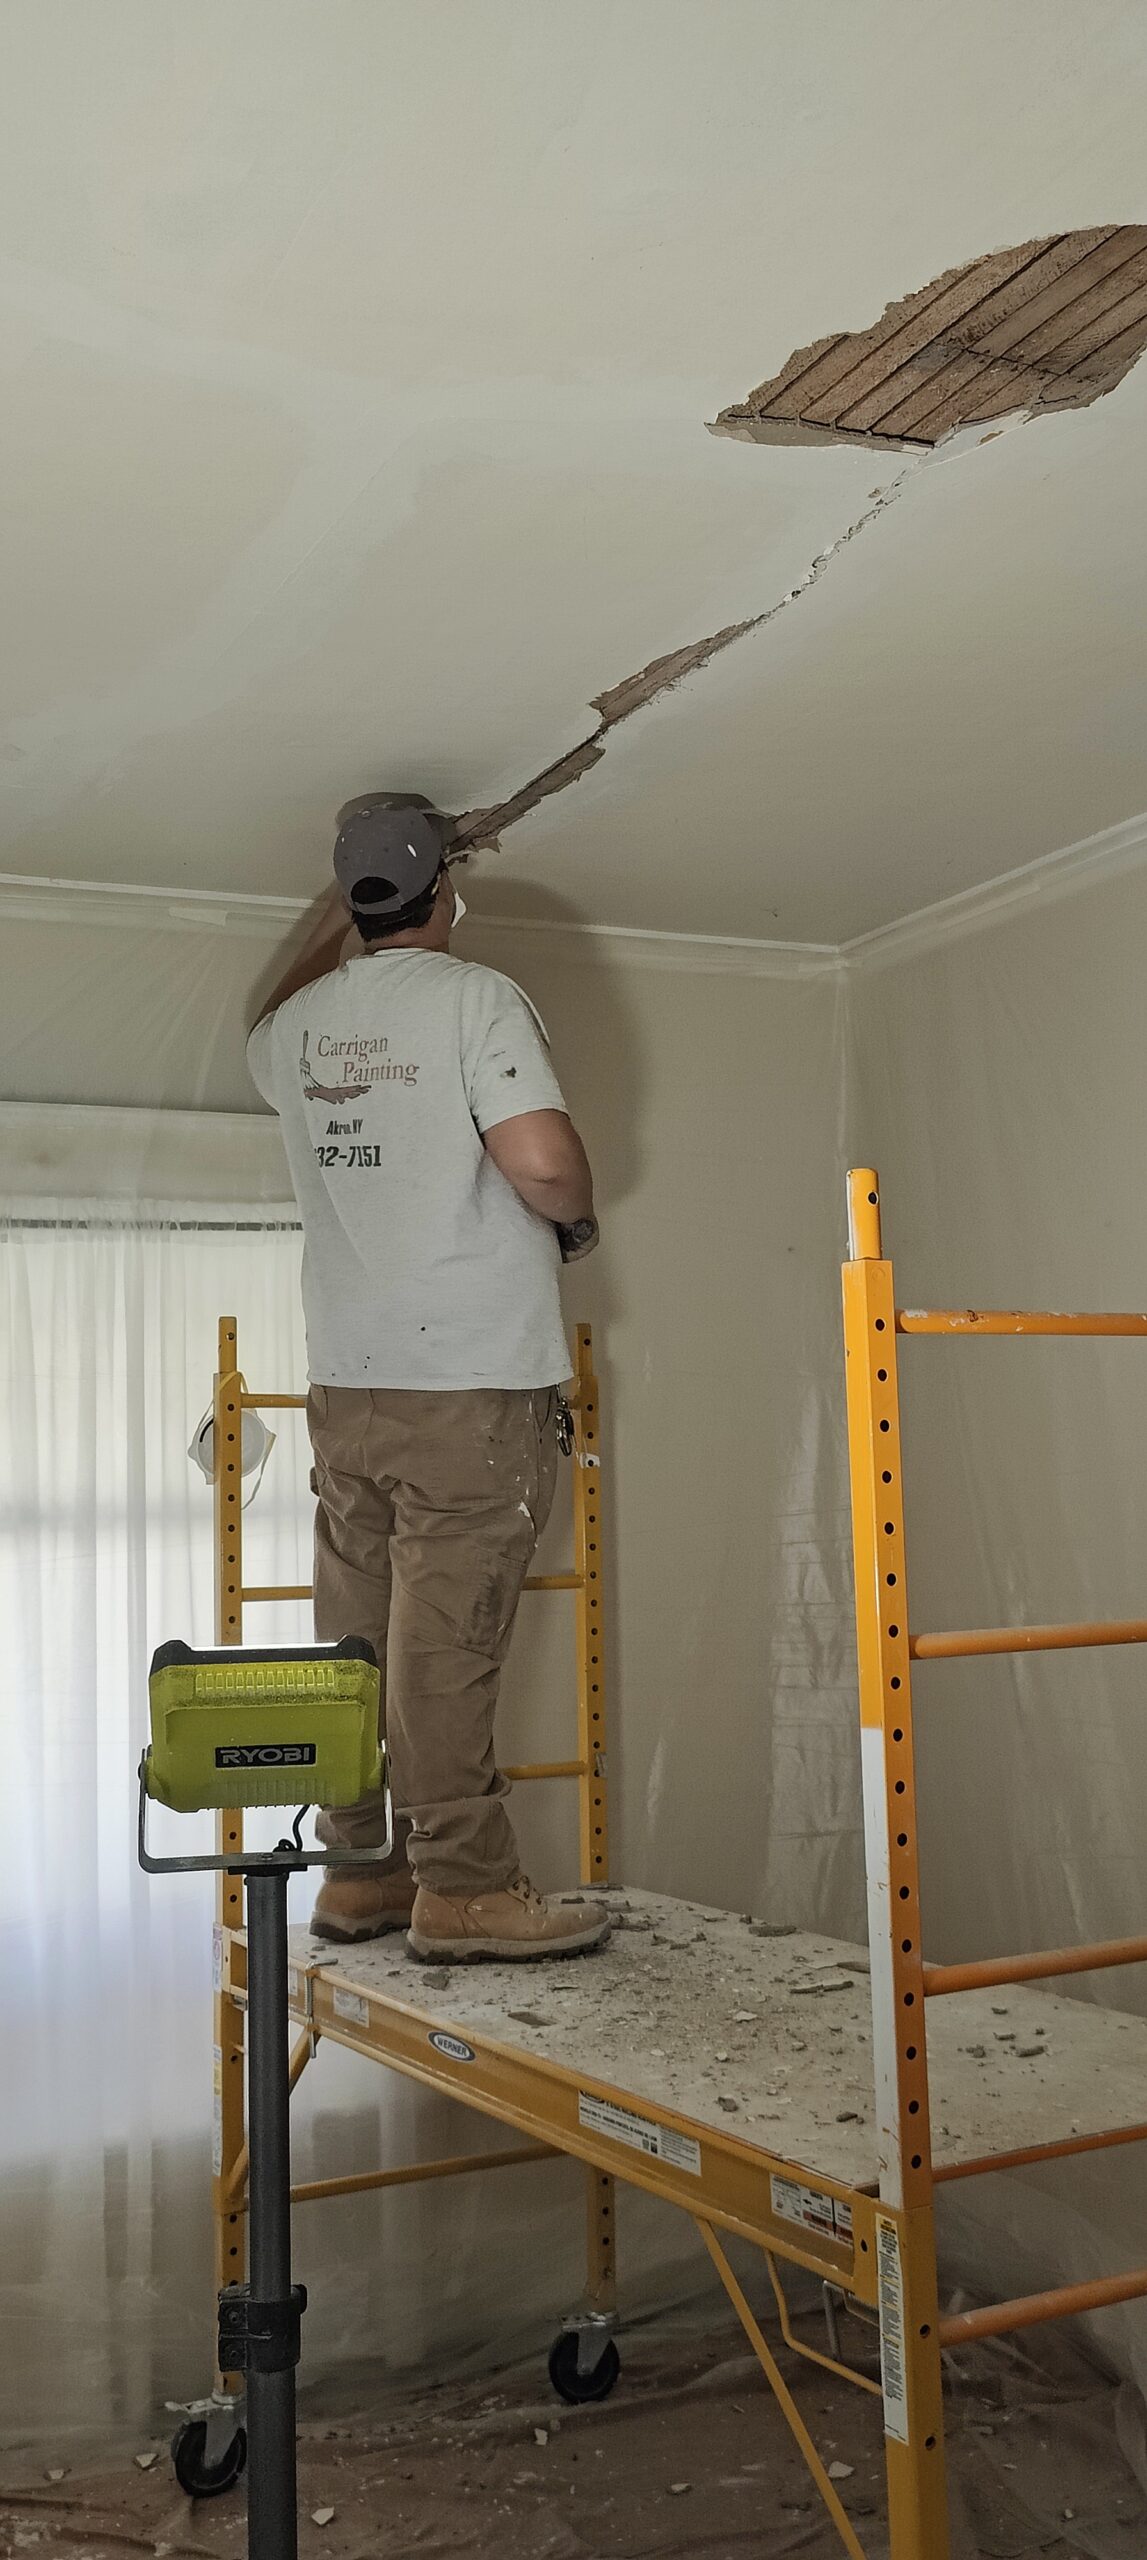
We spent the morning scrapping off the lose plaster, and chipping off the effofloresence (I always butcher that word) with a hatchet. The water damage also extended into the hall way as well. After removing the loose, water damaged plaster, we coated everything in a special glue we have started using as we feel it makes for a better repair. It is made for plaster.
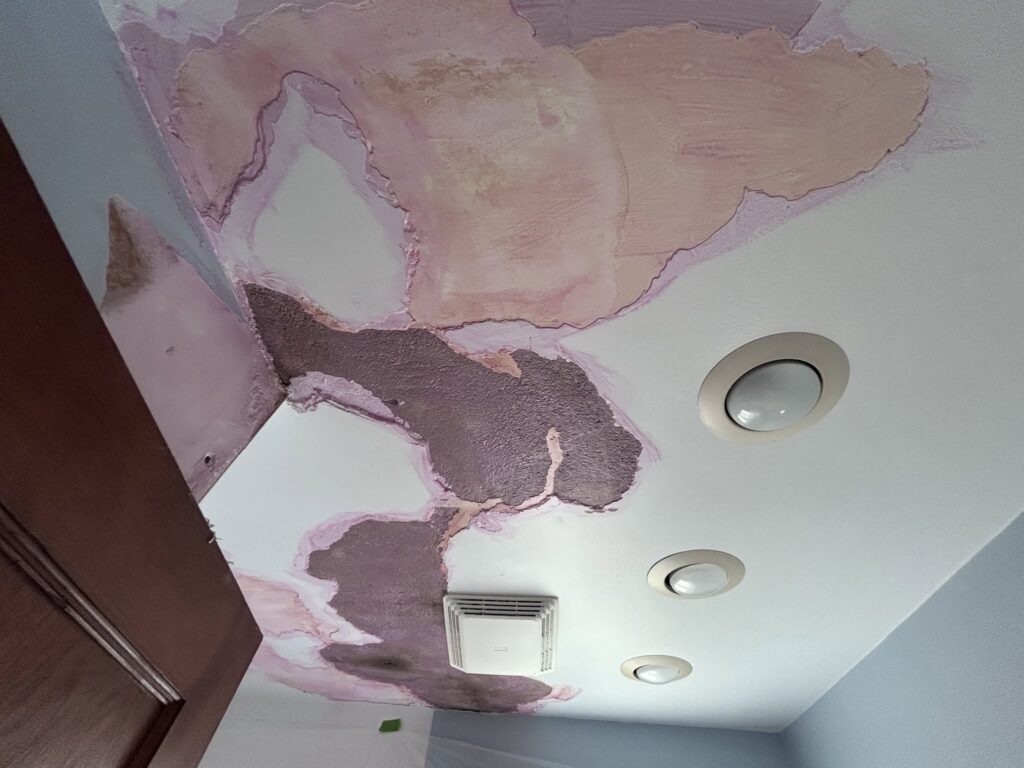
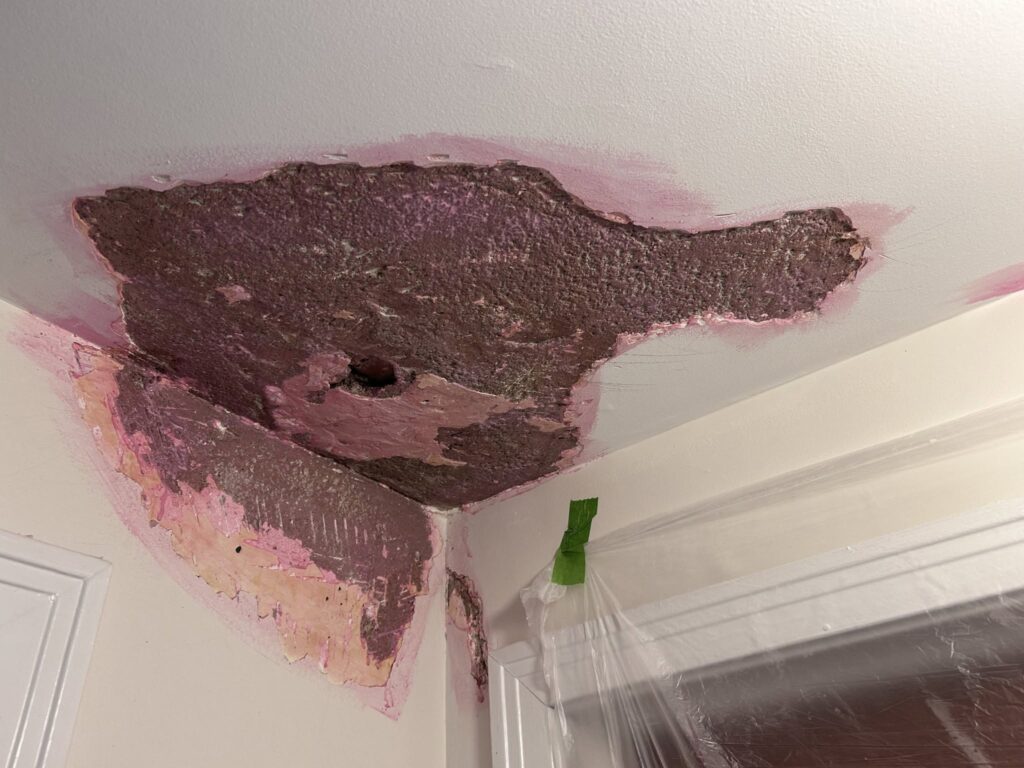
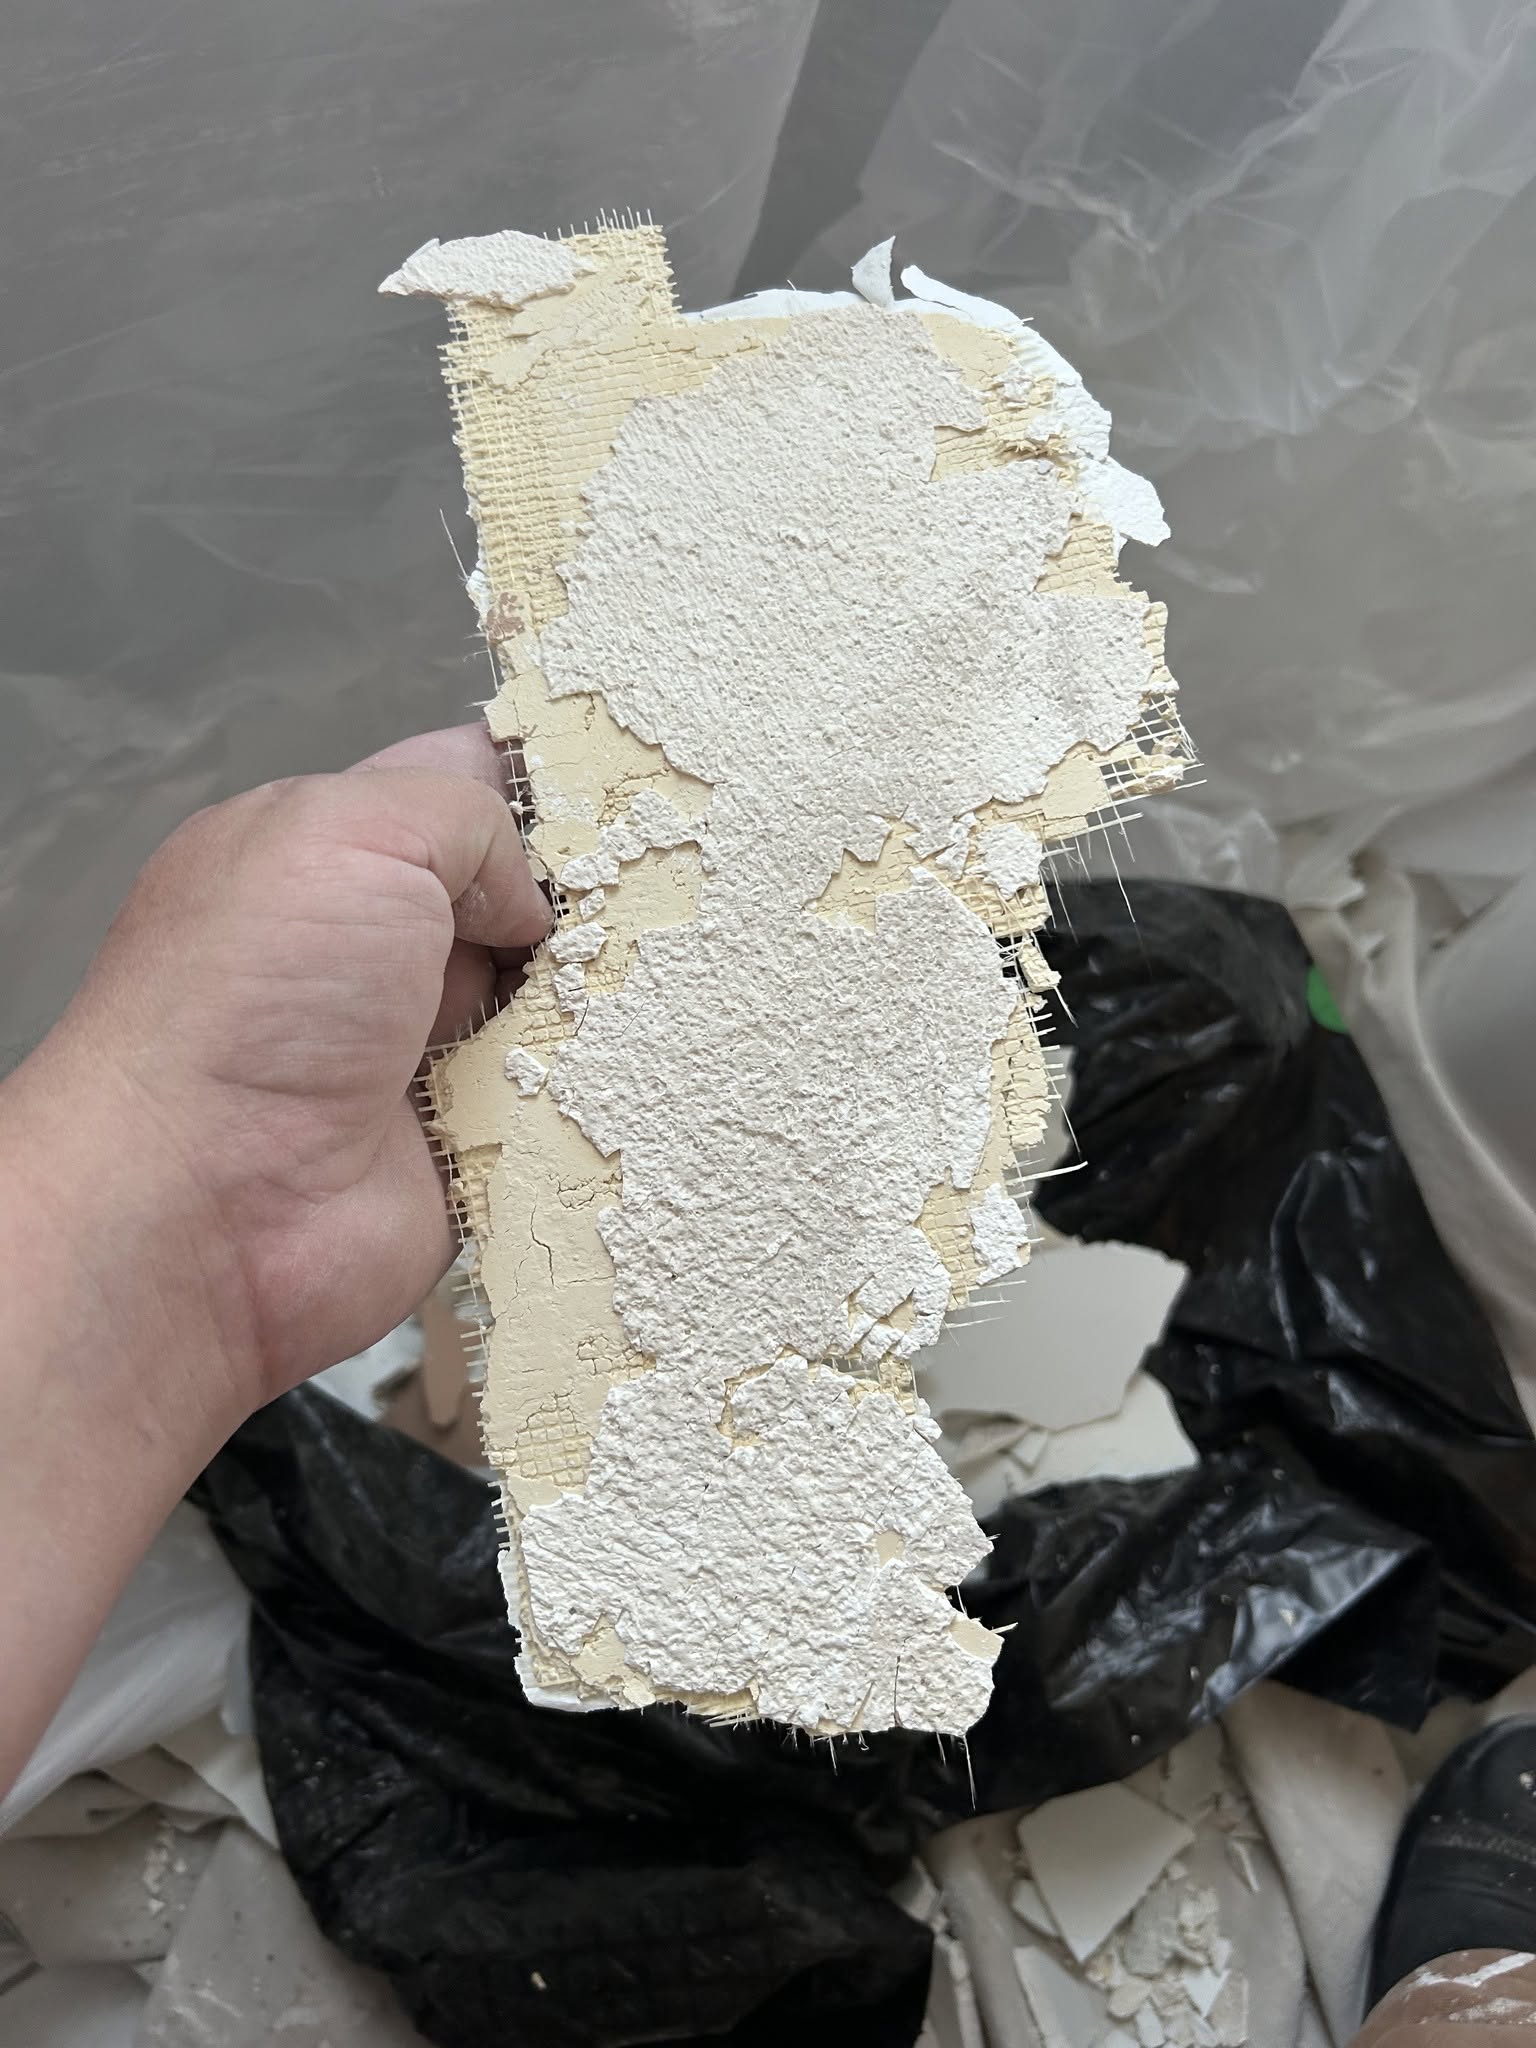
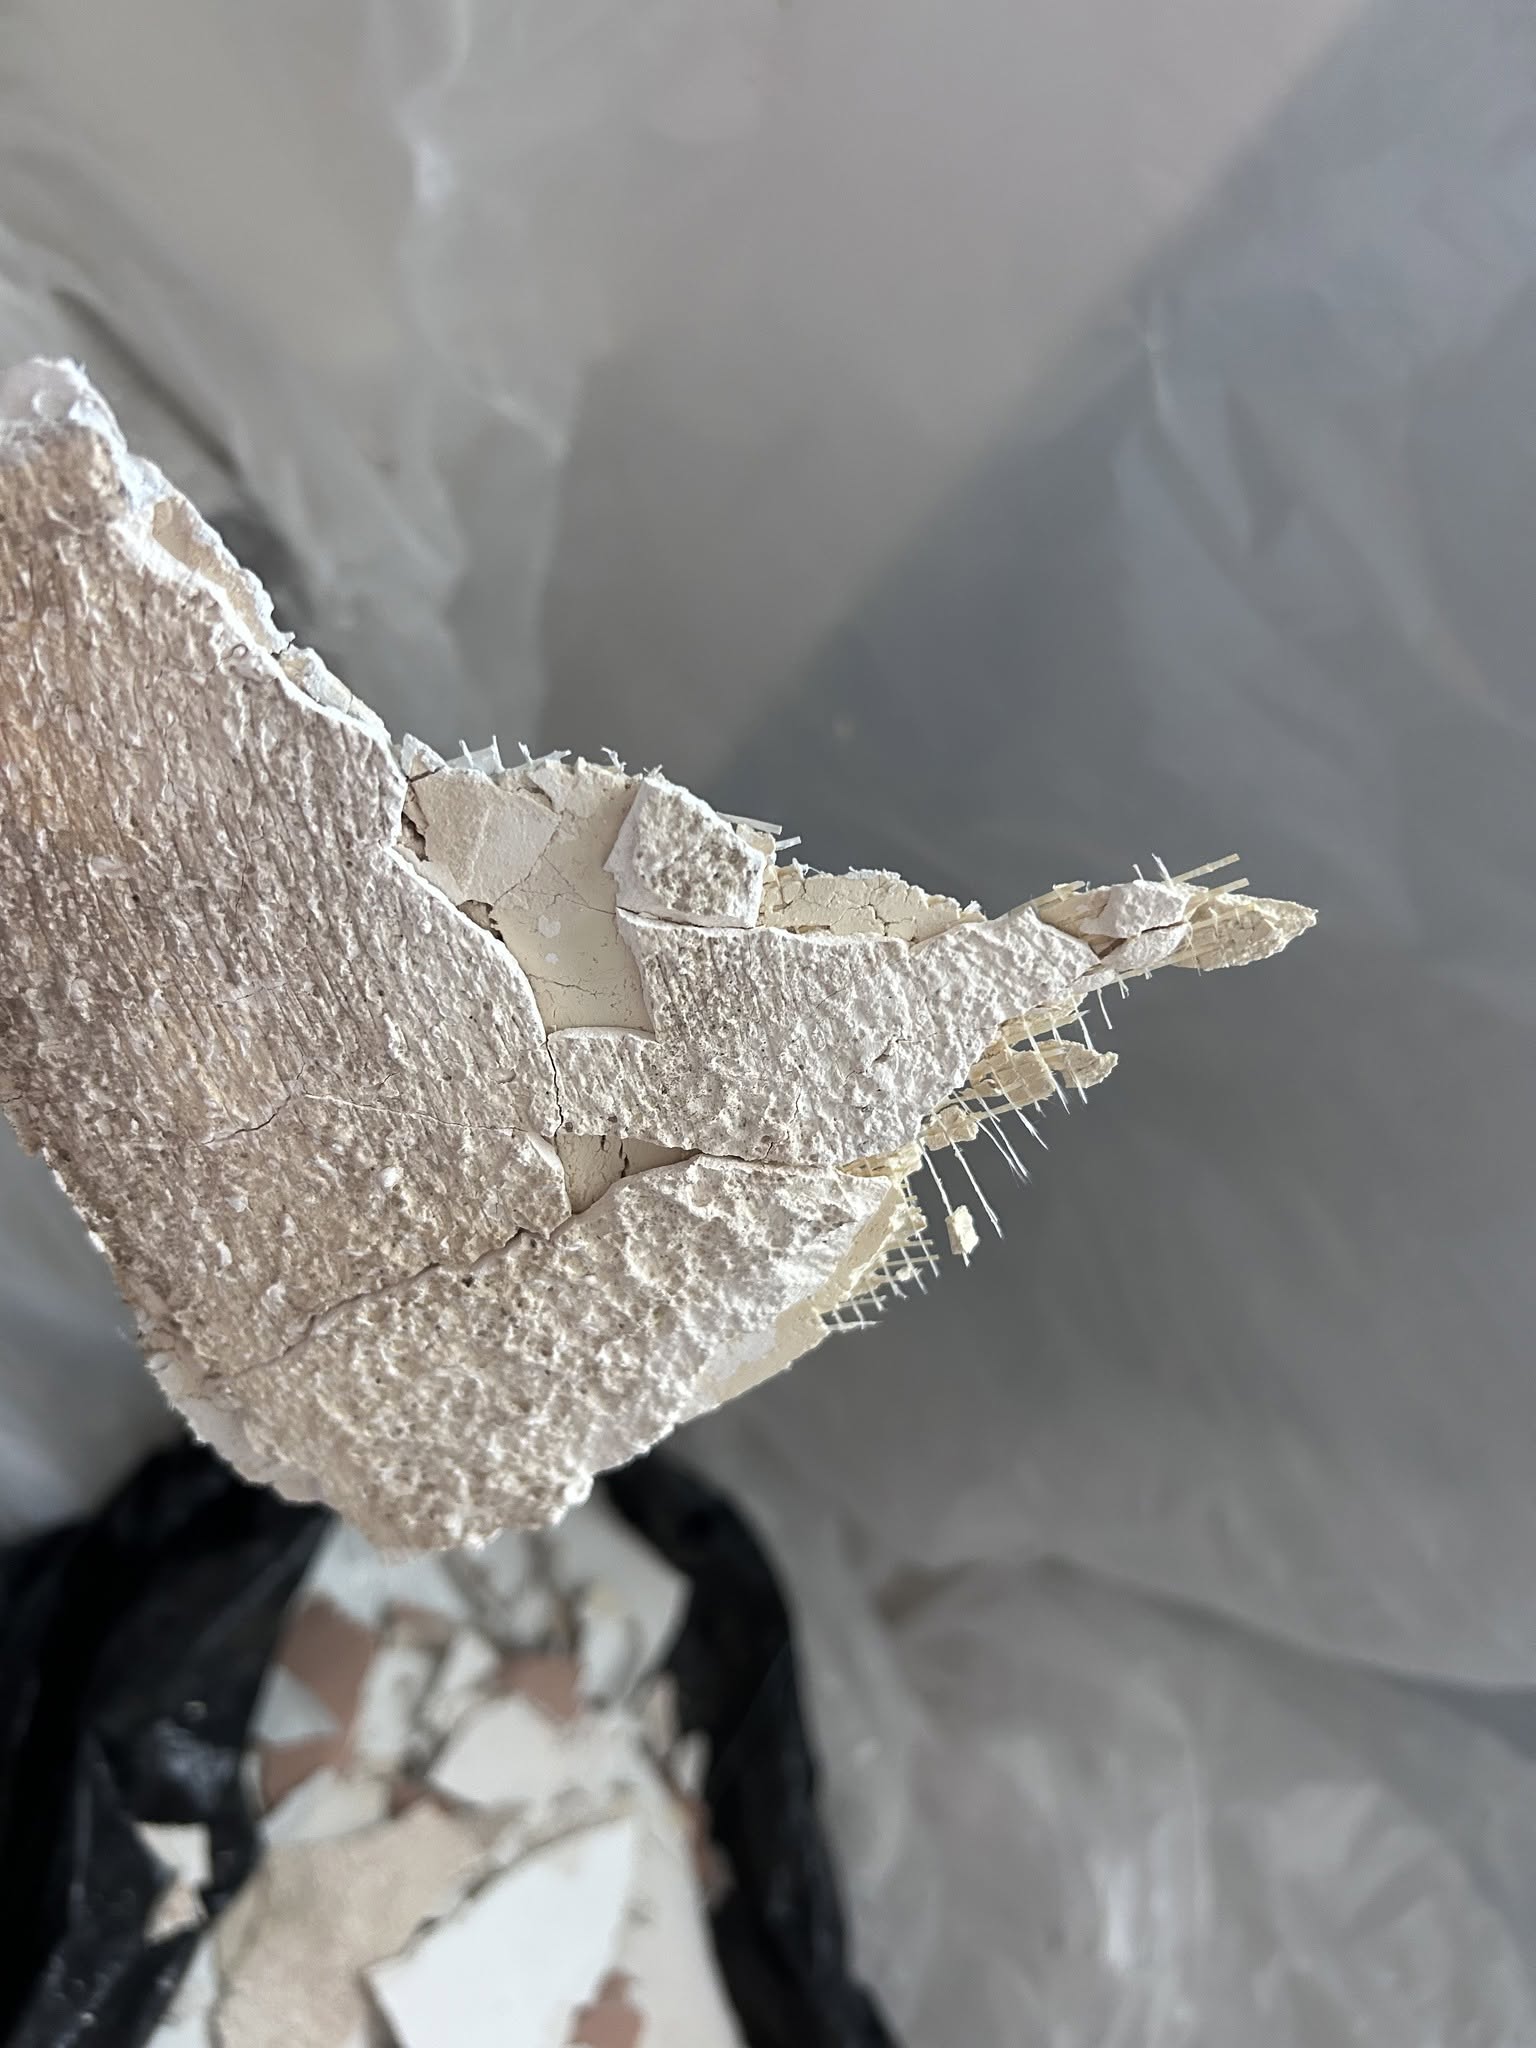
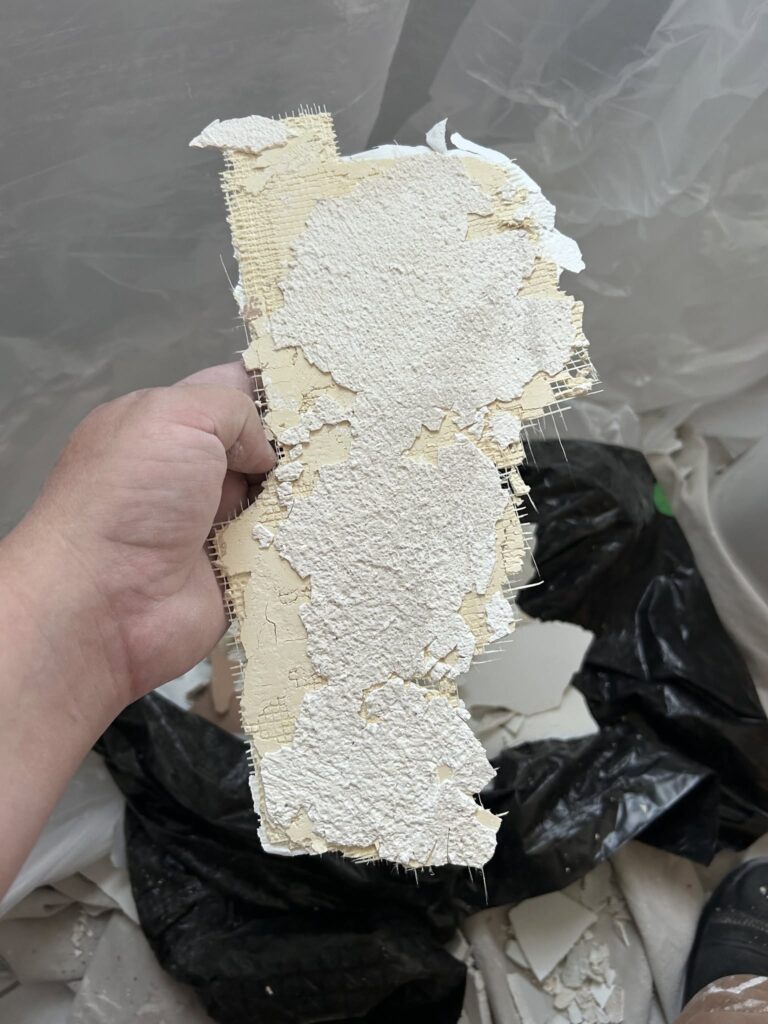
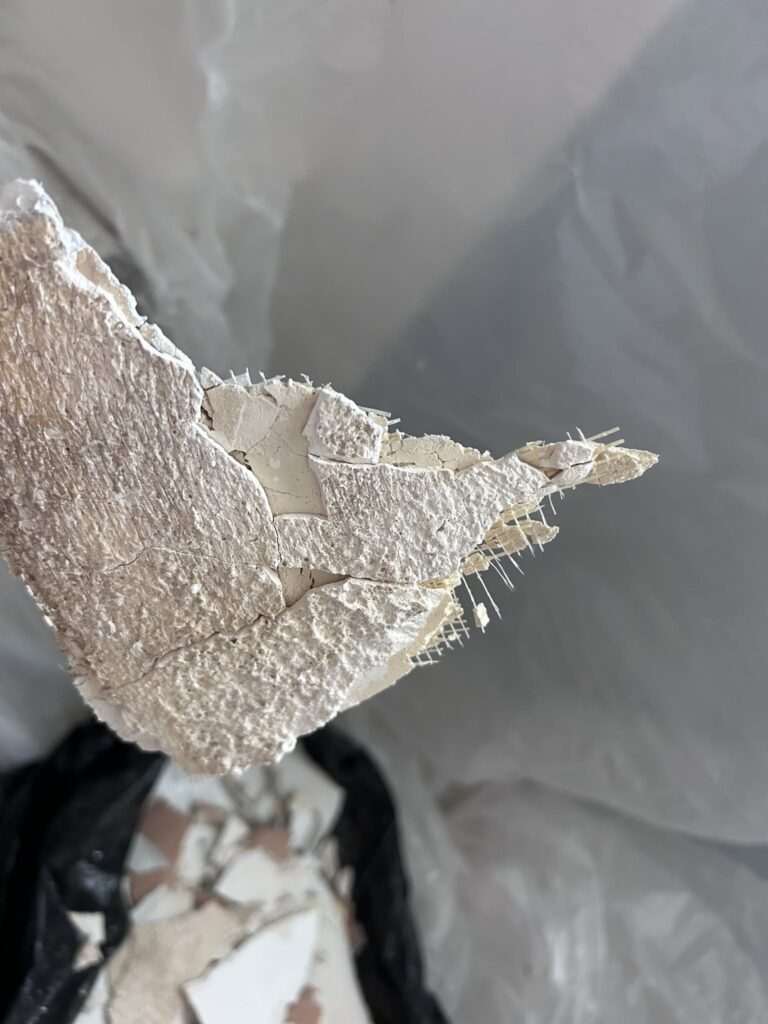
What your looking at in the above two photos, is the finish coat of plaster was mechanically removed from the base coat plaster using scrapers and skilled use of a hatchet. The goal with the hatchet is to remove the damaged material, with out making a hole. The creamy area closer to the camera in the first photo, is the original plaster finish, which was skimmed with the unknown patching material. We coated everything in glue – the pink stuff.
We decided not use plaster because the previous repair was done with drywall compound and an unknown patching material. I think its RockHard, a wood filling material that is often used to patch rotten wood outside, I say that because the patching material is yellow, not grey or white.
Mystery Material
While the glue will allow plaster to stick to nearly anything, this is a full bathroom that sees a lot of high heat and steam. Contrary to what painters claim, plaster and drywall are not the same.
Plaster Ceiling Repair
Theres hardness differences involved that can react differently in this environment especially when you cover drywall compound/unknown patching material with plaster (which is what we would be doing here) which can lead to cracking of the finish coat down the line. Me, I don’t like call-backs, so we decided to use drywall compound as well. Not our first choice, but it it will work.
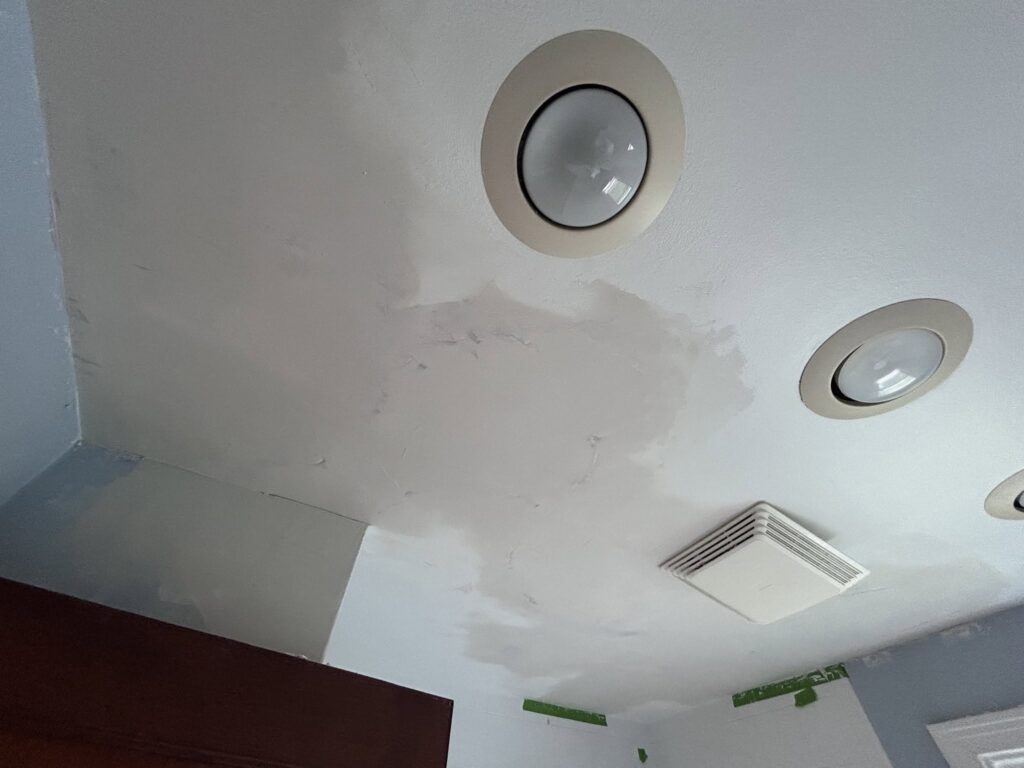
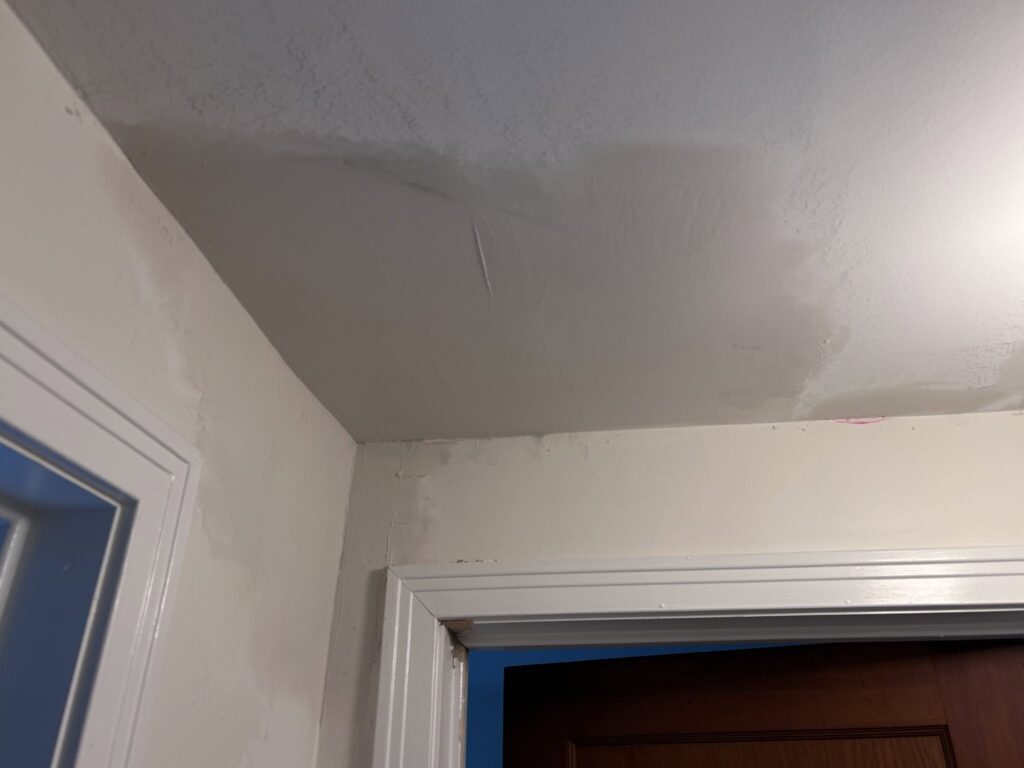
After the drywall compound was dry, we sanded the patches, and primed the bathroom ceiling and the hallway patch with SW Quick-Dry alkyd primer, this prevents the water stains from coming through.
Step-by-step: How-to Repair a Plaster Ceiling Crack
Plaster Crack Repair
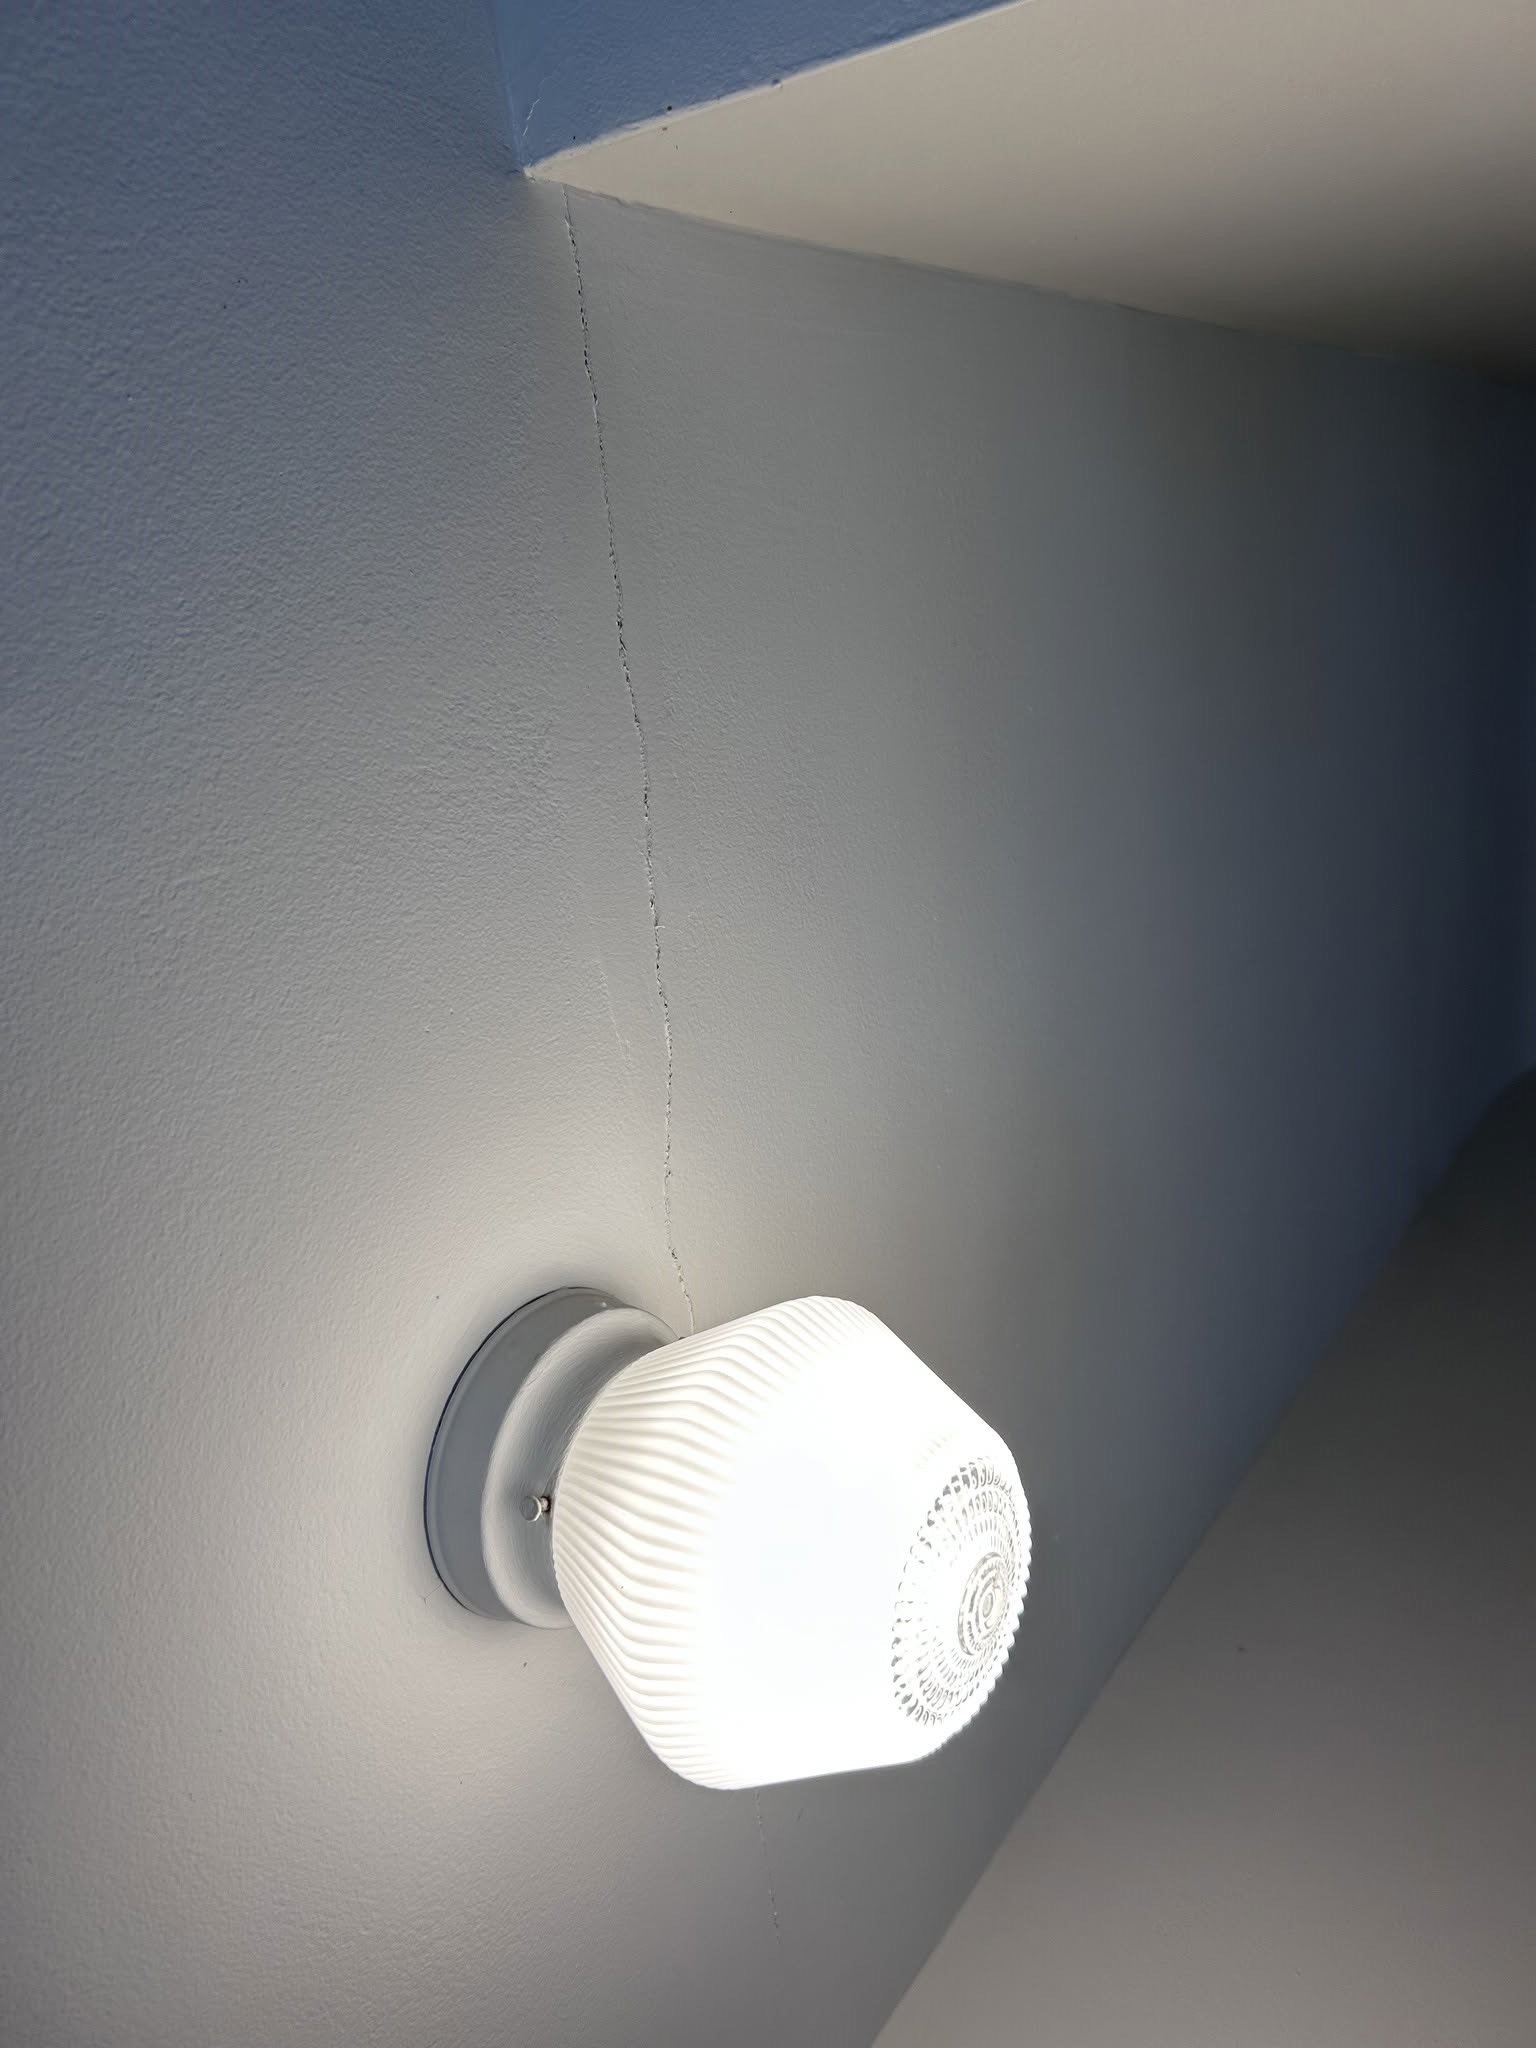
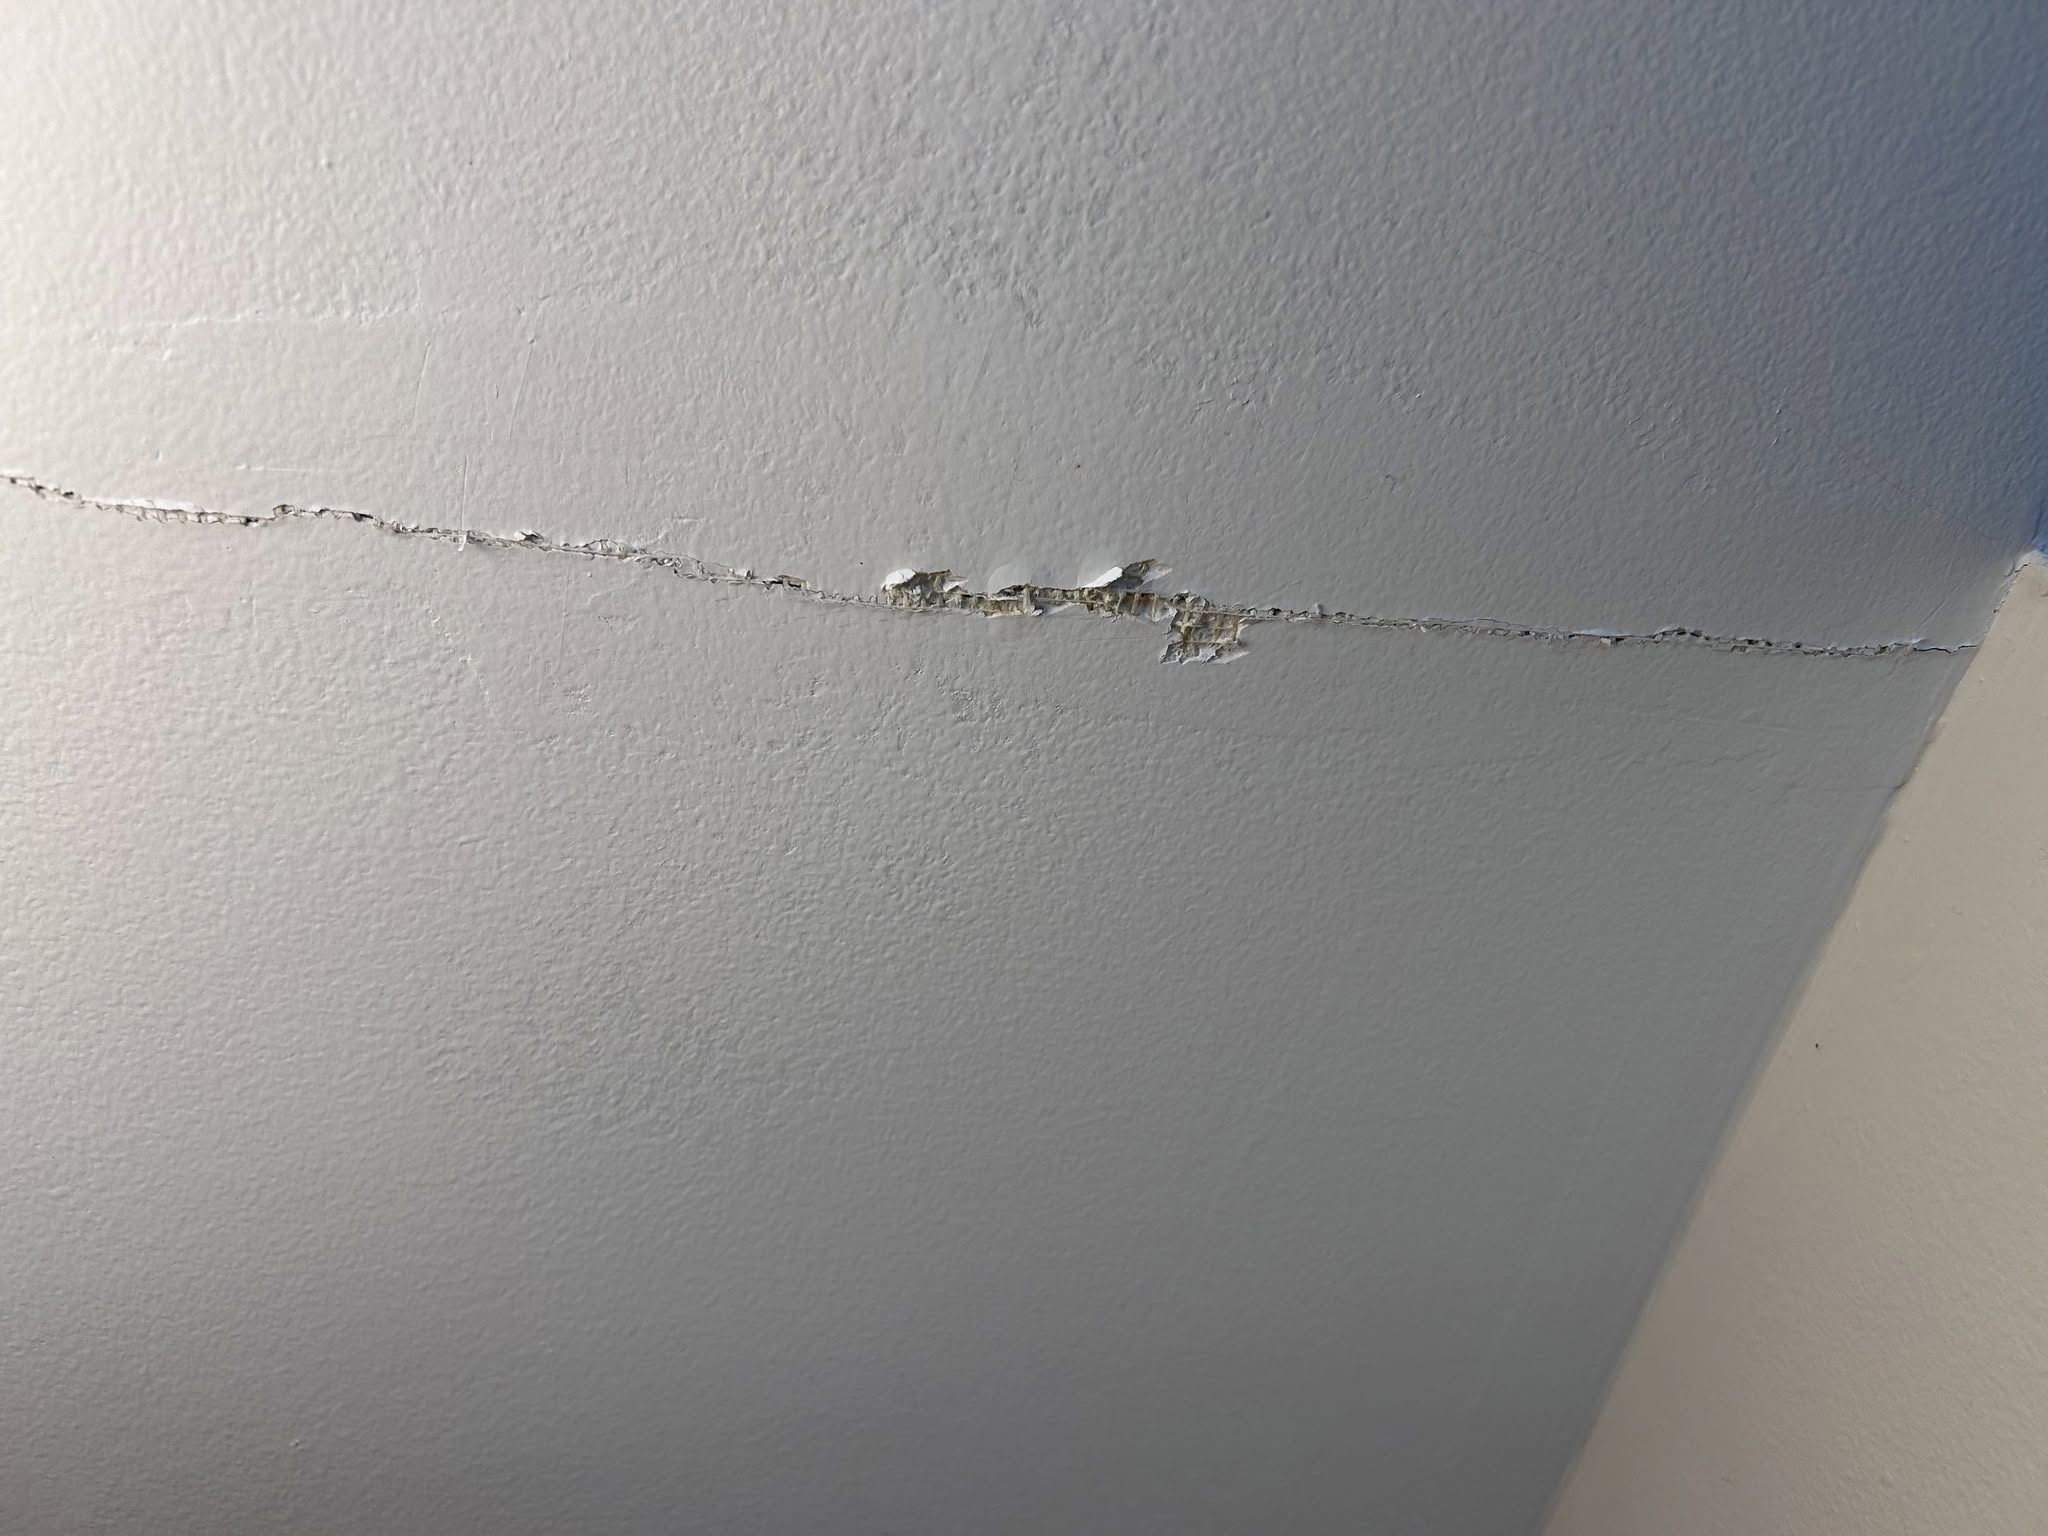
There was also a crack in the hall ceiling, that wasn’t originally included, but we are already there… so why not fix that too? At first inspection, I surmised the crack was repaired properly. I could see they set the mesh tape into the mud, like your supposed too, but….
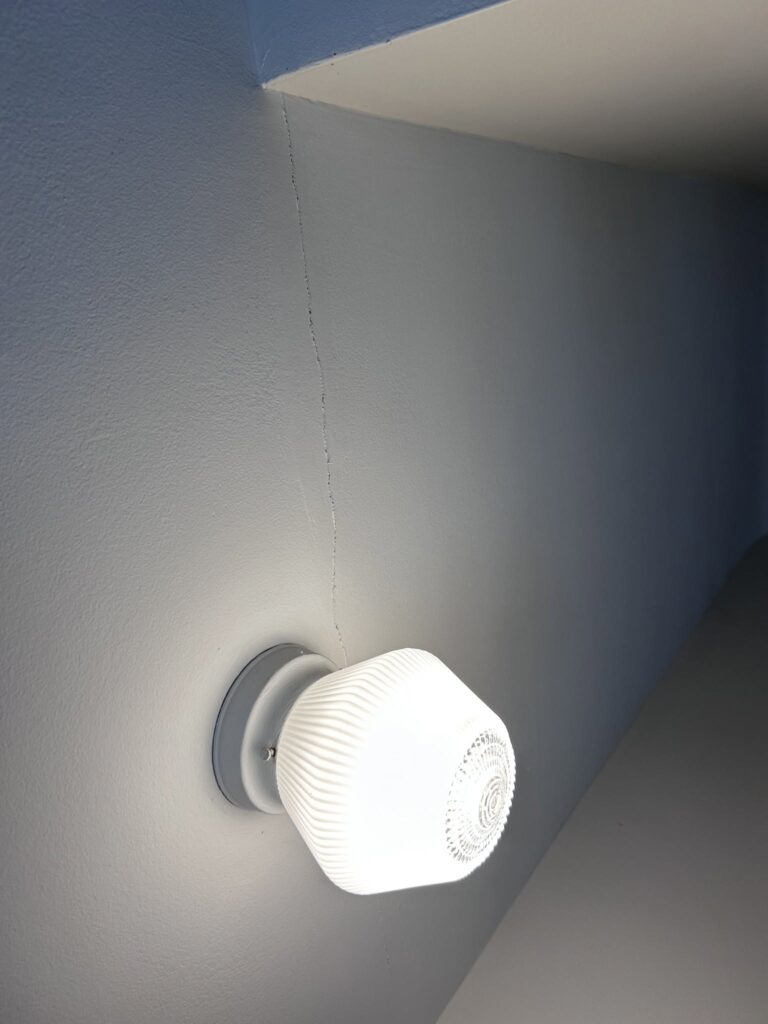
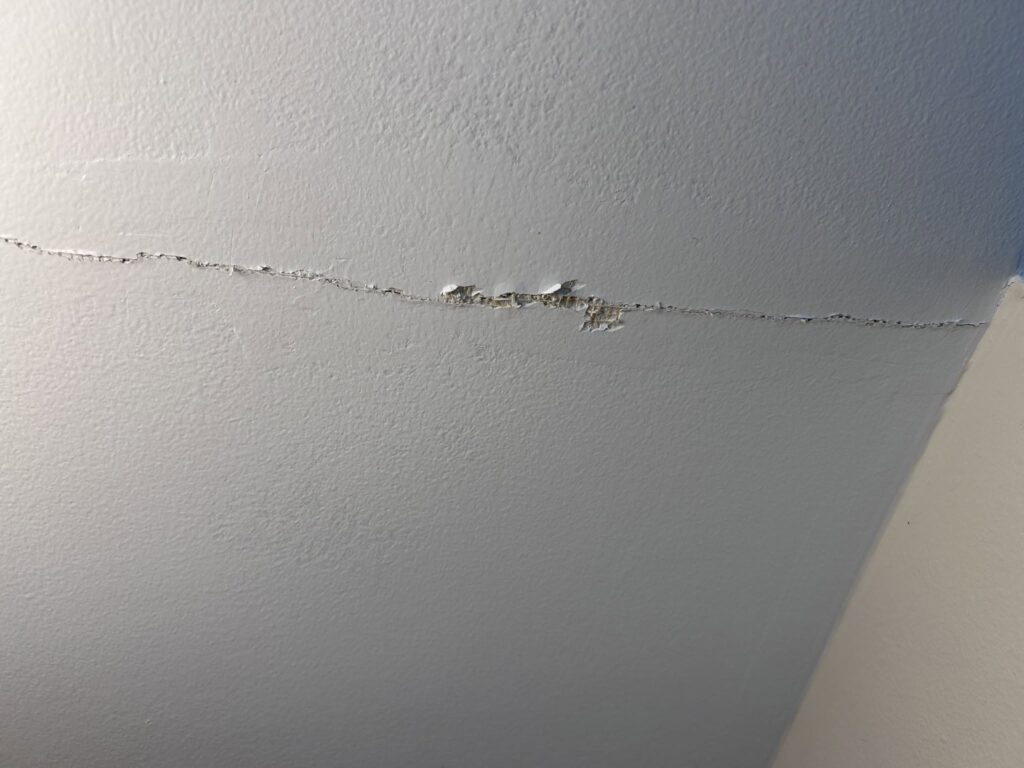
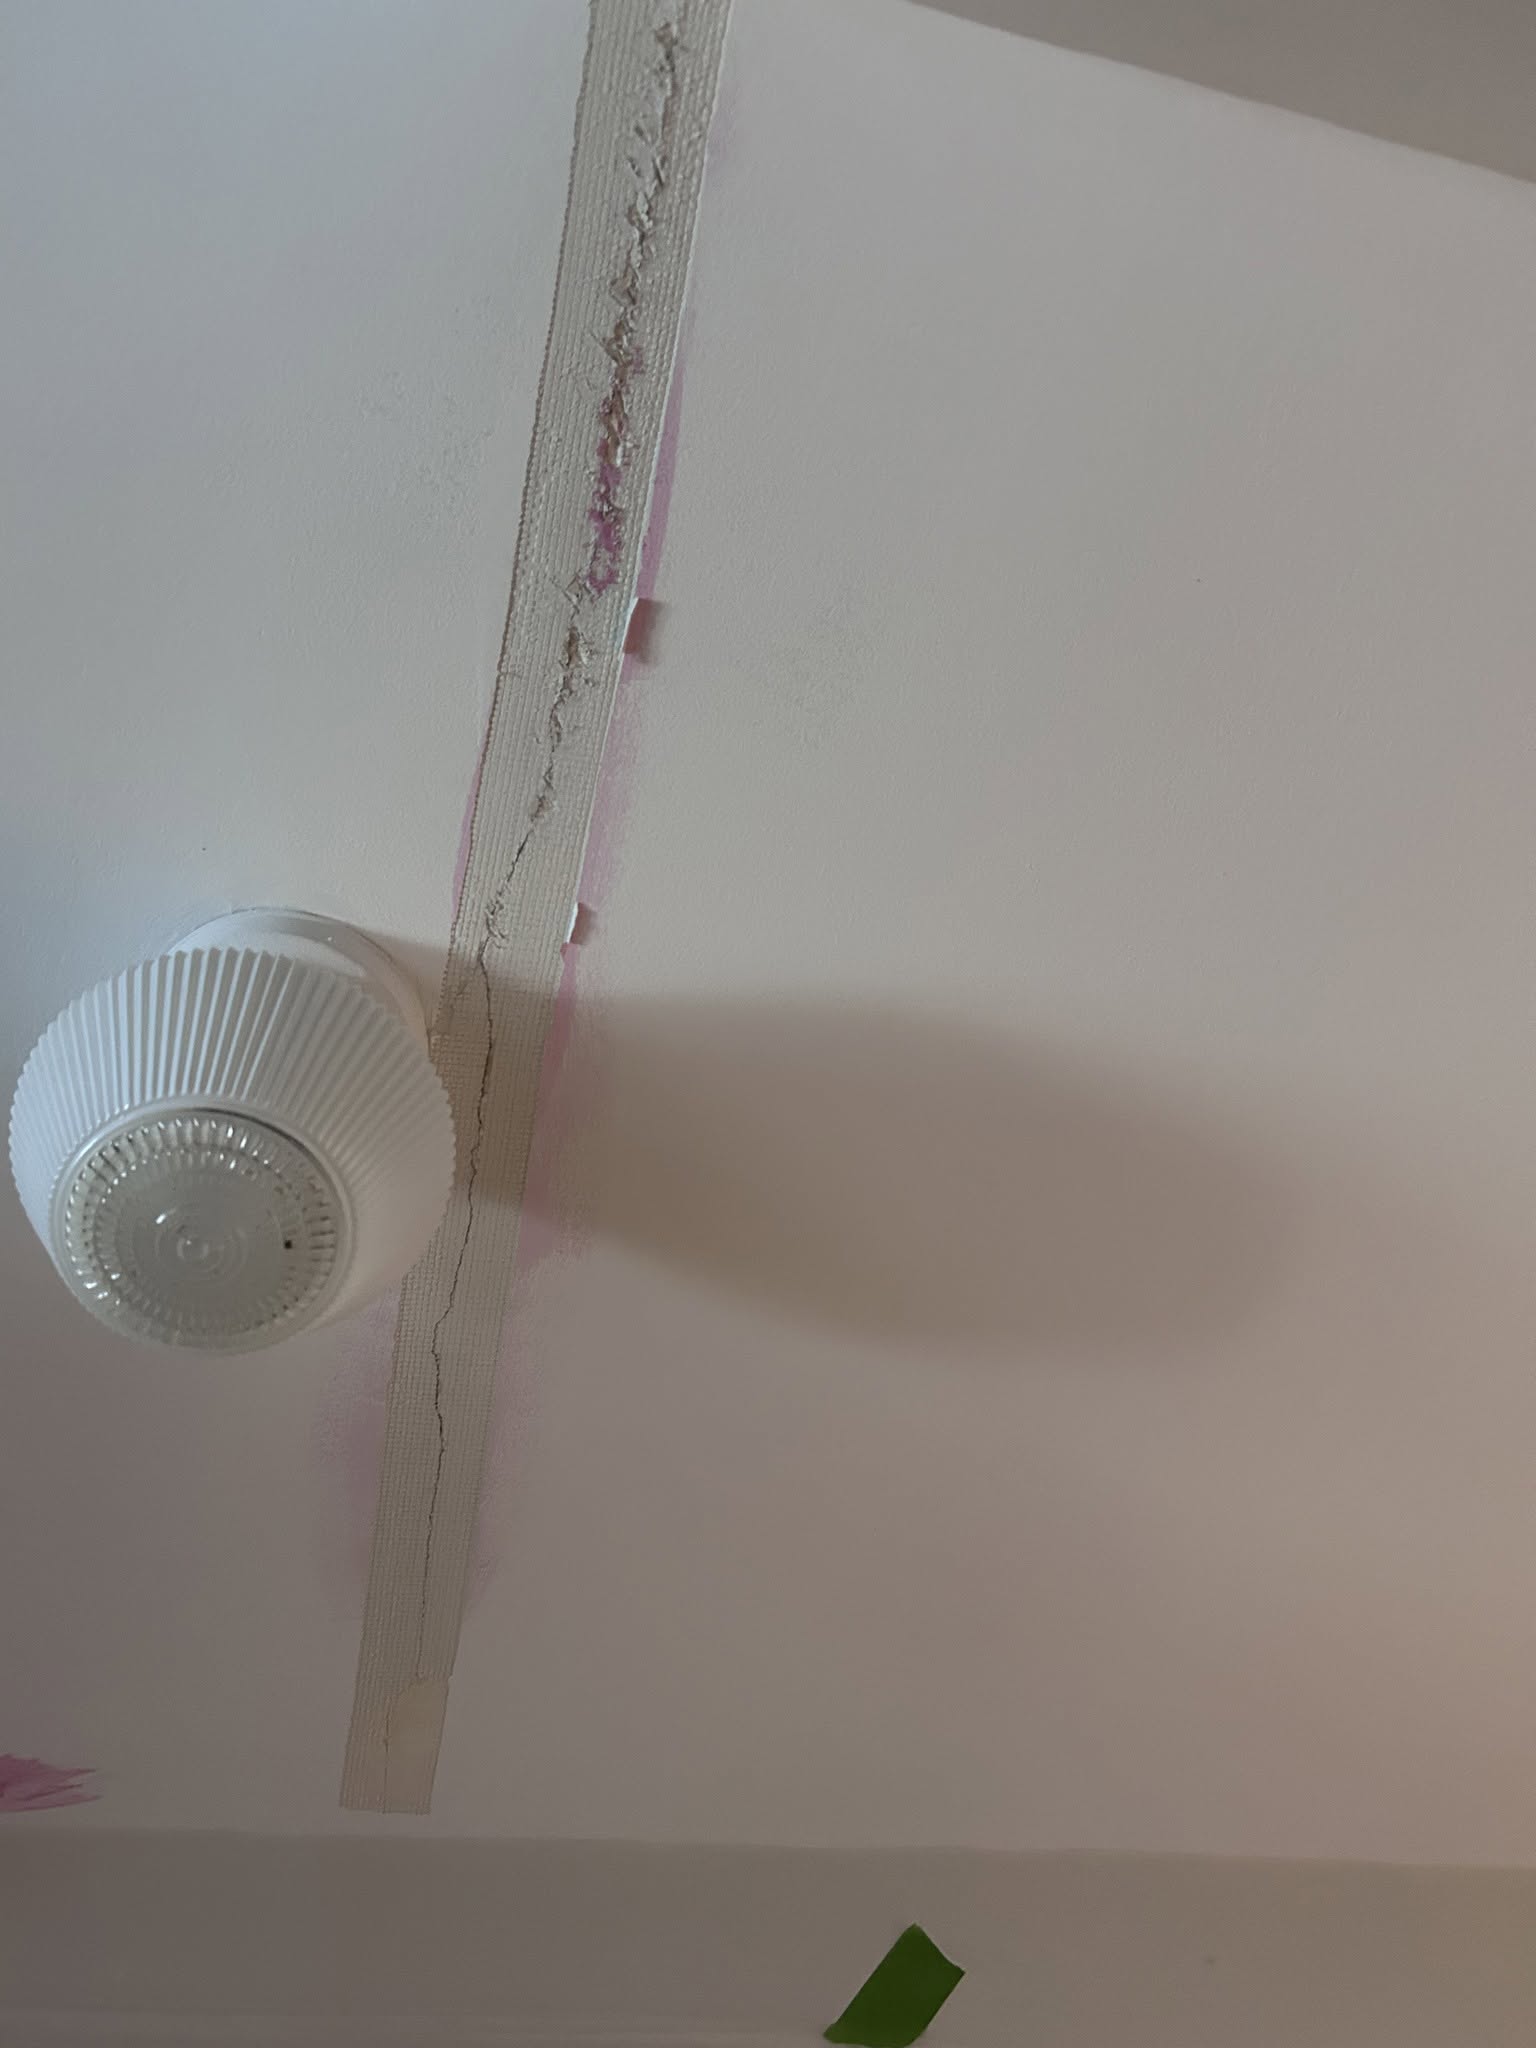
Upon further investigation, while the mesh tape was installed properly (Yay!) they didnt address the crack at all (fail)… Applying drywall compound over a crack, and reinforcing it with fiberglass mesh tape, means your relying on the adhesive in the patching material to stop the two sides from moving. So we removed the mesh tape..
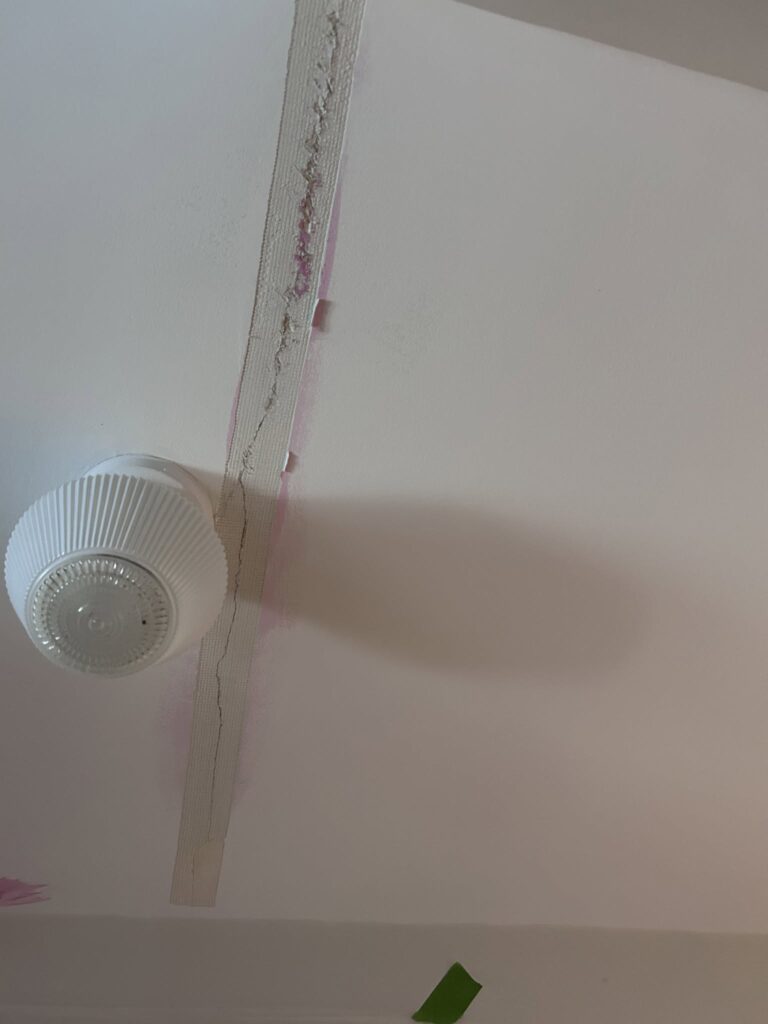

Then we used a hatchet, to open and V out the plaster crack, and repair the crack properly. The next set of images, details how to repair a plaster crack, the right way:
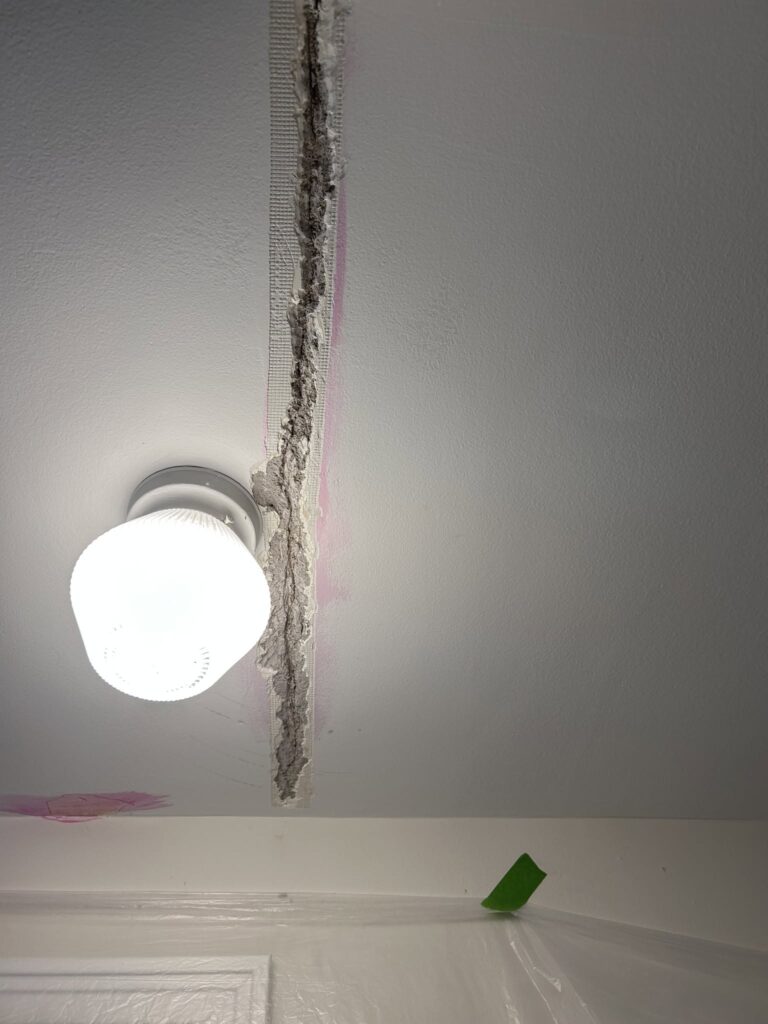
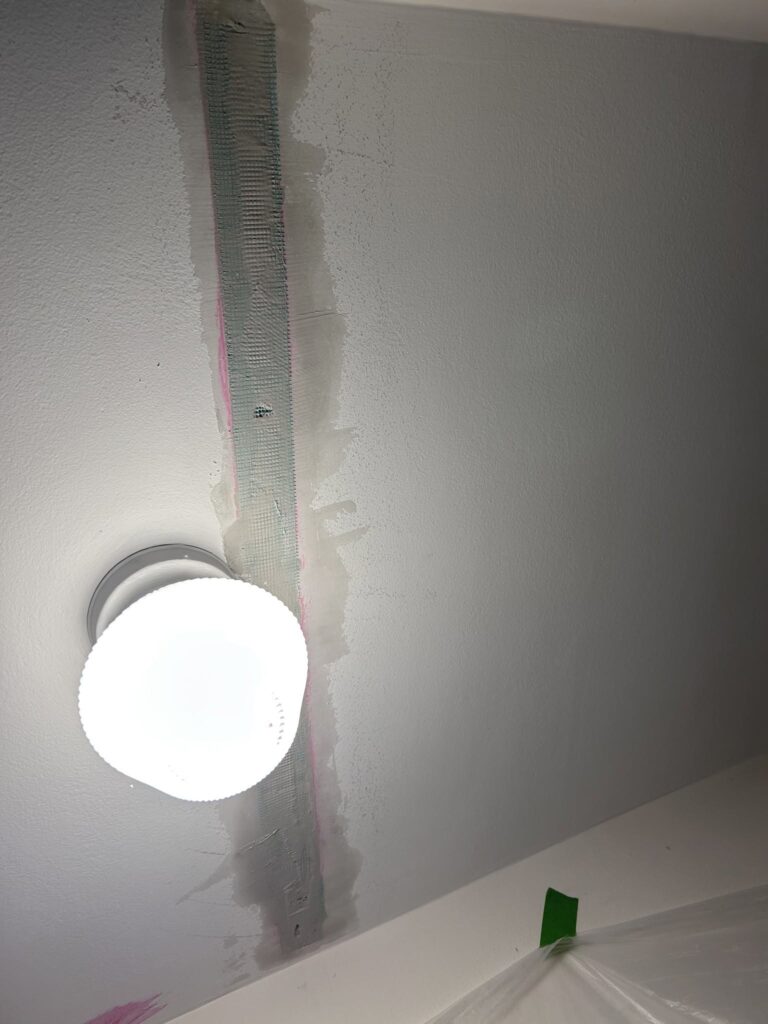
After V’ing out the plaster with a hatchet, we back filled the newly created channel with durabond, then reinforced it with fiberglass mesh tape. This method is the best way to repair a plaster crack. If it fails after this (which it might) the crack can’t be fixed. This area in the hallway always cracks in homes like this. Its a stress crack.
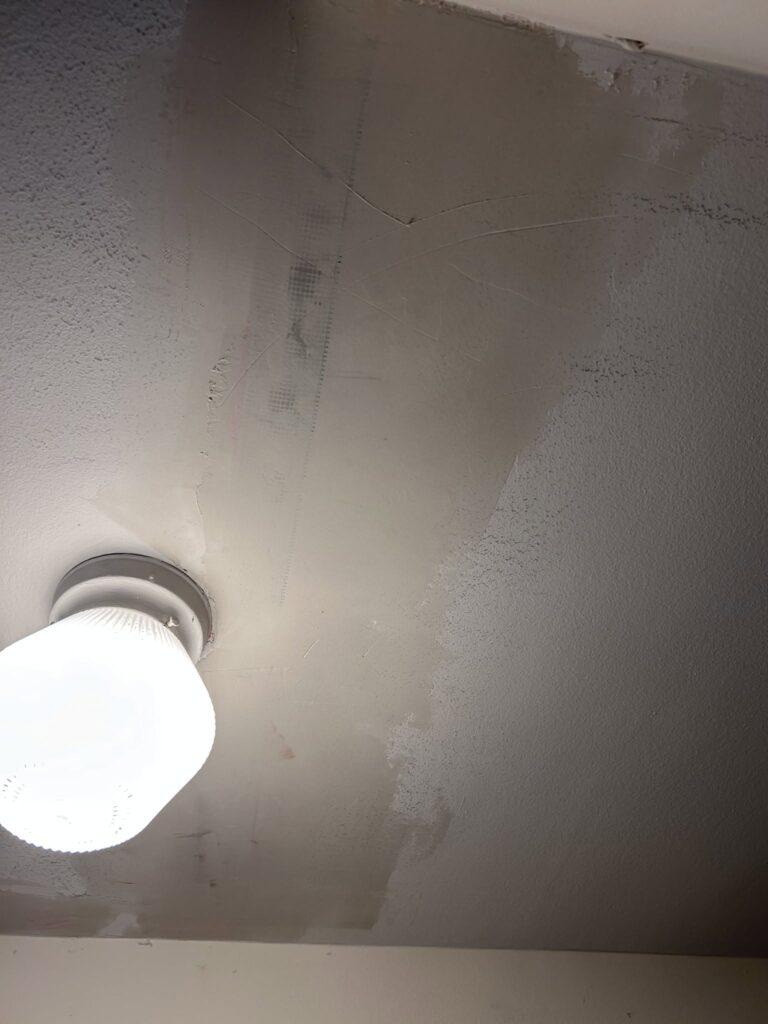
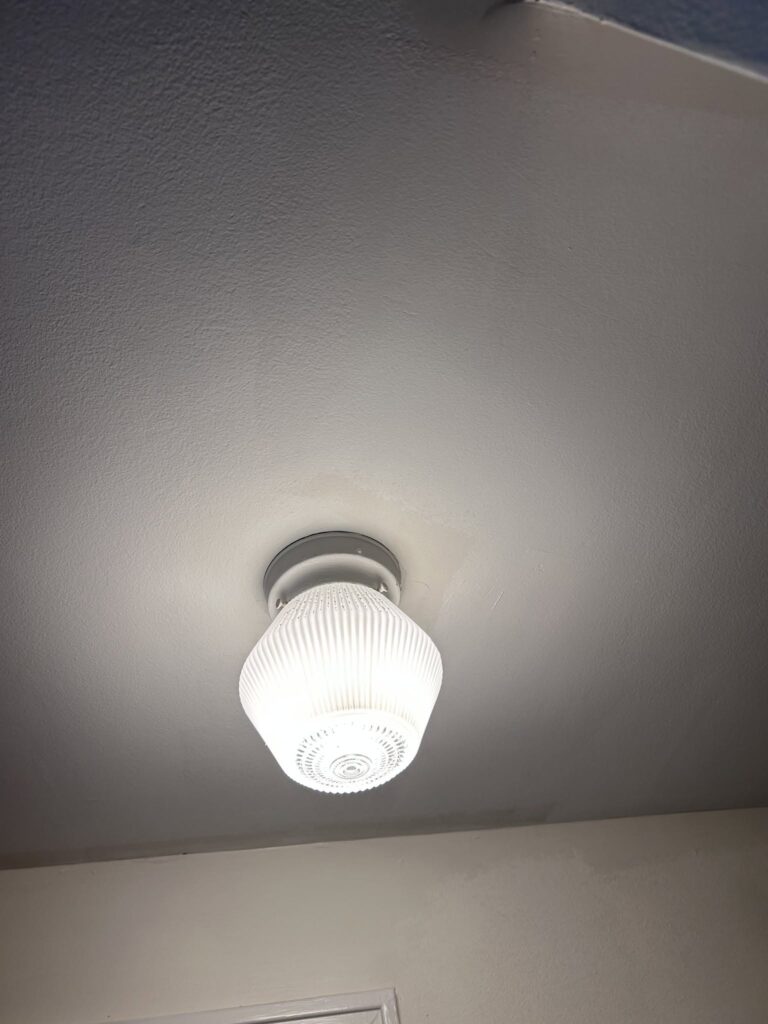
I feel it should be noted that the company that repaired the bathroom ceiling previously, did a good job. The repair would have been fine, had the leak not re-occured. It is always nice to see that the competition is doing good work.
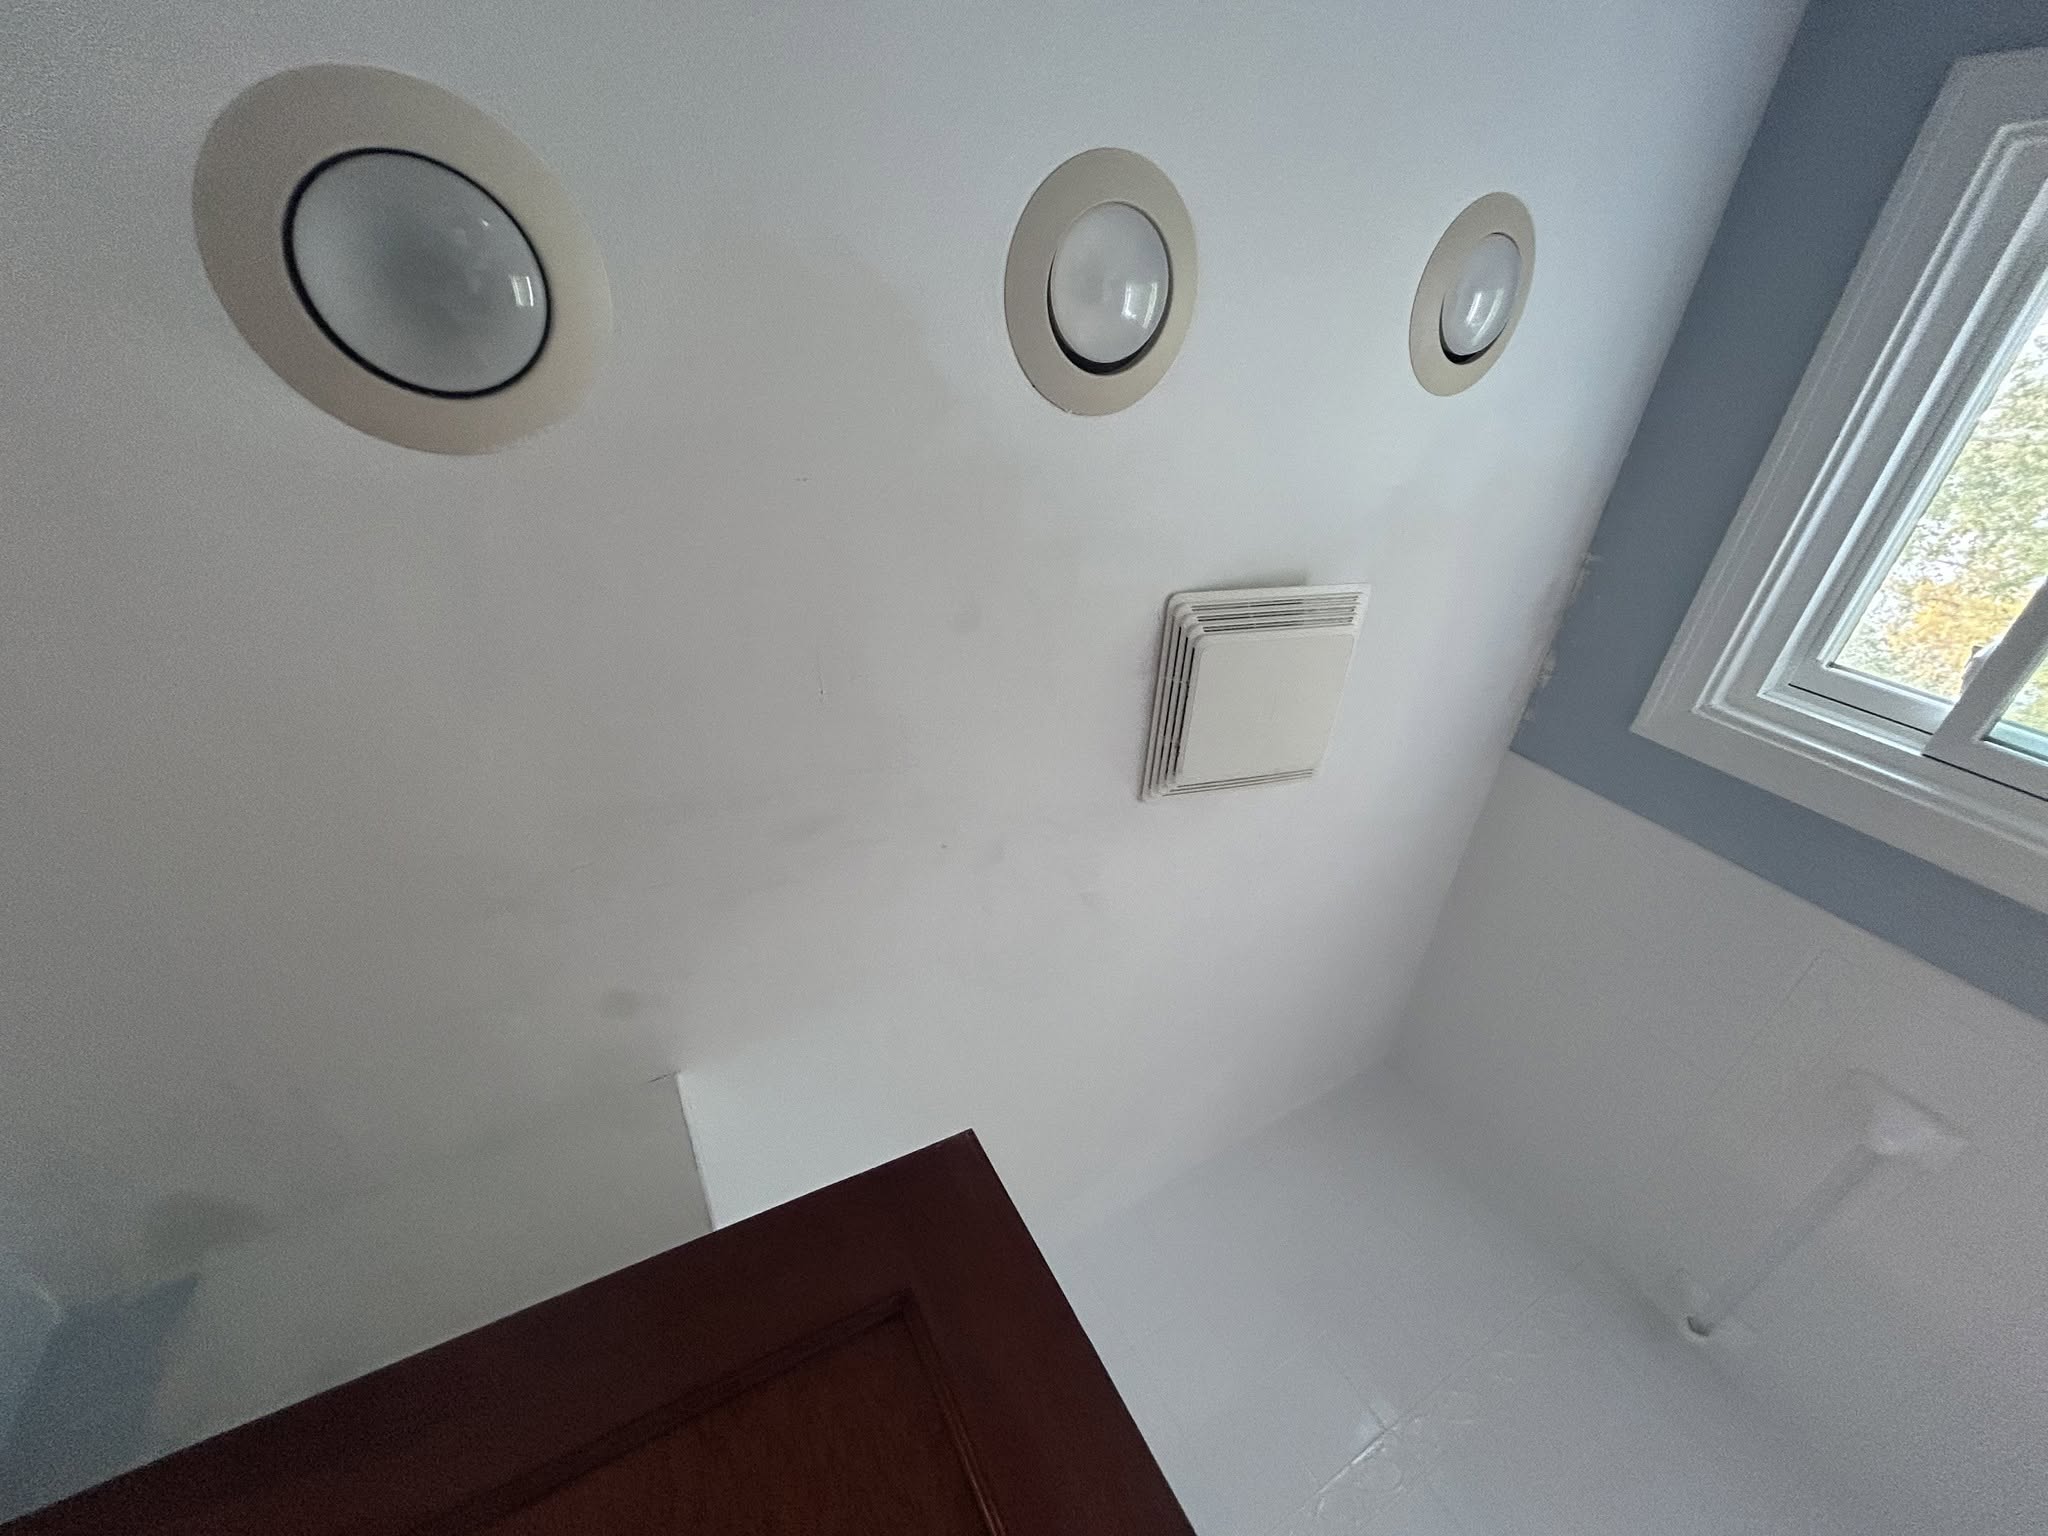
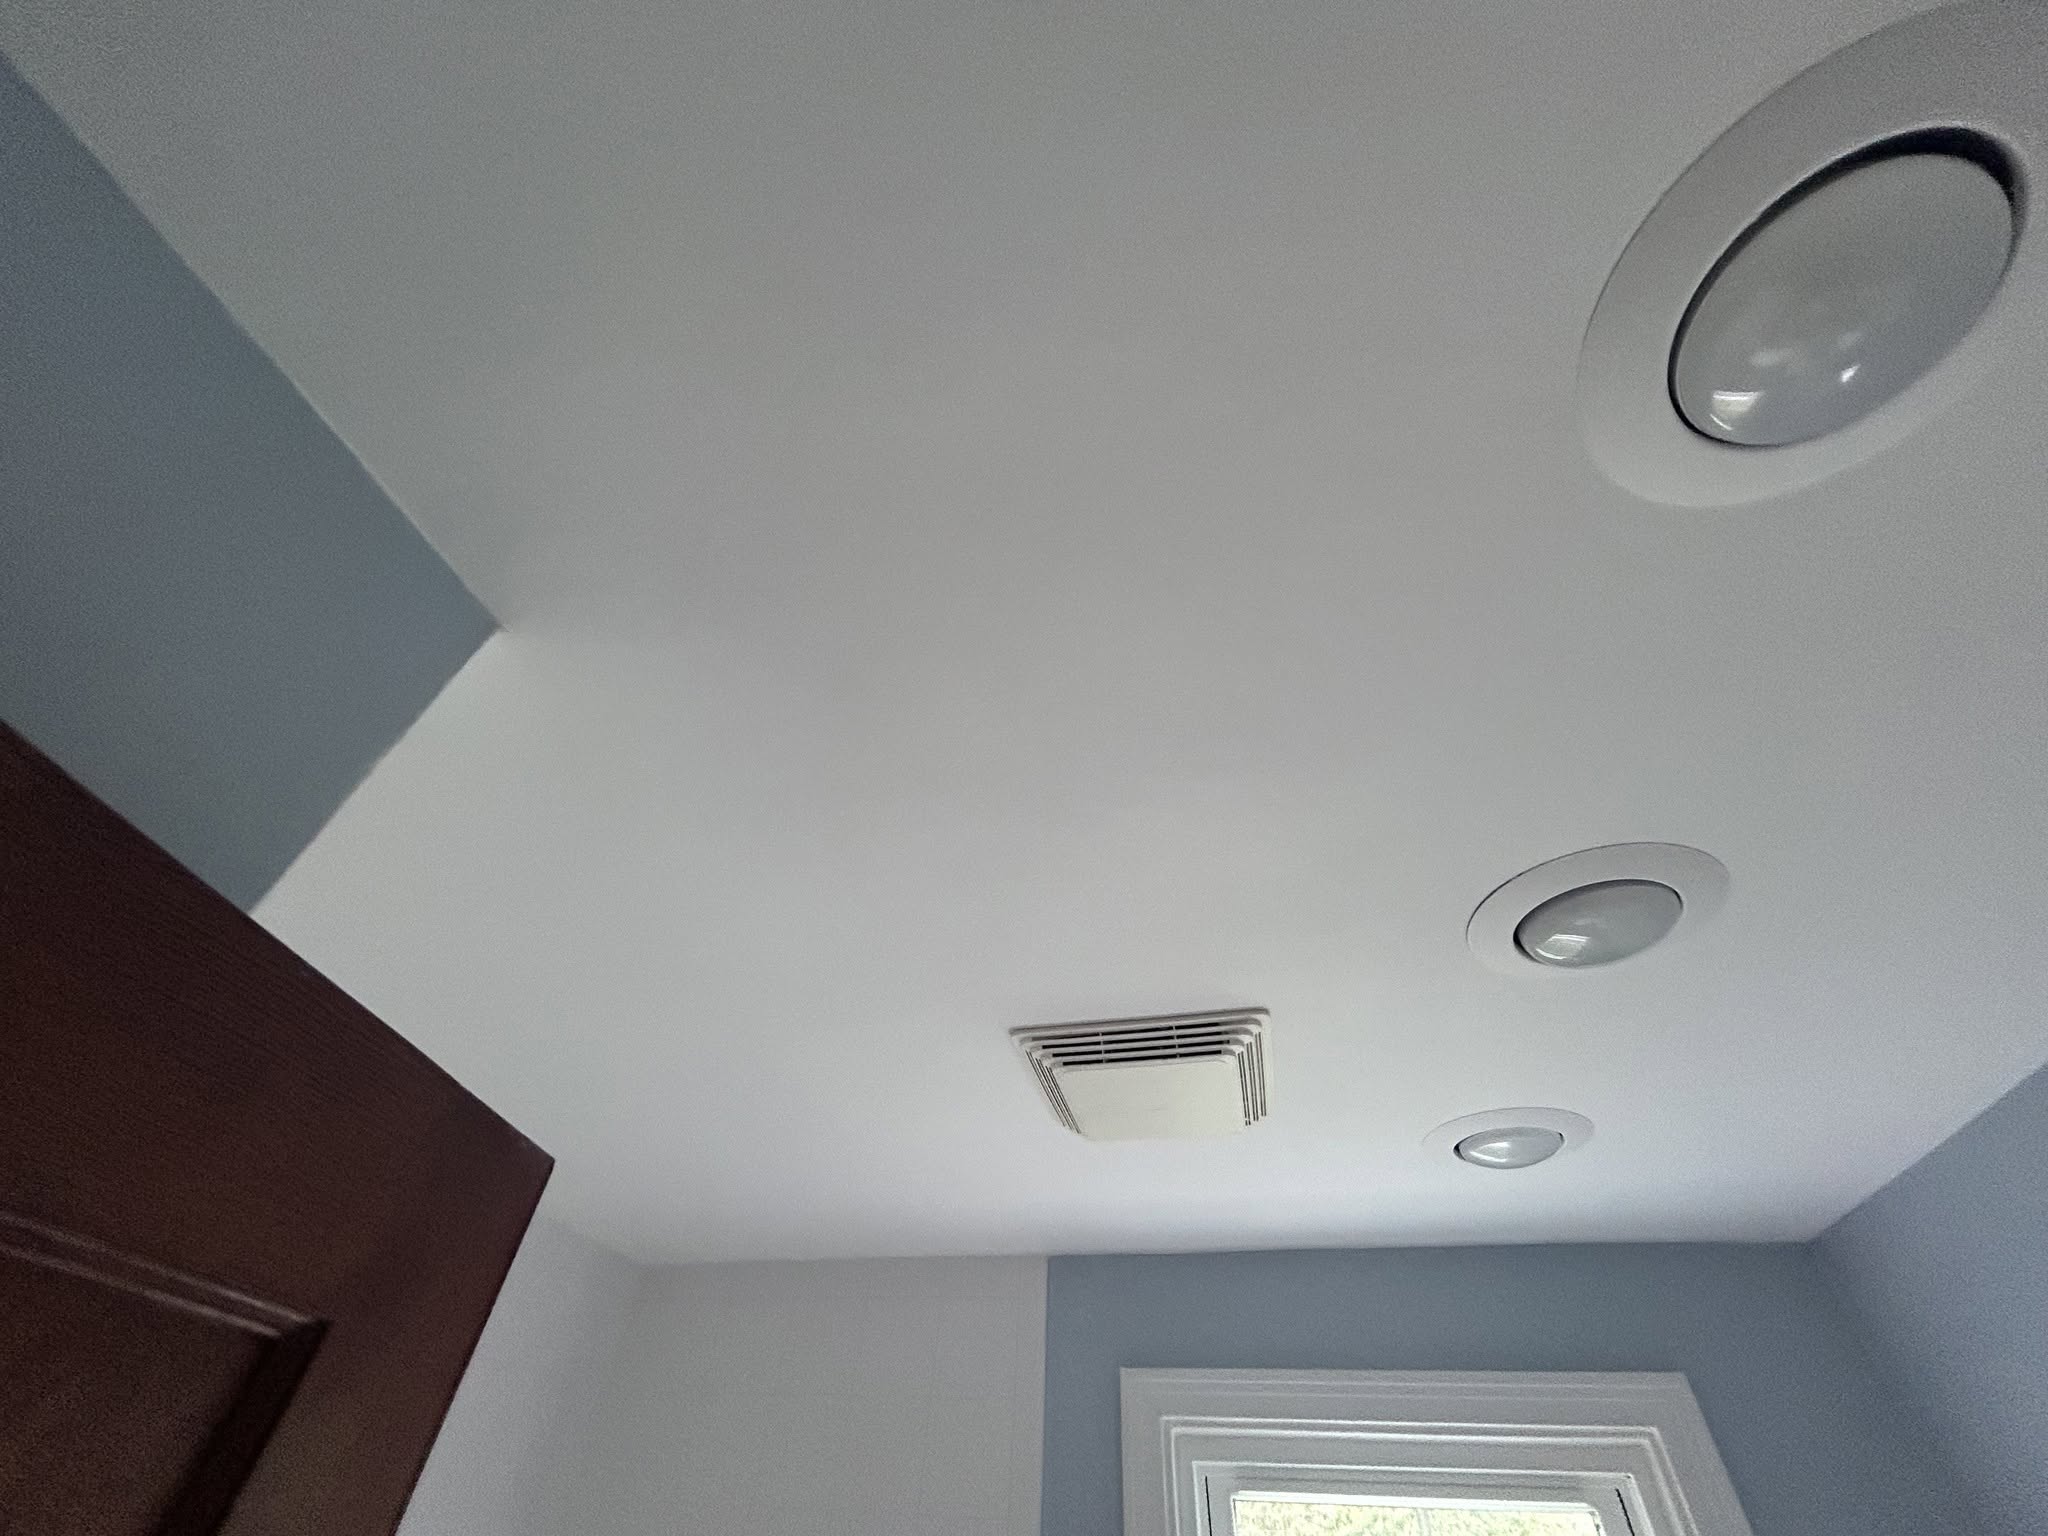
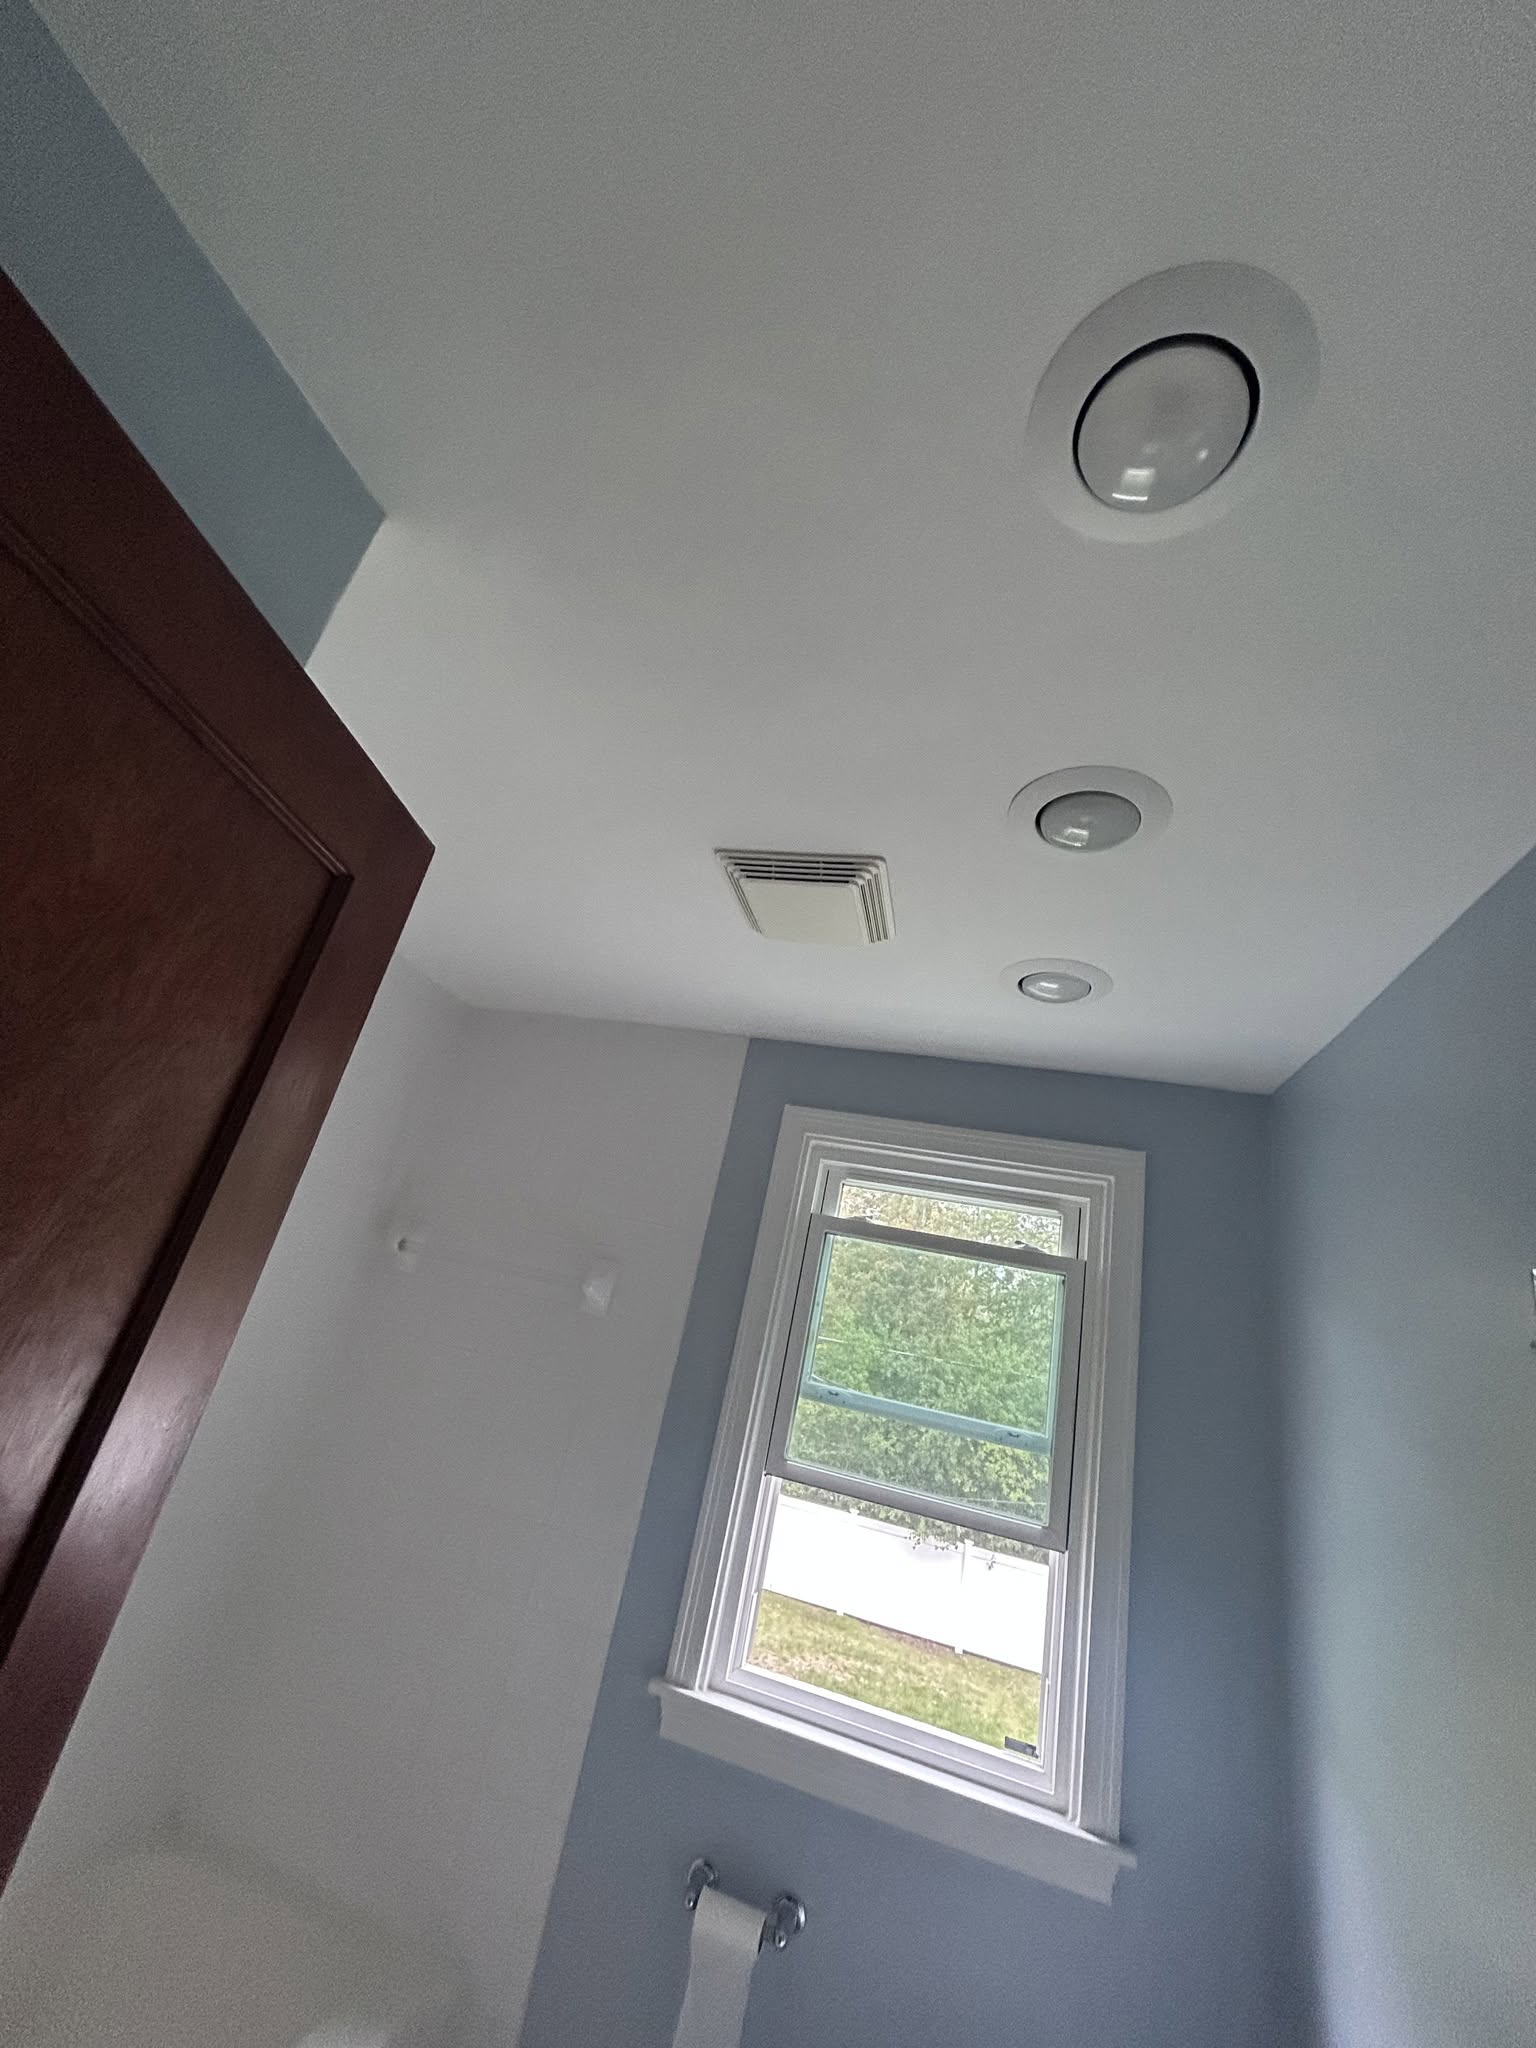
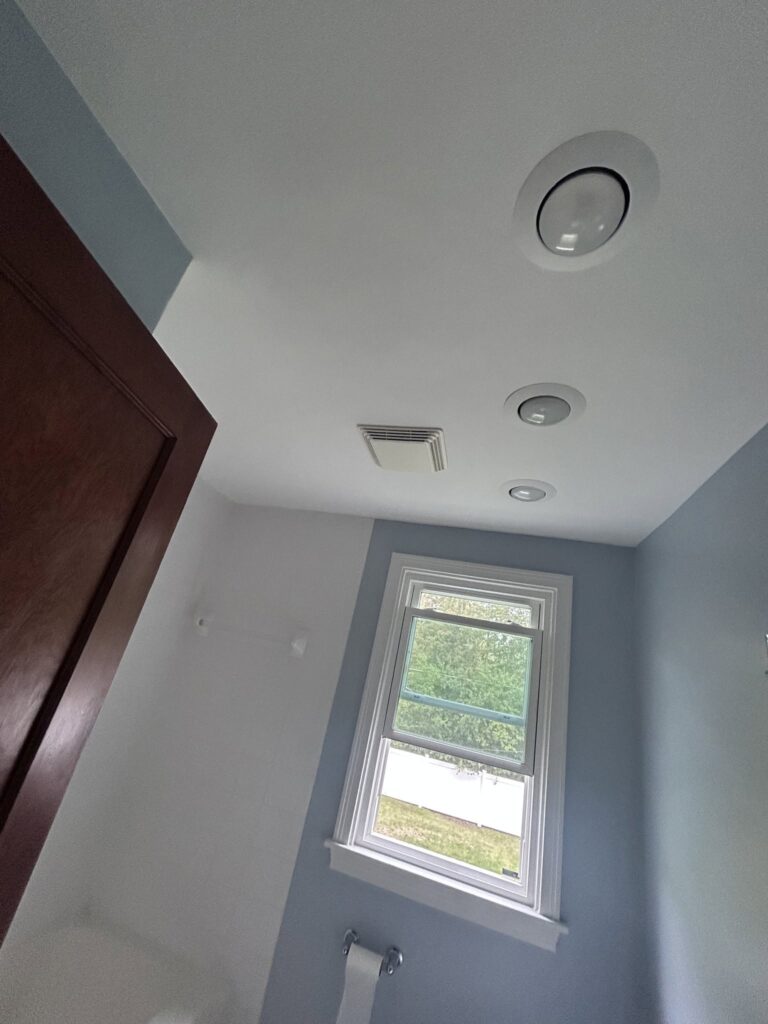
All finished! We repainted the bathroom- walls and ceiling, including the rings around the can-lights, two coats. We also painted the hall ceiling, and affected walls.
On to the photos..
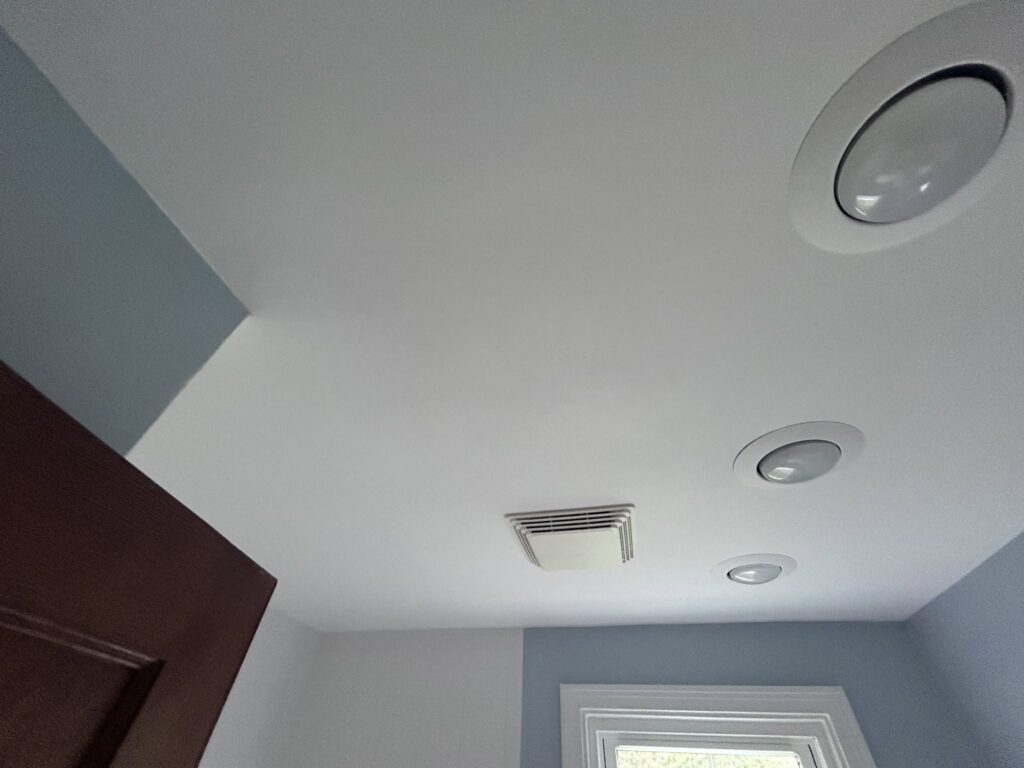
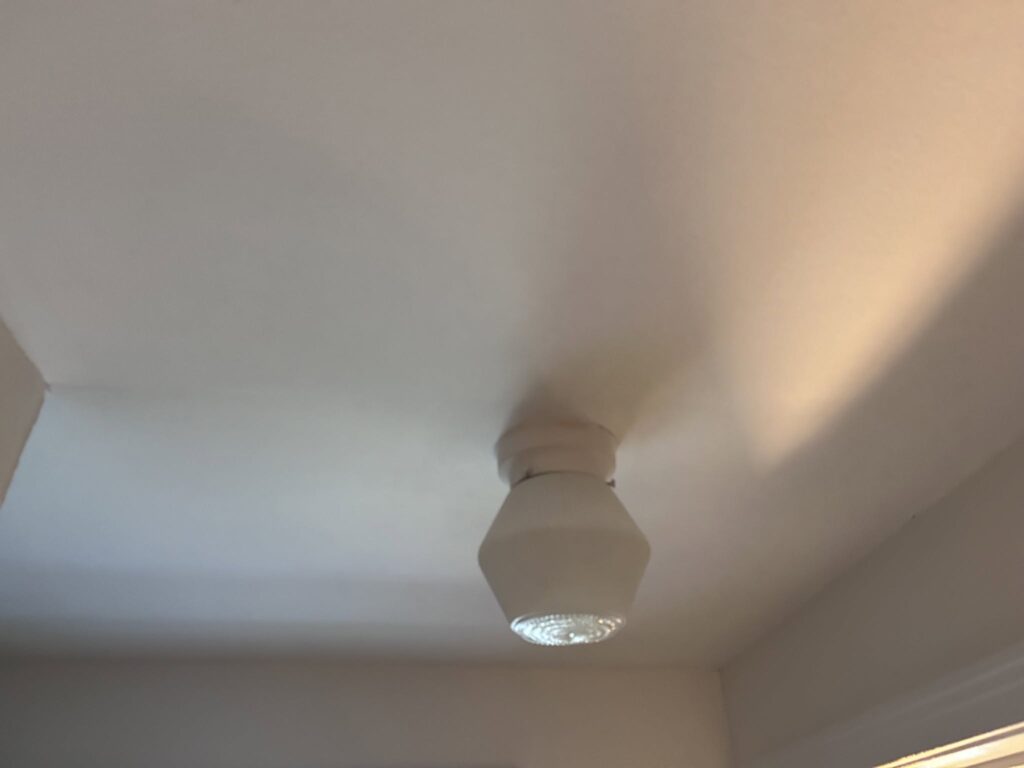
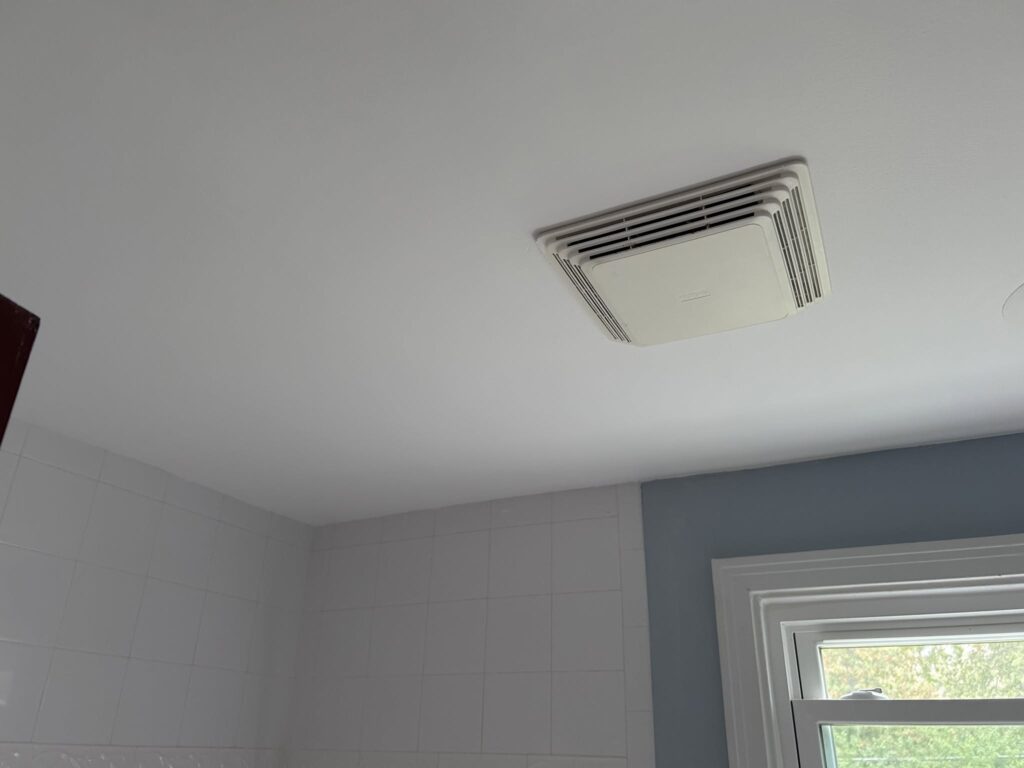
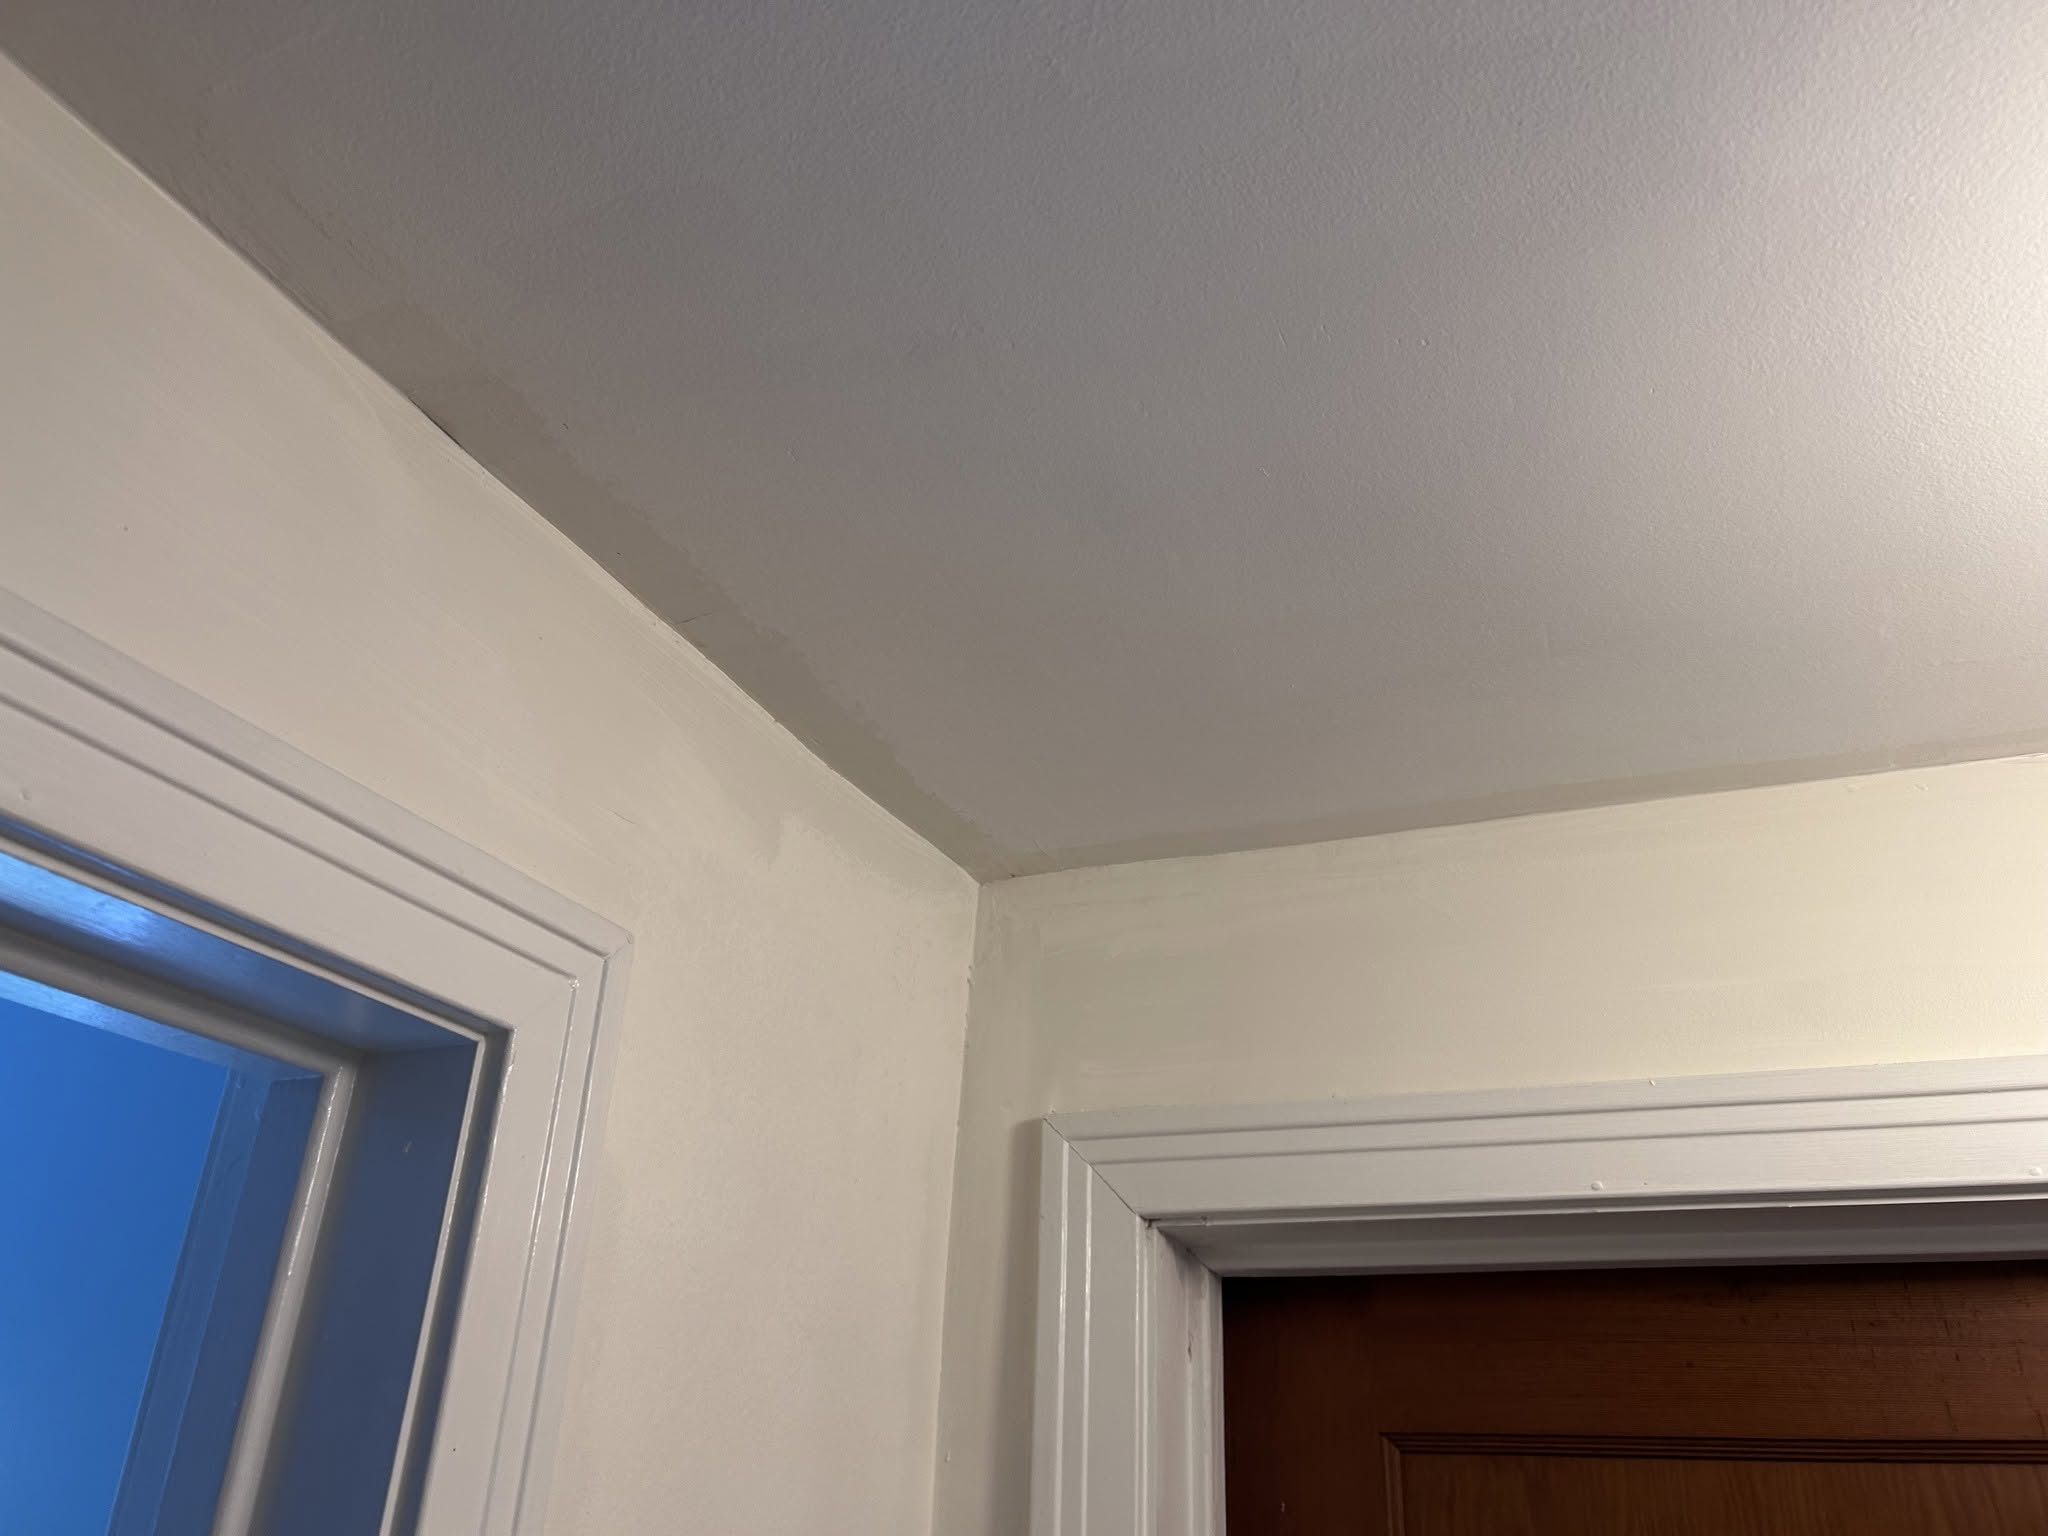
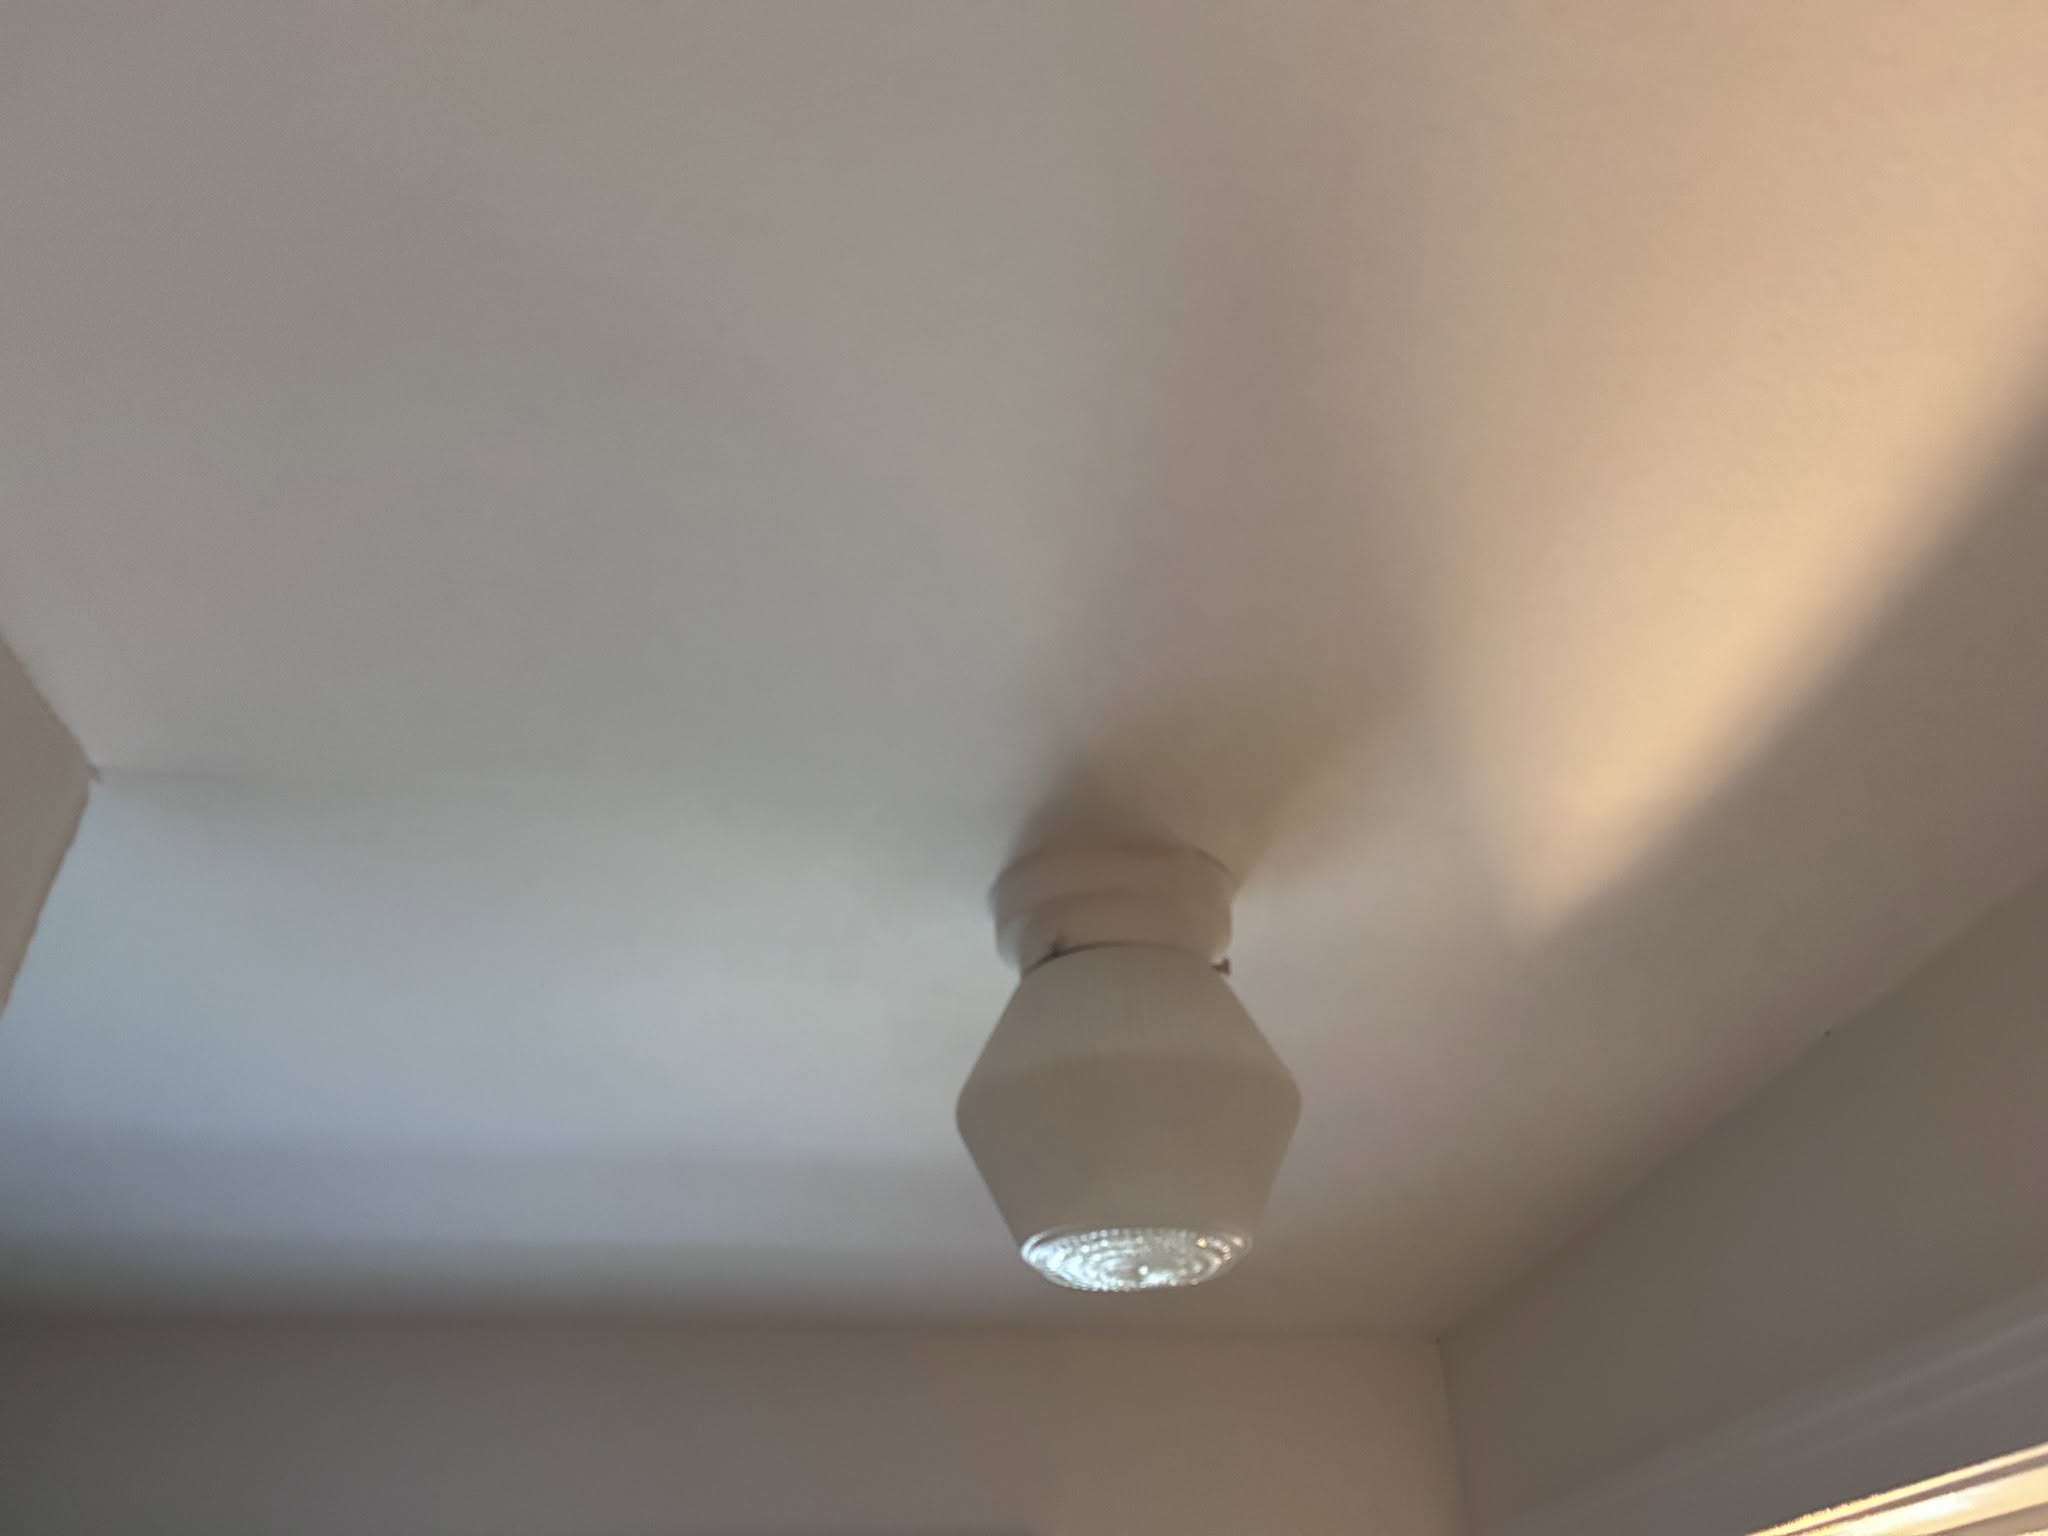
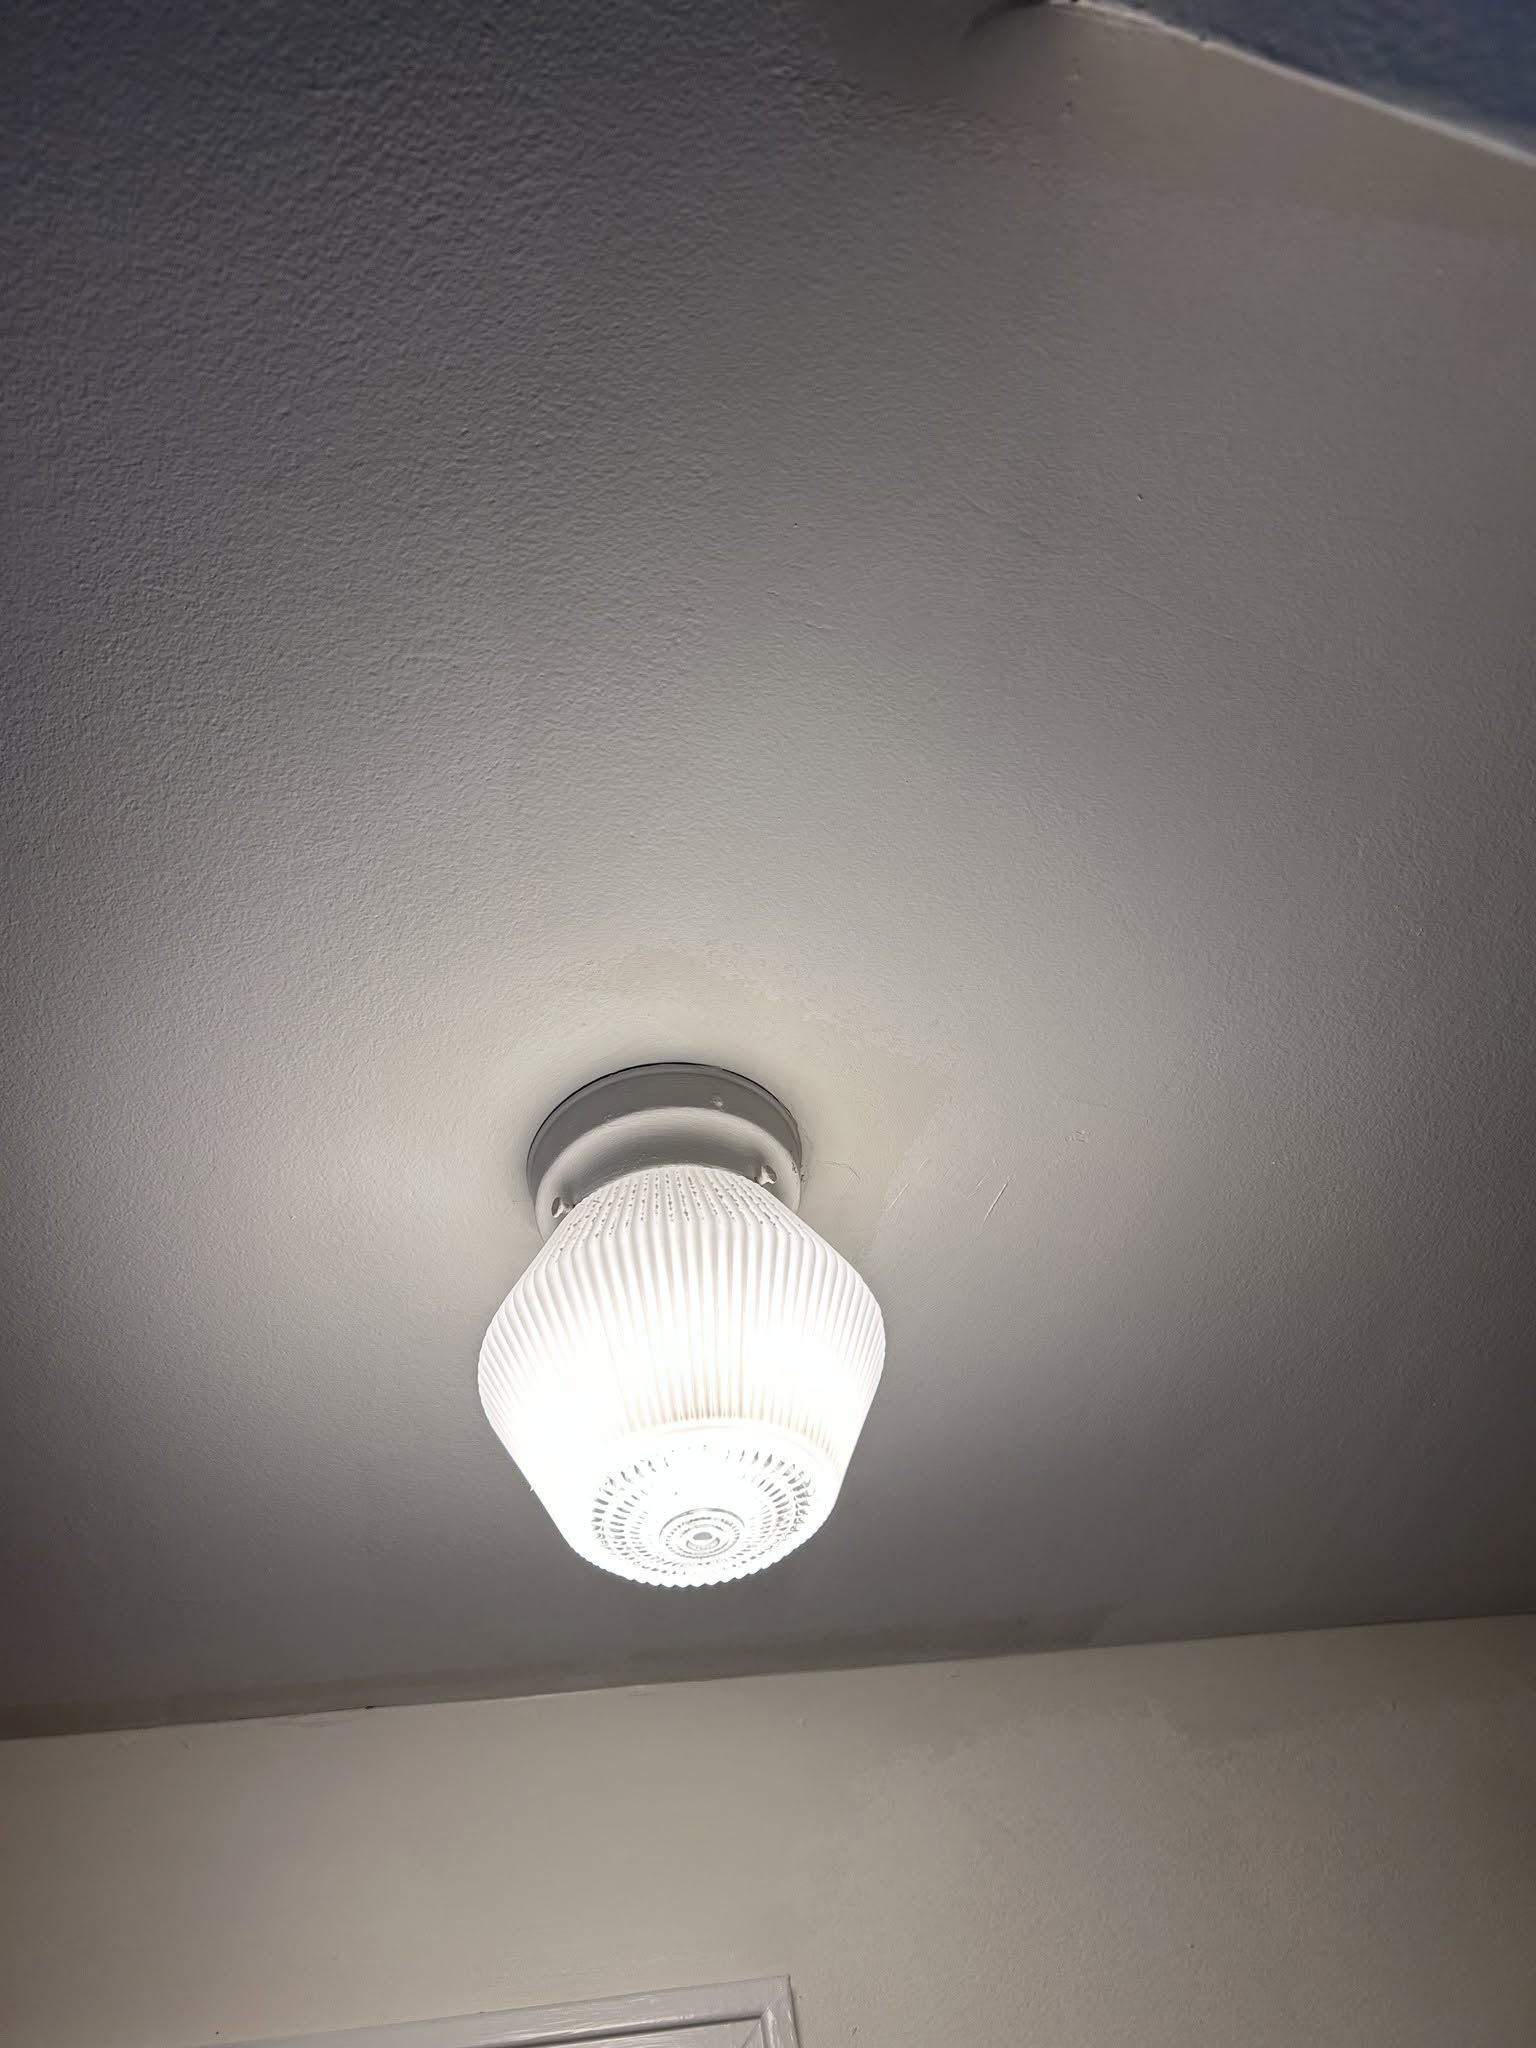
Oddly enough I dont have a picture of that corner of the hallway with the light on.. On to the finished photos of the hallway
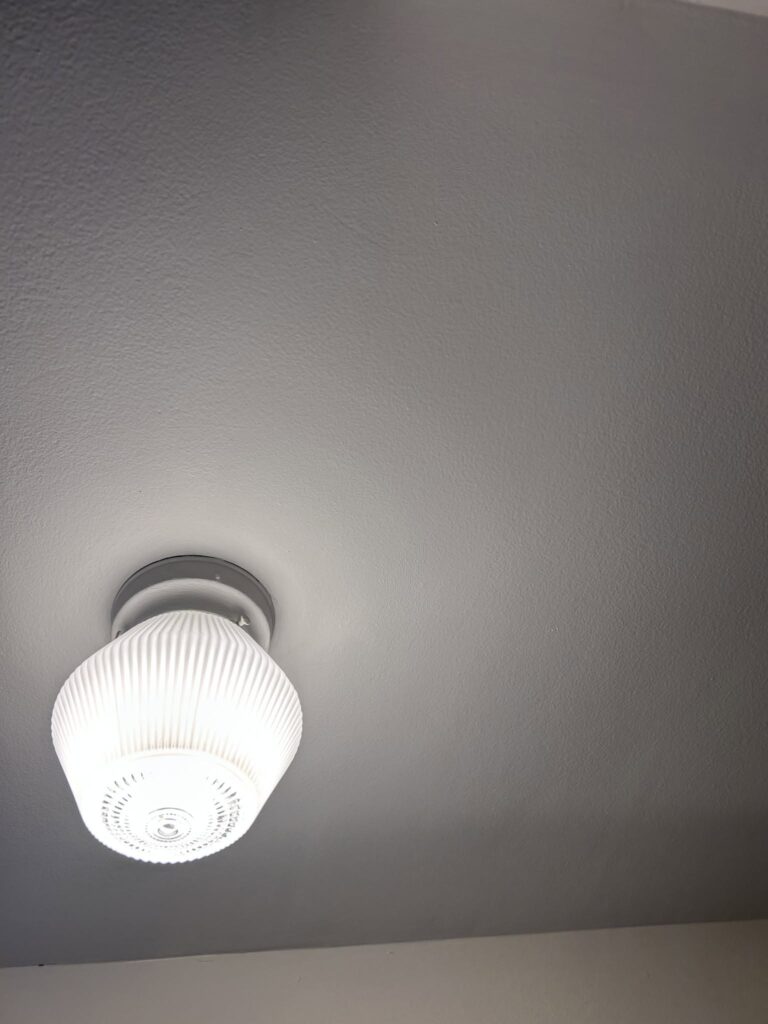
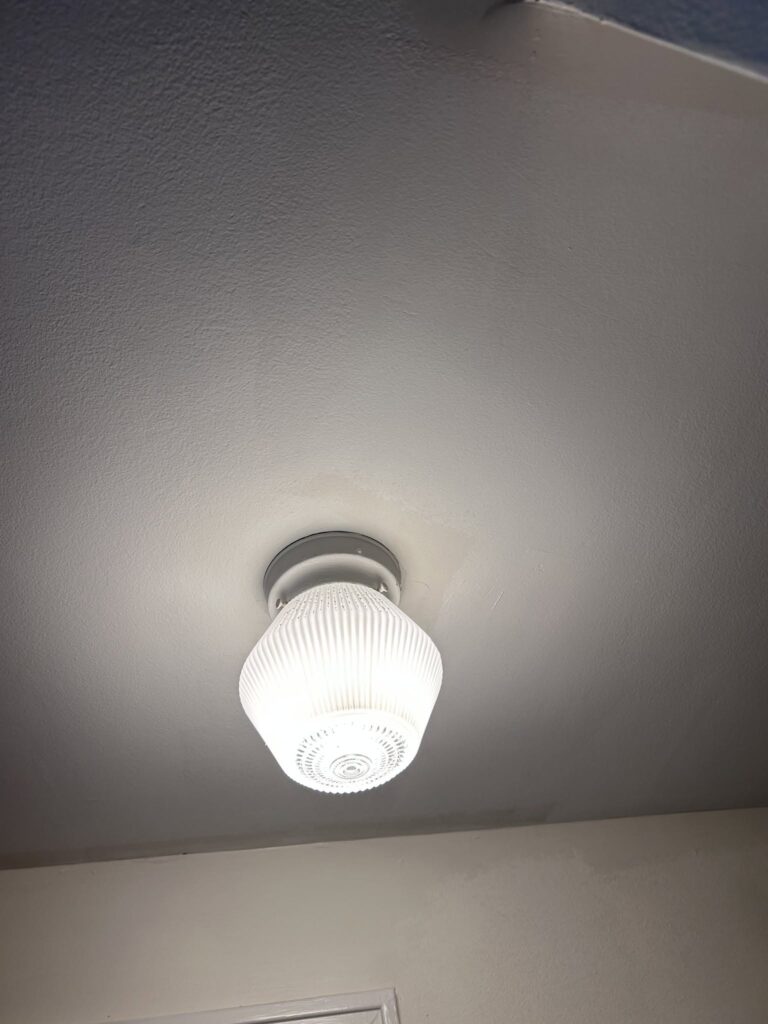
We successfully made the crack disapear, and now that it has been repaired properly, hopefully it won’t come back!
As far as the bathroom ceiling, it did get bigger than I initially thought, as the material that was used previously, lost adhesion to the basecoat and caused the ceiling to peel. Instead of relying on the adhesives and glues with in drywall compound for long term adhesion, we decided to use the pink stuff. This will hopefully help prevent any further deterioration, especially if the leak comes back.
Project Details – Attributes are links to related projects.
| Category | Bathroom Ceiling Repair |
|---|---|
| Type of Damage | Delamination, Efflorescence, Settlement Cracks, Water Damage, Water Stains |
| Source of Damage | Roof Leak, Structural Movement |
| Substrate | Rock-Lath Plaster |
| Demonstrated Skill | Ceiling Repair, Water-Damage Plaster Ceiling Repair |
| Location | Amherst NY., 14226 |
Show more project detailsShow fewer project details
| Secondary Category | 1-2 Day Project |
|---|---|
| Housing Era | 1950s |
| Project Completed | 2026 |
| Room | Bathroom, Hallway |
| Manufacturers | Behr Paint, Sherwin Williams |
| Paints & Coatings: | Behr Premium Door & Trim Enamel, Behr Premium Plus Interior Ceiling Flat, Behr Scuff Defense |
| House Style | Cape Cod |
| Materials Installed | Drywall Compound |
| Conditions | Previous Repair |
| Discoveries | Previous Repair |
| Primer | Sherwin-Williams ProBlock Quick Dry Alkyd |
| Neighborhood | Snyder |
| Images | 24 |
| Videos | 0 |
This Project in Pictures
24 photos · In project order