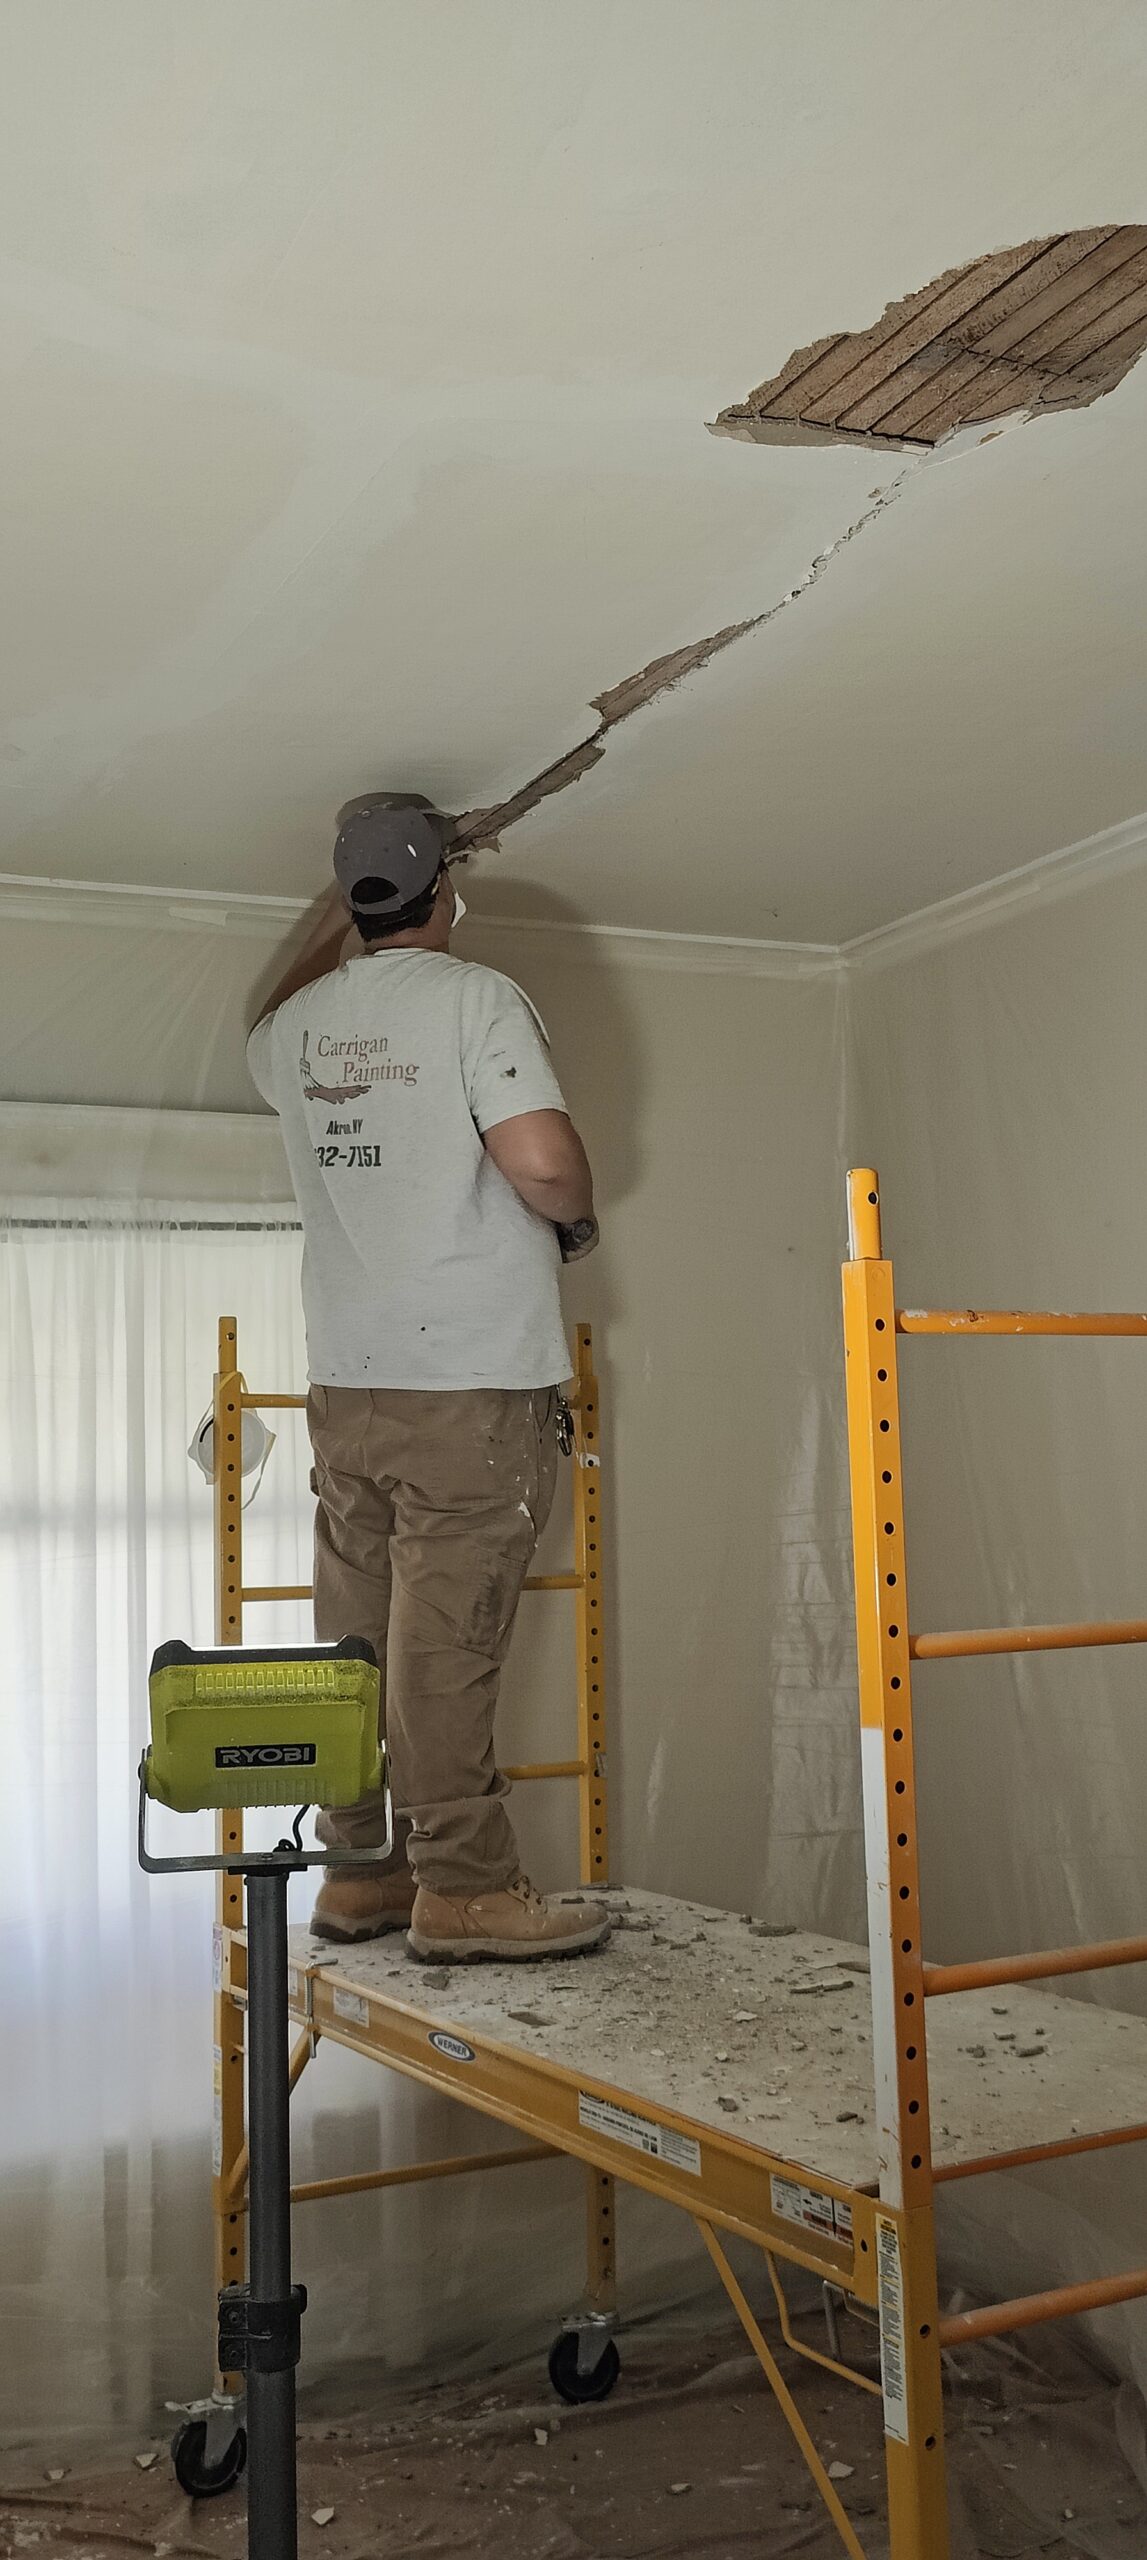
Another day another bathroom ceiling. Initially we were going to scrape the ceiling, apply the pink stuff, and then skim coat the ceiling. However, because the pink stuff is very thick, and has a fairly decent ‘wet’ time, the ceiling began to peel. A lot. So, after rolling the ceiling with the pink stuff, we went back – while it was still wet, and scraped the ceiling. This actually worked extremely well. This allowed us to remove the previous skim coat almost completely. After which we primed the ceiling with oil base primer, and then more pink stuff, and then skim coated the ceiling. (side note- the pink stuff is fairly expensive at $60 a gallon, and its special order. It is a special glue, used in plastering, however we have had success with it in our line of work)
Before


Skim coating


Tomorrow we will sand the ceiling, and the walls. Then prime the same. After touch ups (cause we are not perfect), we will spot prime our patches, and then paint the ceiling and walls.
Sanding, Priming, and Painting


We primed the ceiling and wall patches with oil primer, then applied the first coat of paint to the ceiling walls, and trim. We always do two coats of paint on all surfaces, as it provides for a better finished product. While this job took a little longer to complete than we anticipated, sometimes these repairs take longer. It happens. At the end of the job, the client pays what the Contract they agreed too says. We do not charge more, if something took longer than we thought it would. Company policy.
After


Not sure what is up with the artifacts…
This bathroom restoration project took 2.5 days and came to around $2,200.00