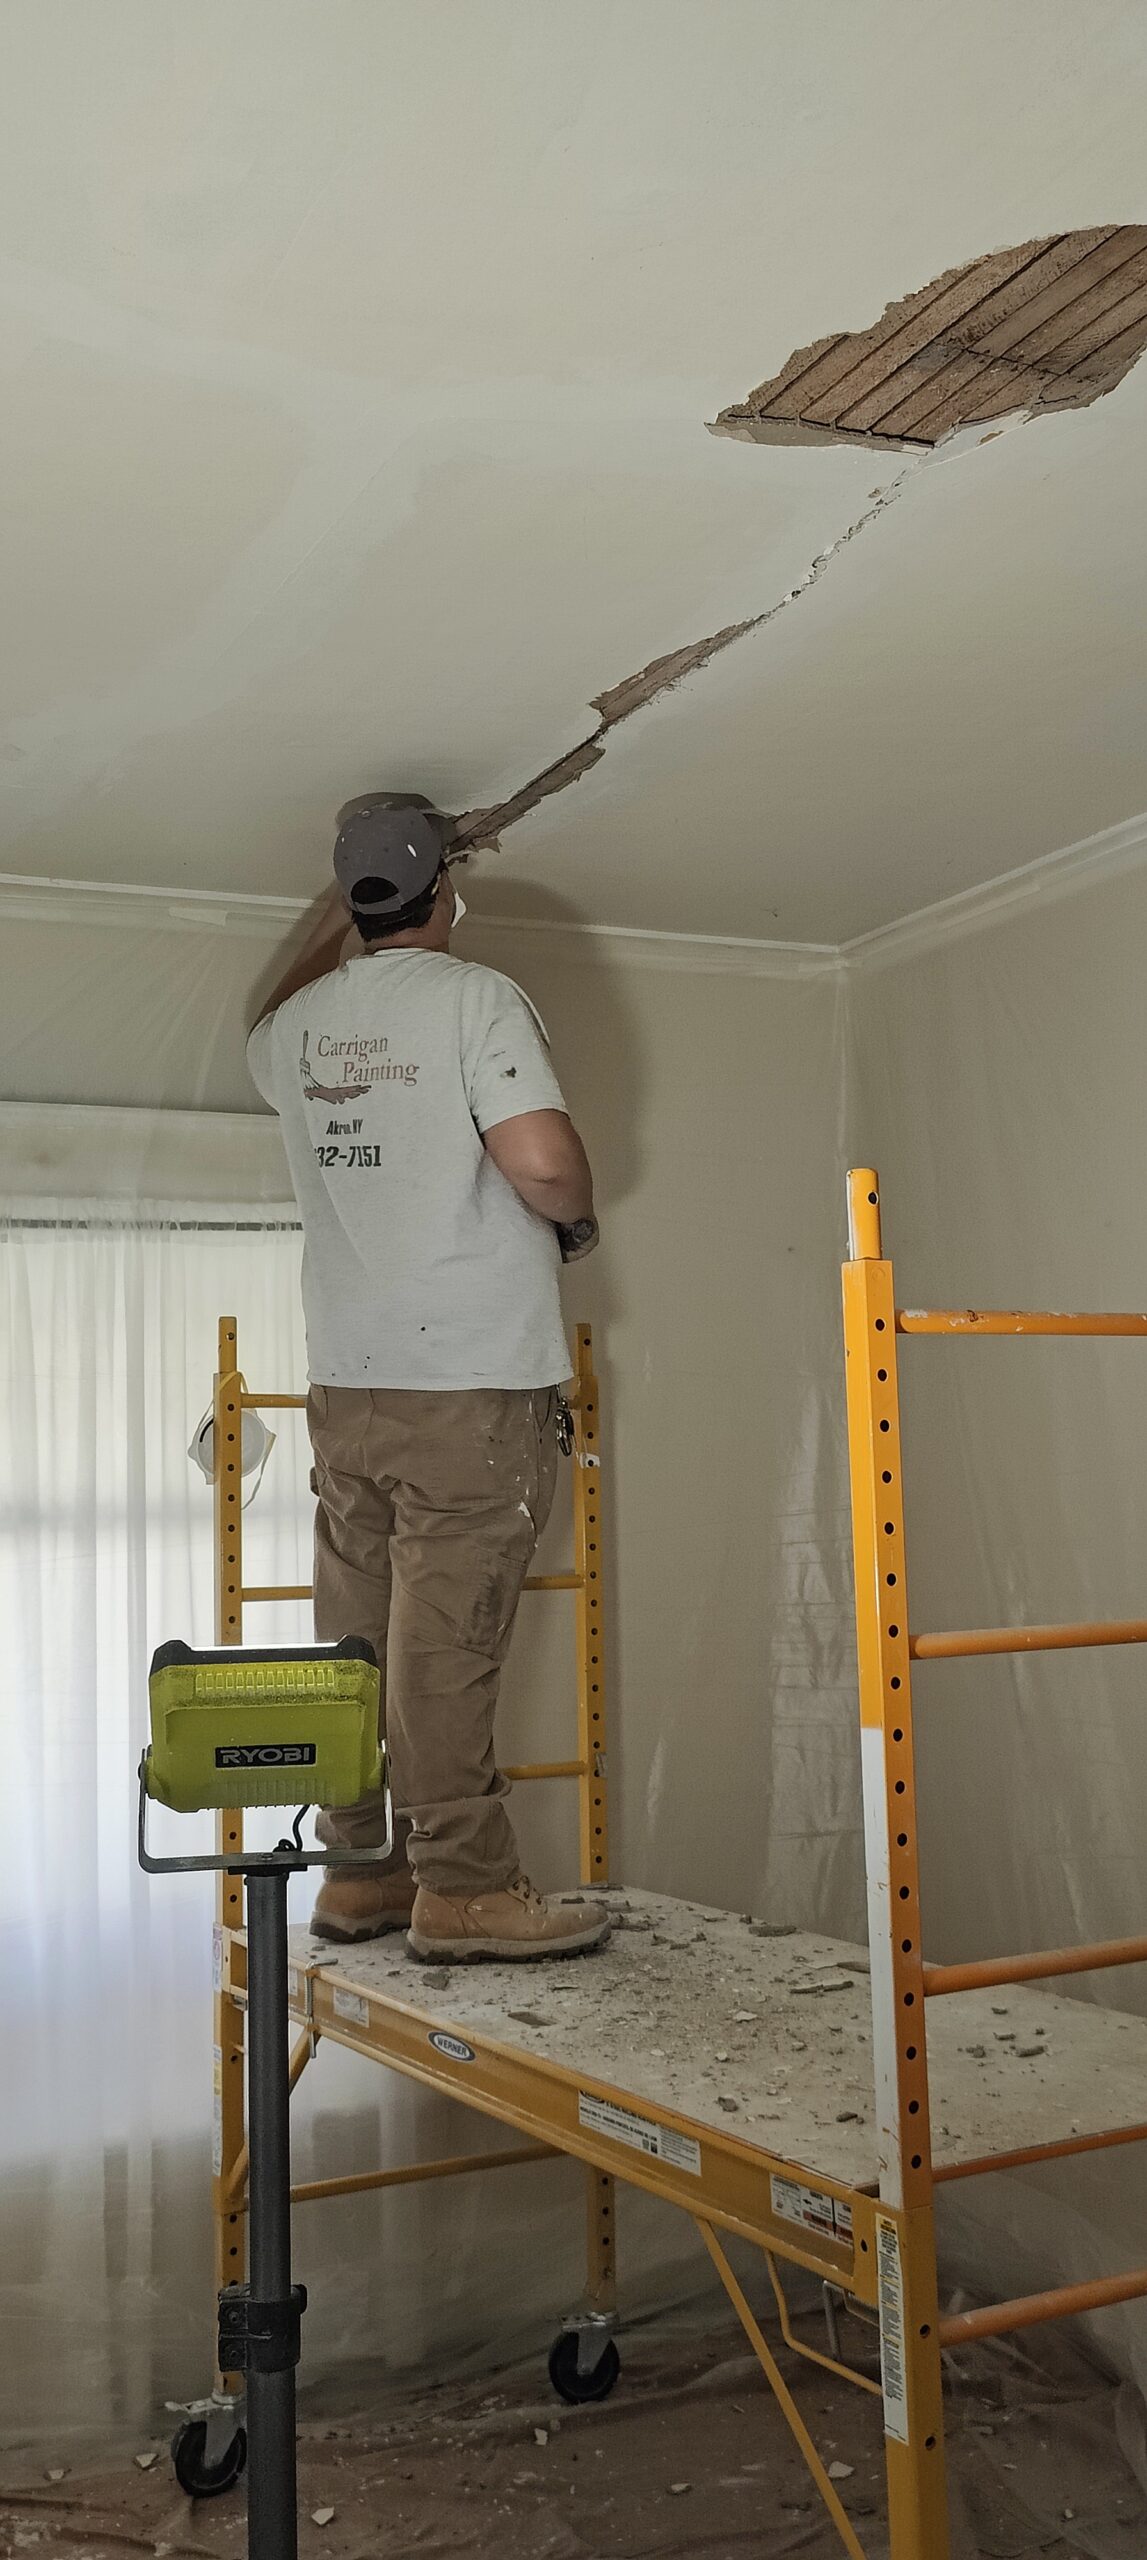
Williamsville, NY:— This is Part II of our Emergency Ceiling Replacement Project in Williamsville NY 14221. After removing the dangerously unstable plaster ceilings, we returned to install a new, and safer drywall ceiling. We also repaired some minor wall damage and painted the ceiling and walls we repaired while we were there.
Why We Used Furring Strips First
The original plaster ceilings were nearly one inch thick. Since we were replacing it with half-inch drywall, we installed furring strips to compensate for the thickness difference. This ensures the new ceiling sits properly and aligns with existing trim and fixtures – or so we thought.
We also corrected a sagging ceiling joist, which helped eliminate a persistent ceiling bump that would have been impossible to hide otherwise. We tried our best to correct the sagging. Hopefully we lifted it enough!


Moisture-Resistant Drywall — A Smarter Upgrade
We always use moisture-resistant drywall (green board) for ceiling repairs, even when code doesn’t require it, because it adds an extra layer of protection against future water damage.
It costs about $50 more for the full room, but it buys valuable time in the event of a roof leak or ice dam. Bonus: the leftover scrap is reusable instead of being tossed into the dumpster.


Ceiling Installation: Step-by-Step
Installed new insulation to replace what was removed
Hung 15 full sheets of 1/2″ green board drywall
Used 45-minute setting compound (Durabond) for the first coat
Applied EasySand joint compound for the second coat
Finished with a third coat using USG’s Dust Control pre-mix
✨ Excellent Work by Stacy she finished this ceiling herself. She did a great job!


Sanding, Priming and Touch-ups
After sanding the ceiling, we primed the ceiling. At which point all the imperfections in our work became exposed. We went back and touched up the ceiling of the areas we didn’t like. We also decided to fix some issues on the wall near the front door as well. As that area was rather ugly.


Replacing the 75-Year-Old Crown Molding
Originally, we planned to preserve the home’s original wood crown molding. However, despite the furring strips, there was still a half-inch gap between the crown and the new ceiling, too large to fill with lasting results.
We made the call to remove the original crown molding and install new trim instead. This will be Primed, puttied, sanded, caulked, and painted to match.
Plaster Ceiling Replacement Completed


Why It Matters
This wasn’t just a ceiling replacement, it was a safety-first structural upgrade for a home built in 1947. We left this Williamsville family with:
– A safer, more resilient ceiling
– Better insulation
– A smooth, modern finish
– Peace of mind
On Tuesday 8/26/25 we finished this new ceiling with the assistance of Bogue Art Studios.