A drywall patch in a plaster ceiling often stands out. The bigger the patch, the worse it is. We took on this job to bring about closure for this homeowner who had a major water leak in their living room ceiling that resulted in an unfinished ceiling repair from 6 months ago.
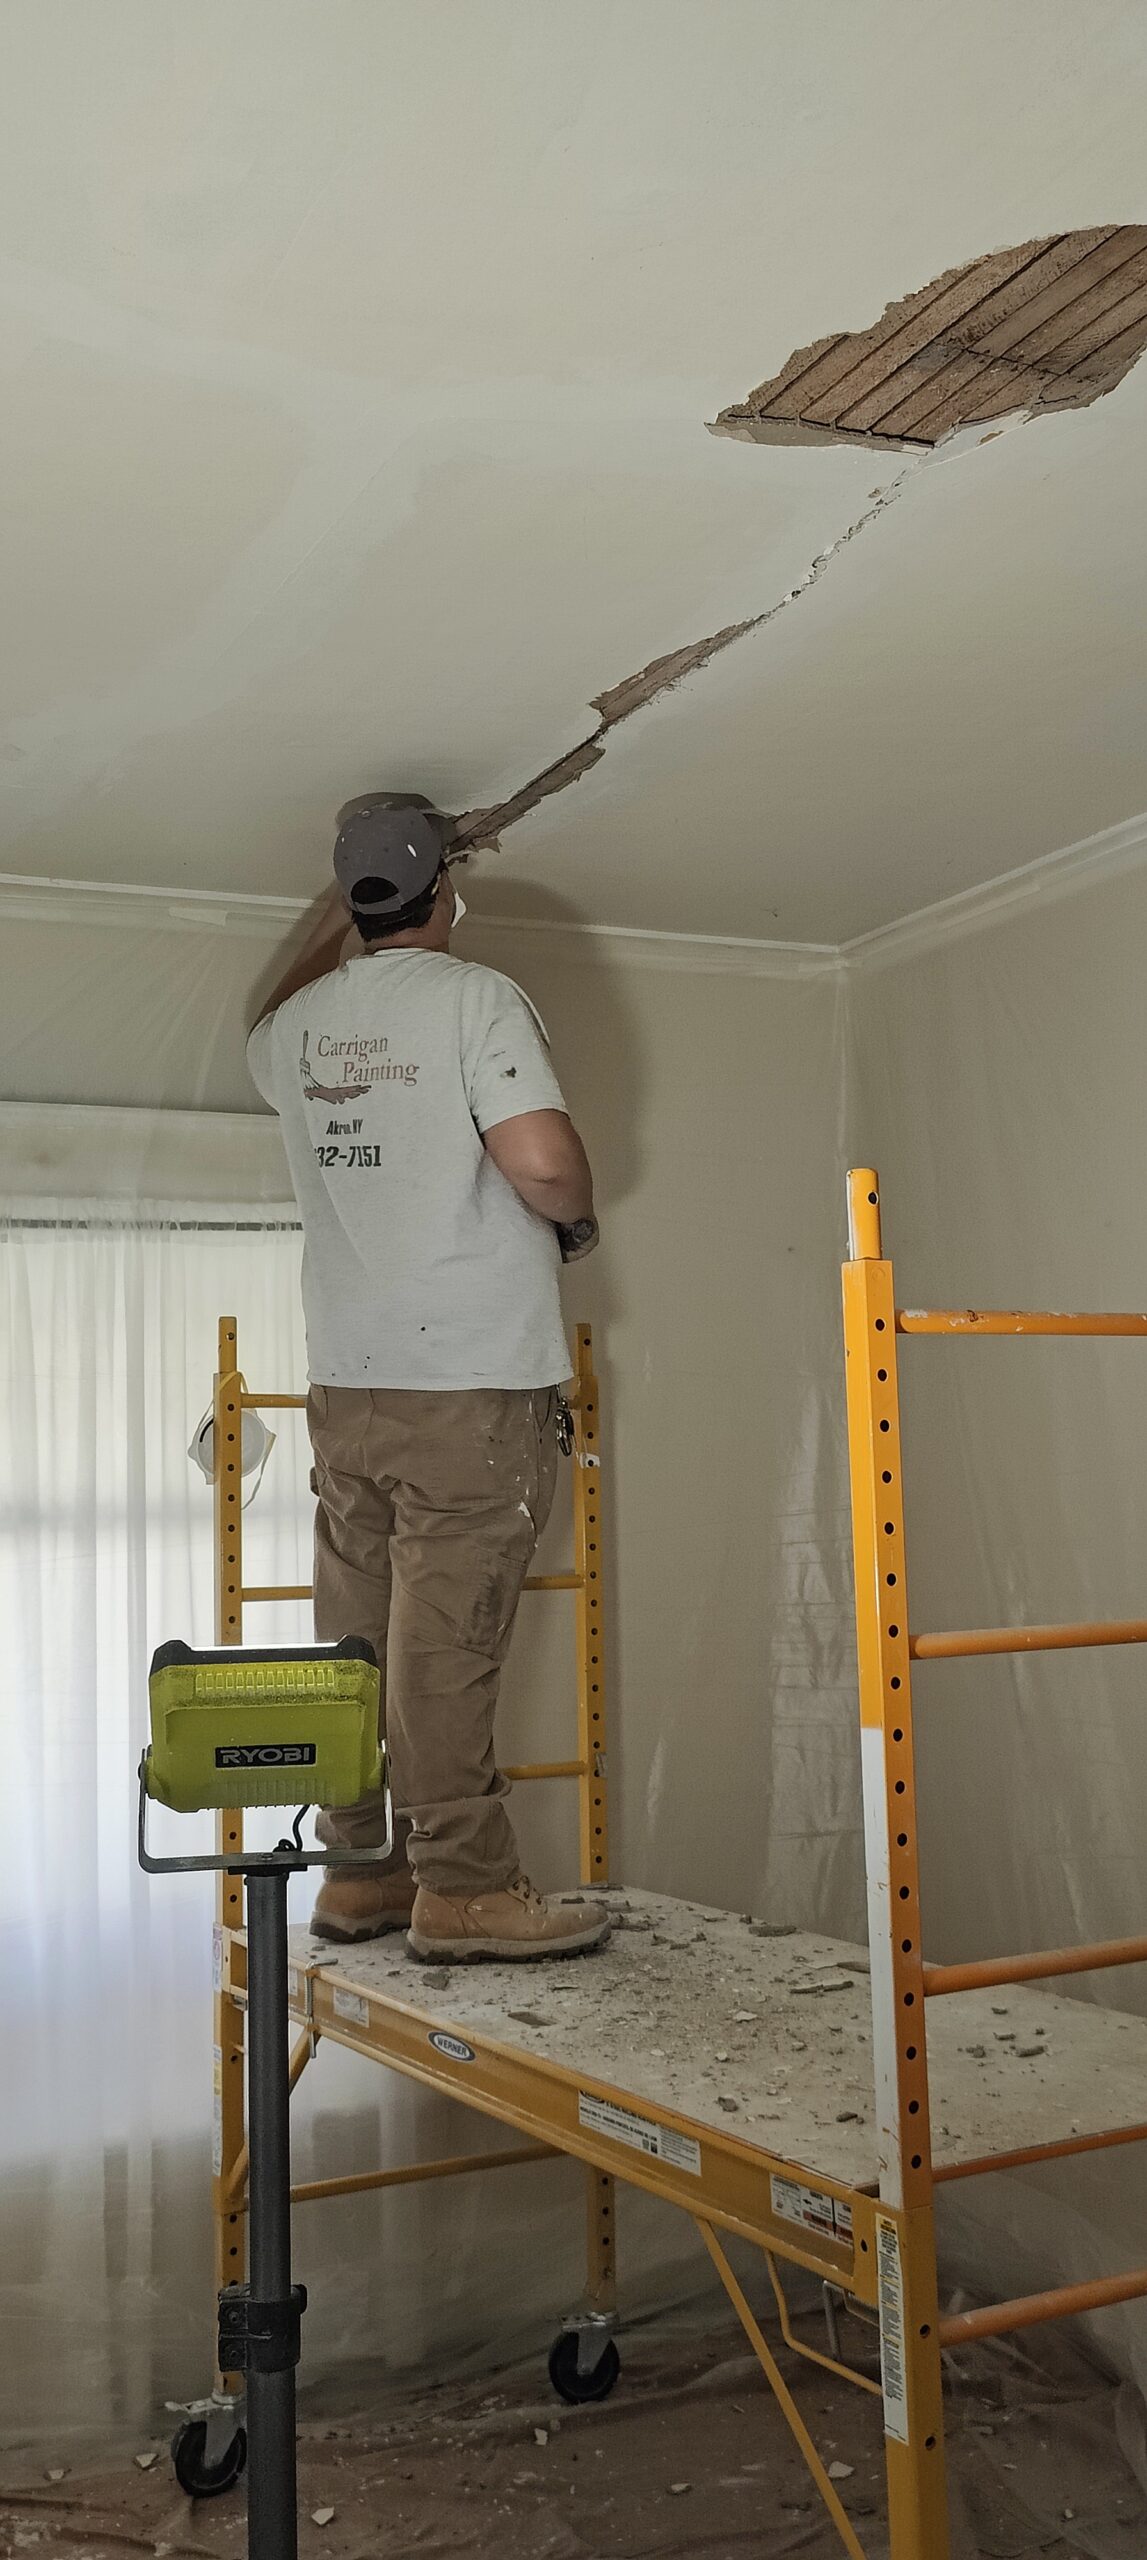
A water leak from the AC unit in the attic, caused the ceiling to collapse. Heavy wet blown-in insulation on a plaster ceiling caused it to collapse. The contractor in charge of the job, had a friend who said he could fix it. The friend, did the initial repair, but never finished it. Probably because he realized he was in over his head. This can happen easily with ceiling repairs, especially plaster ceilings.

The friend, installed a 4’x4′ drywall patch in a plaster ceiling that is very waving and uneven. He taped the edges, and then disappeared, leaving this homeowner with a giant square in their living room (better than a hole!). After calling multiple contractors to finish the repair, they came across us. Upon inspection, the initial attempt wasn’t bad. However the ceiling has a unique sand swirl texture, that I am not sure how this texture was created. When you shine a light across it, it creates diamonds, pretty neat actually!

There is a major issue here and that is height on the finished surface, the drywall the previous guy installed, created a perfectly flat spot, in a wavy ceiling. Matching this to the existing, probably impossible, if not prohibitively expensive. So the decision was made to skim coat the entire ceiling. And now we have to get this 5×5 foot perfectly flat surface to blend into a wavy ceiling that has waves every 16 inches.

Also, the patch wasn’t made big enough to start with as there is 2 ugly ridges on 2 sides of this ceiling patch. The one closest to the wall isn’t as noticeable, and could be a sagging ceiling joist. The other, not sure what is going on there, its rock solid, and not moving, at all. Had we done the demo, we would have removed the ridge.

Our first pass with the skim coating included using All Purpose Joint Compound (in the green bucket), the next day, we applied the second skim using USG Dust Control. All Purpose is akin to premixed durabond. Dusk Control is easy to sand smooth and is used as a finishing product.


Update 12-3-25:
Now that the ceiling is dry (the next day), we sanded the ceiling, and then primed the ceiling with Sherwin WIlliams Problock oil primer. This seals the surface, and has a sheen to it which shows all the imperfections in our work.


Initially the plan was to just patch the ugly spots in the ceiling. However, we could not leave the ugly ridge. It looked really bad! So after lunch, I took a hatchet to it, and chipped off the excess material down to the base coat of plaster, Yes, there is a small hole, I got a little over zealous, and punched through the rocklath – oops.


Spot patching worked in the hallway, but not the living room, so we made the decision to skim coat the entire ceiling a 3rd time, This is a tight skim, as its just filling in a bunch of minor imperfections. Tomorrow we will sand the ceiling, prime and then paint the ceiling.


Update: 12/5
All done. Came out great!


We did our best to eliminate the bump, its still visible at certain angles, but its much better than it was.